| 1 |
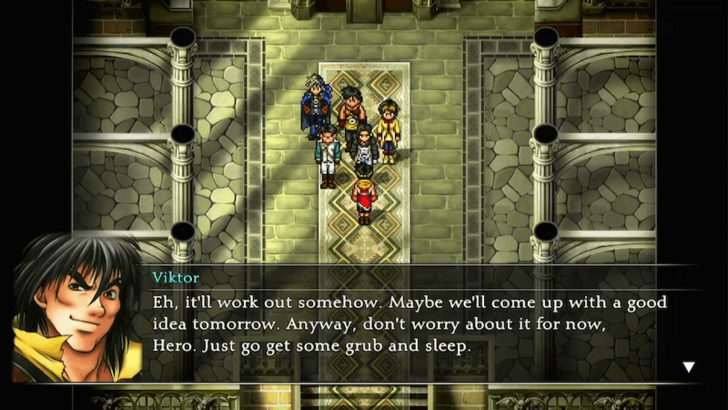
After returning to Headquarters from Muse City, you will be asked to rest in your room.
|
| * |
Note that this is your last chance to collect all 108 Stars of Destiny. If you are trying to get the best ending for Suikoden 2, be sure to recruit all available characters before heading to the end game.
You can check who you're missing by interacting with the Stone Tablets on the ground floor. The next steps will outline the next available characters to recruit. You can skip to the next numbered step instead to continue the story.
▶︎ How to Use the Stone Tablet of Promise
|
| * |
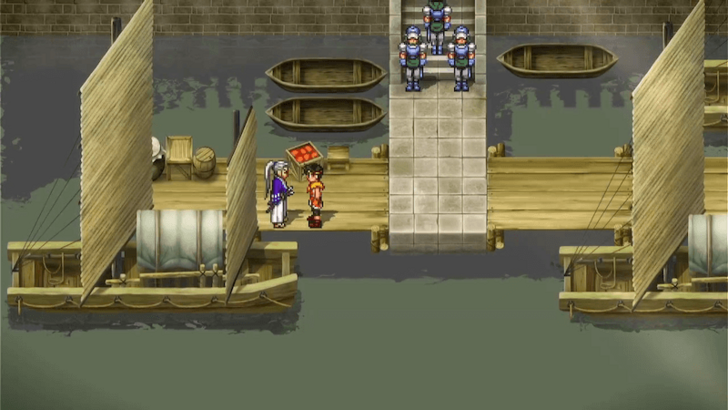
In Radat Town, visit the docks on the east side to find Vincent and recruit him. You need to have Simone in your party for Vincent to appear. |
| * |
Use a boat to sail to Coronet Town and talk to Genshu by the docks. You must have a character with a weapon that is upgraded to Level 14 or higher to recruit him. |
| * |
Re-enter the Cave of the Wind south of the Headquarters and proceed to the very last area (where the Celestial Sword was hidden) to find Pesmerga and recruit him. |
| * |
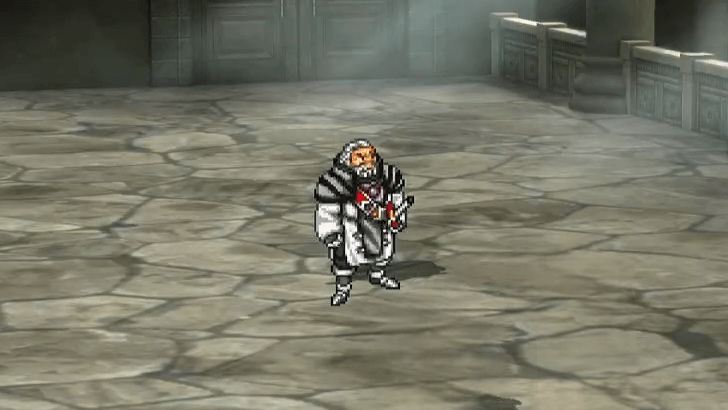
You can now also recruit Mazus from his place in the Tinto Mines.
The same location also hides Abizboah, who is recruitable if you chose not to recruit Sigfried earlier and have a spare Listening Crystal. |
| 2 |
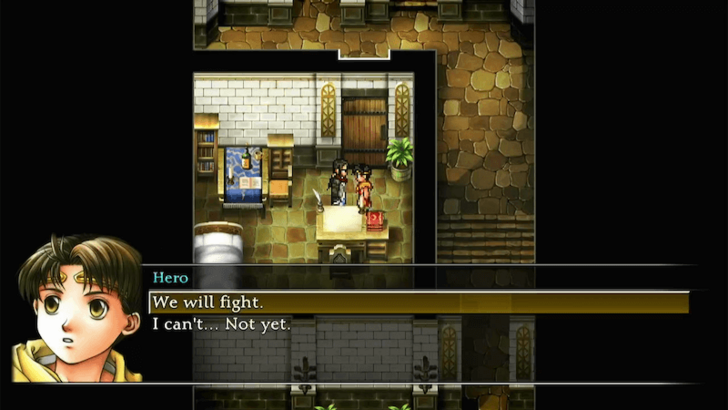
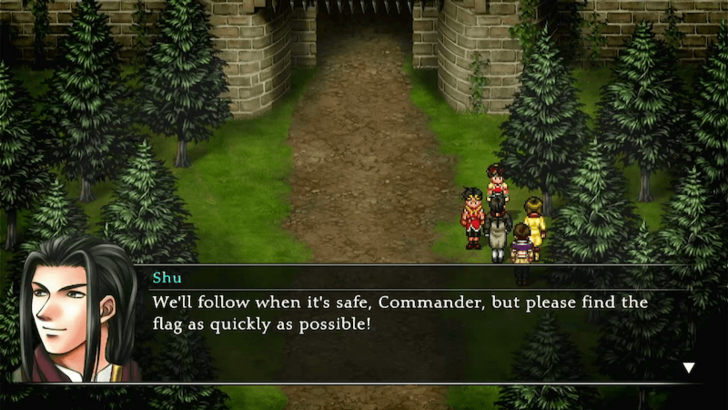
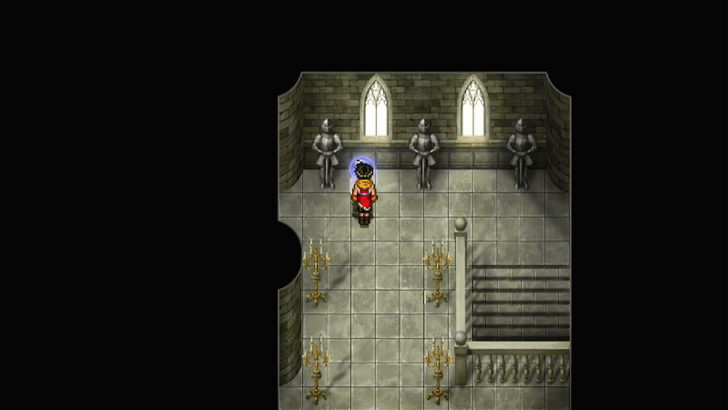
On your way up to your room, a cutscene will play near Shu's room. Speak to Shu afterward and choose "We'll fight..." when ready to proceed. |
| 3 |
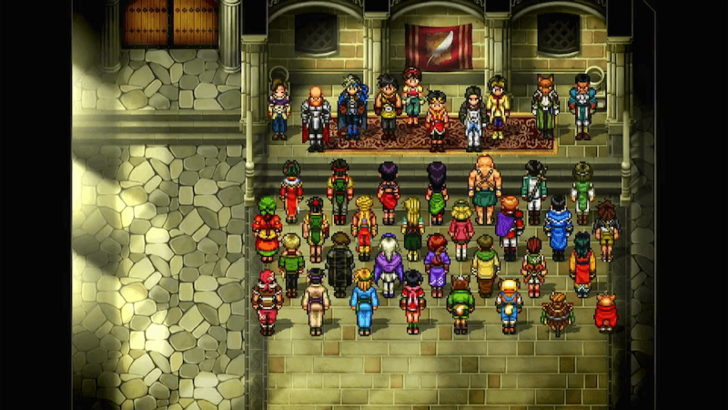
During the next cutscene in the Great Hall, Leknaat will appear if you have recruited all 108 Stars of Destiny. This opens the route to the best ending for the game. She will also upgrade your Bright Shield Rune to use its Level 4 spell, Forgiver Sign.
If Leknaat does not appear, consider reloading your game and ensuring you have all Stars of Destiny recruited.
▶All Characters and Recruit Conditions |
* |
Before continuing, remove unique Runes or equipment from Nanami before speaking to Shu in the Great Hall.
However, since Nanami is a required party member, keep her equipped with high-quality gear from the Armor Shop and use strong Runes from Jeane's Rune store so she's still capable for the next journey. |
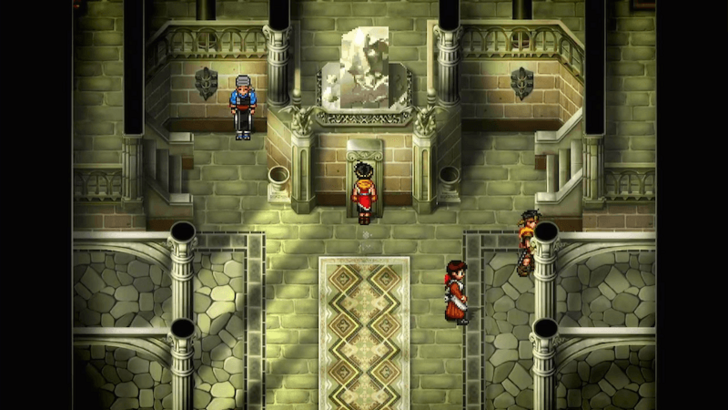
| 5 |
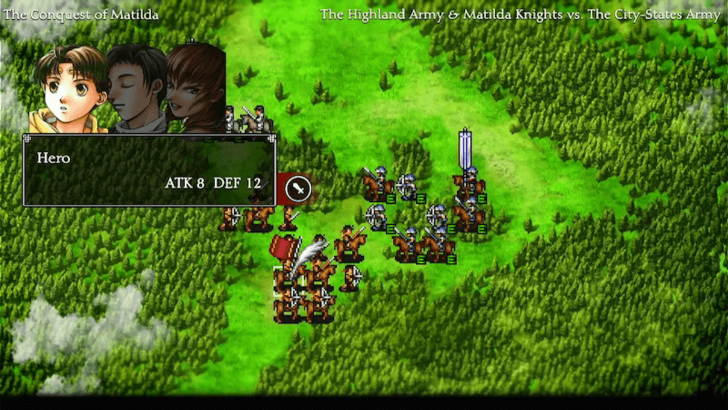
When you're ready, talk to Shu in the Great Hall to initiate an Army Battle to liberate Matilda..
All enemies will retreat after 4 turns, so fight defensively and avoid taking too much damage to reduce the risk of losing units.
▶ Army Battle Guide |
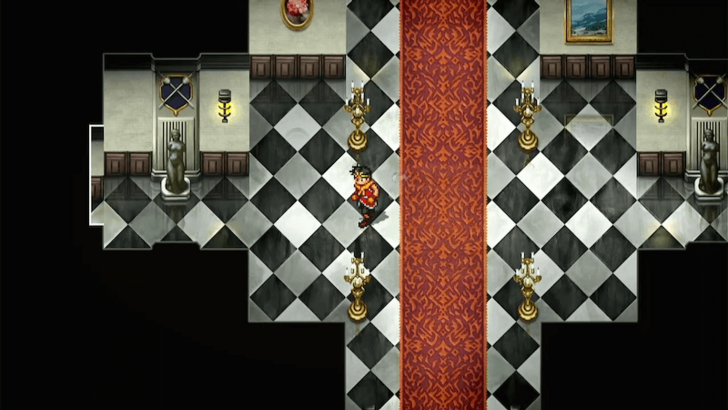
| 1 |
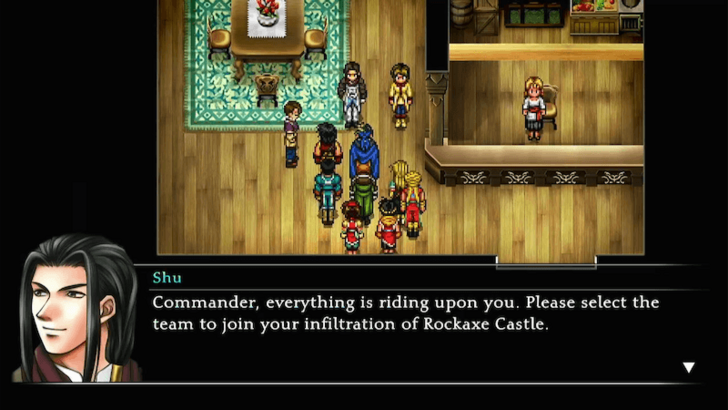
Following the Army Battle, you'll find yourself back at the dormitories in Greenhill City. Form a party to join you in infiltrating Rockaxe Castle.
▶Best Party and Team Compositions
|
| 2 |
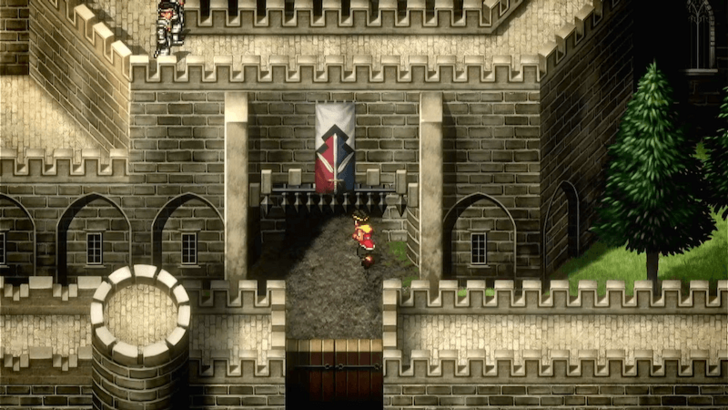
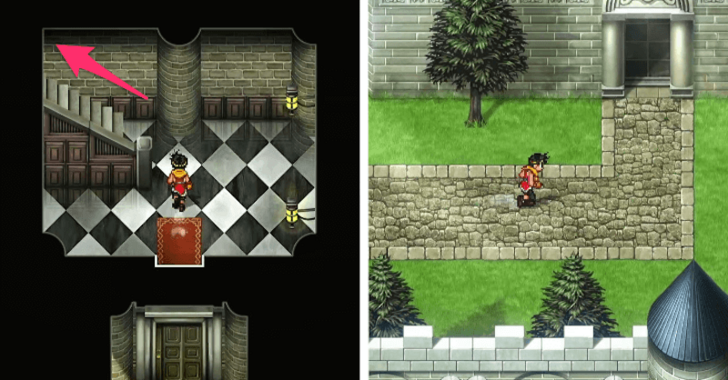
Once you're ready, a cutscene will play, and you'll arrive at Rockaxe Town. Enter the town and head into Rockaxe Castle to proceed. |
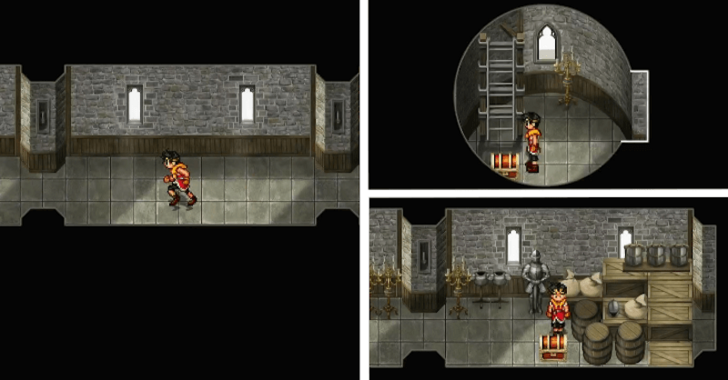
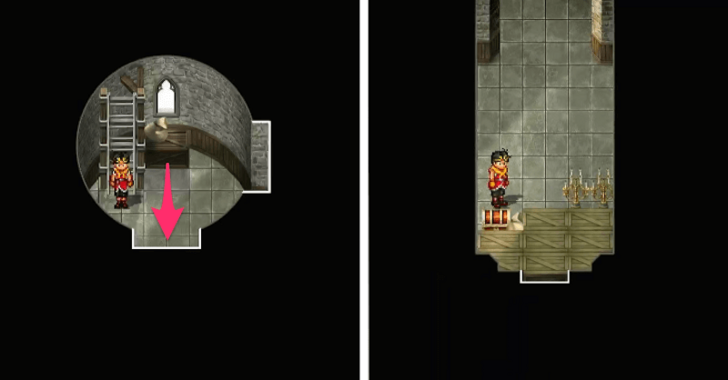
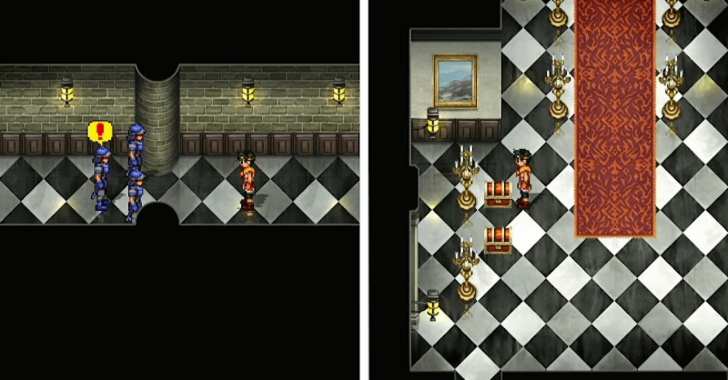
| 3 |
Move forward until you reach a ladder. Nearby, you'll find a chest containing a Stone of Speed. Climb the ladder and take the right path to obtain an Escape Talisman. Be ready to fight enemies along the way!
▶ Rockaxe Castle Dungeon Guide |
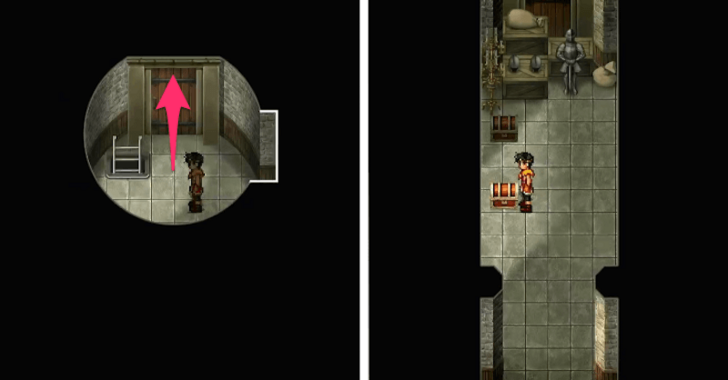
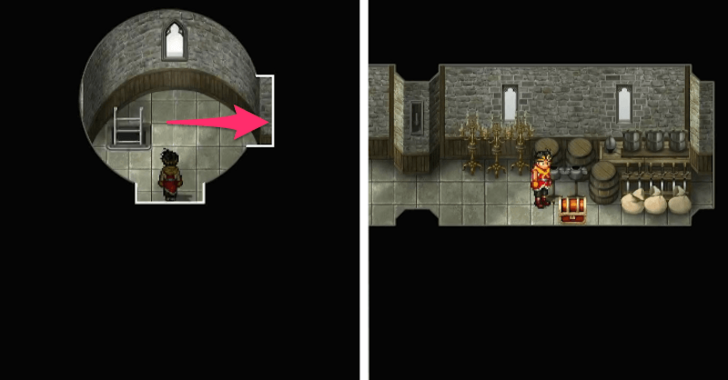
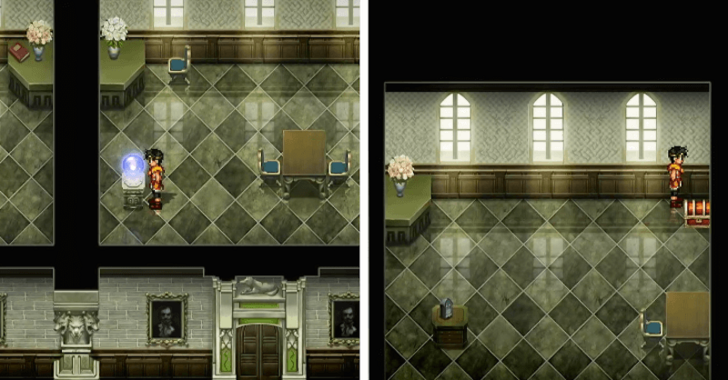
| 4 |
Continue through the castle until you reach another ladder with a brown door behind it. Enter the door to find two chests containing a Stone of Luck and a Crimson Cape. |
| 5 |
Proceed further until you reach another ladder beyond a hallway with candlestands. Take the right path to collect an Earth Shield from a chest. |
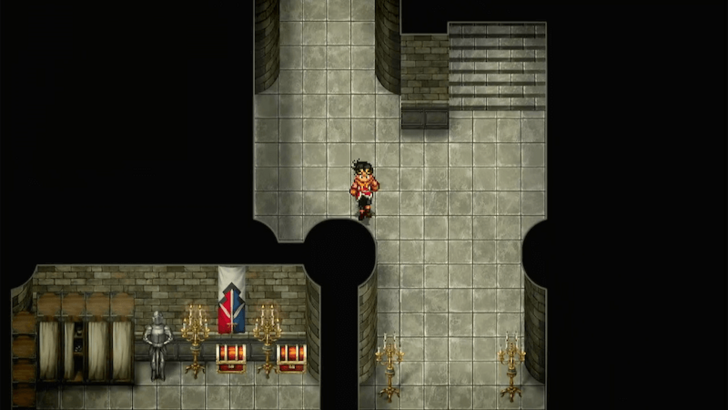
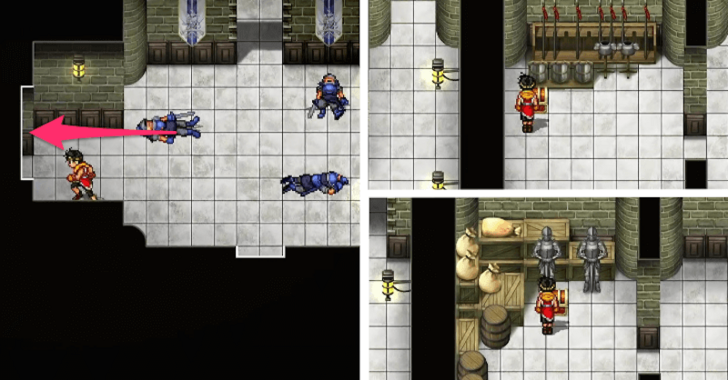
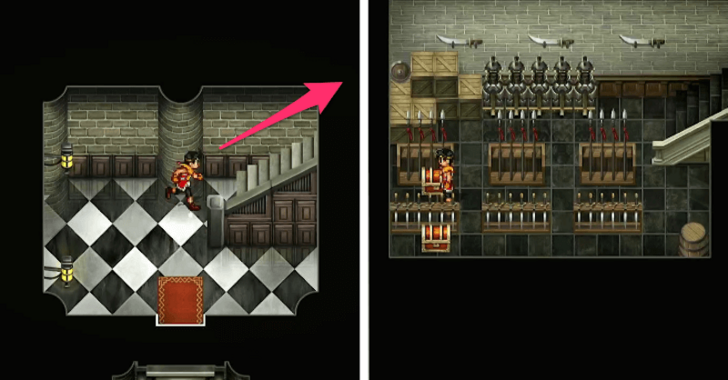
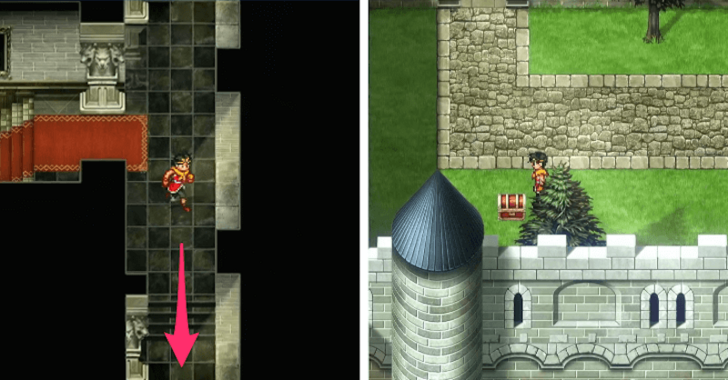
| 6 |
Climb down the ladder and head south to obtain Power Gloves from another chest. Return to the ladder, then take the right path, which will lead you outside the castle. |
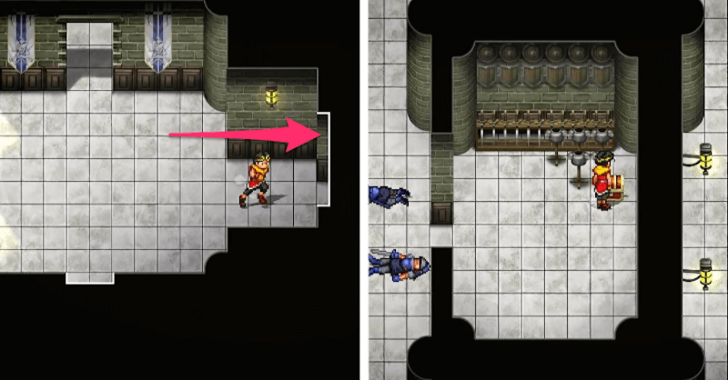
| 7 |
Once outside, enter the main door in the lower middle to continue. |
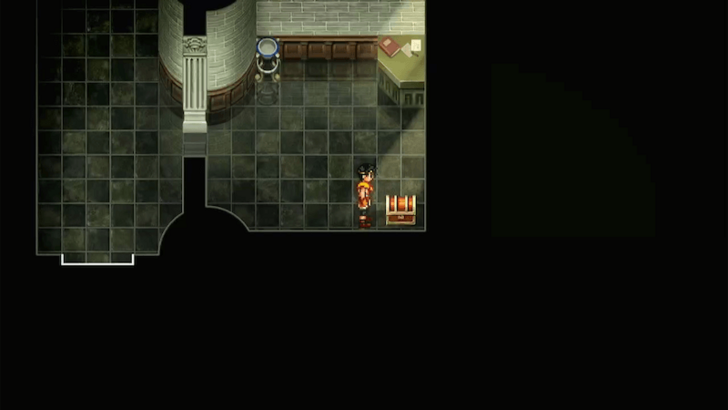
| 8 |
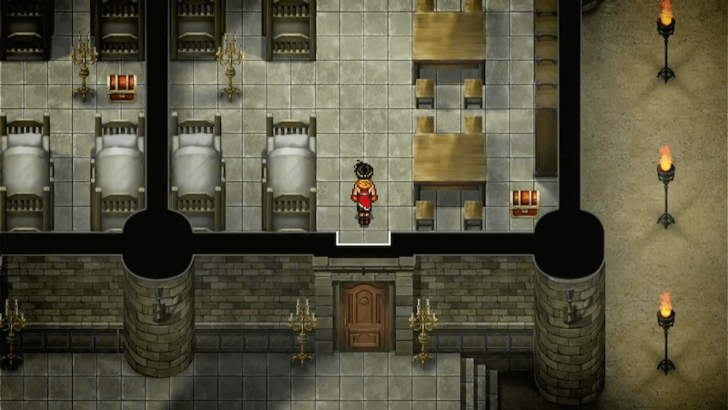
Move forward into the sleeping quarters, where you'll find two chests containing a Gold Collar and Mega Medicine. Just above, there's another chest with a Full Helmet. |
| 9 |
Take the stairs northwest, then continue east to another staircase. Nearby, you'll find a room with two chests containing Dragon Plans #4 and Unicorn Plans #4. |
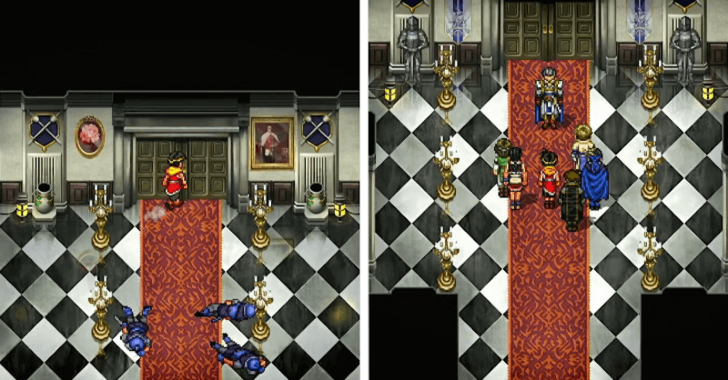
| 10 |
When you see a Journeyman Orb, save your game and prepare for the next boss fight. Only Hero and Nanami will be in the party from this point forward.
How to Save Progress |
| 11 |
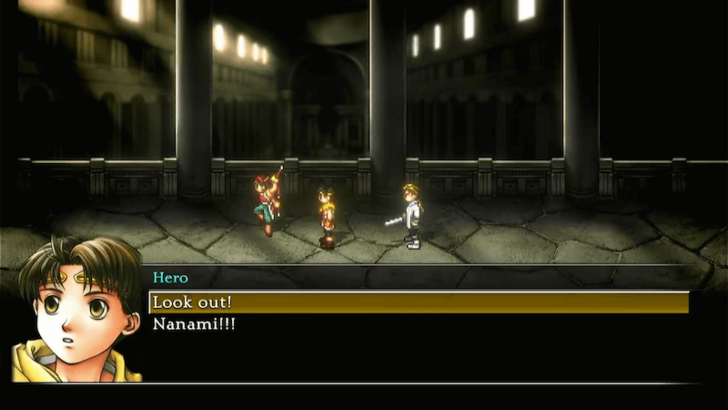
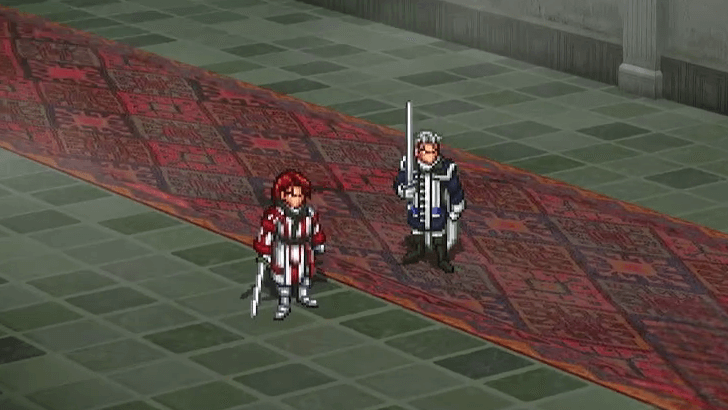
Continue forward and you will enter a long hallway and confront Jowy once again. During the cutscene, watch out for a quick prompt that let's you warn Nanami. You will know if you succeeded if you draw your weapon.
If you fail to draw your weapon, or if you have not recruited all 108 Stars of Destiny before this scene, you will not be able to get the best ending.
▶ Endings Guide: All Branching Endings and Conditions |
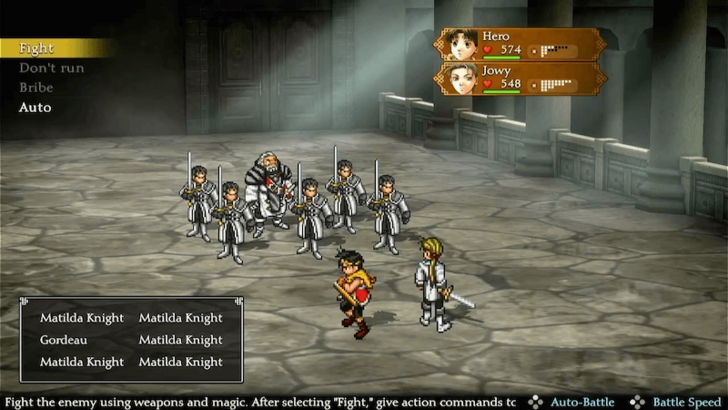
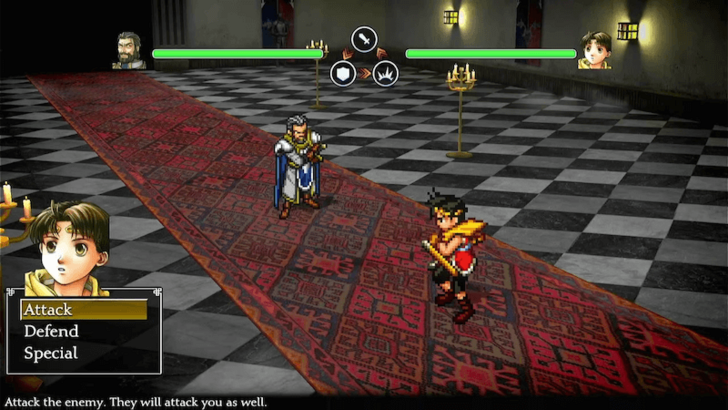
| 12 |
Hero and Jowy will then fight Gordeau in a boss battle. Fighting Gordeau is relatively easy, especially with Jowy’s Black Sword Rune. Unleash your strongest attacks and take him down.
▶ Gordeau Boss Fight Guide |
| 13 |
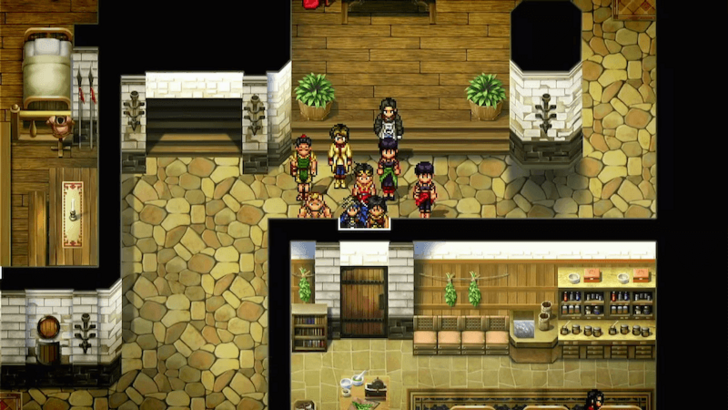
After defeating Gordeau, you will return to Headquarters. Take some time to explore the casle, then head back to the infirmary to trigger a cutscene.
If you are on the right track for the best ending, Huan will ask to speak to Shu privately. |
| * |
When you regain control, you will be able to revisit some locations for more loot and items. Revisiting Rockaxe Castle and going past the area where you fought Gordeau can reveal a Thunder Rune, Earth Armor, Old Book Vol. 11, and Recipe #37. |
| 14 |
To continue the story, talk to Shu in the Great Hall and give him permission to invade Highland. As you leave the hall, Hero will collapse and be returned to the bed. |
| 15 |
When you wake up in the night, visit Shu's room for a cutscene before returning to your room. |
| 16 |
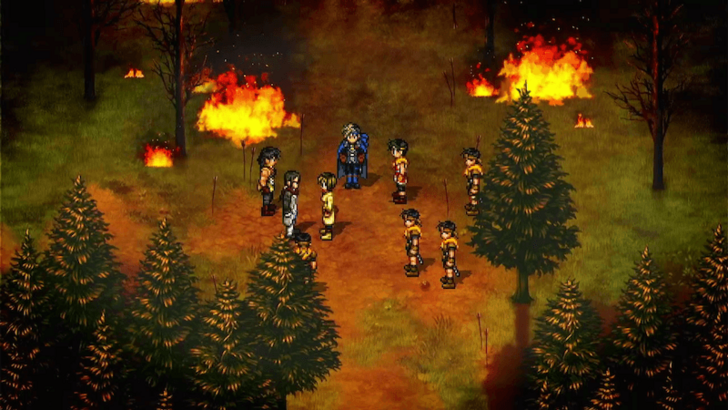
The next morning, return to the Great Hall, which will initiate a lengthy cutscene, culminating in an Army Battle.
This Army Battle plays automatically and will end on its own, so no input is needed from you. |
| 17 |
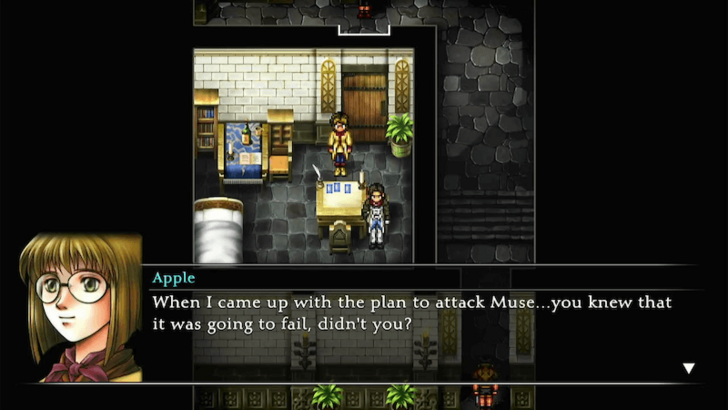
Following the Army Battle, you will arrive at the Muse-Highland Border, where you can save your game by talking to Leona, and rearrange your Army Units by speaking with Apple.
For this battle, focus your units on having high attack power and the Cavalry ability by adding commanders like Miklotov and Camus to their teams.
▶ Best Army Battle Formations |
| 18 |
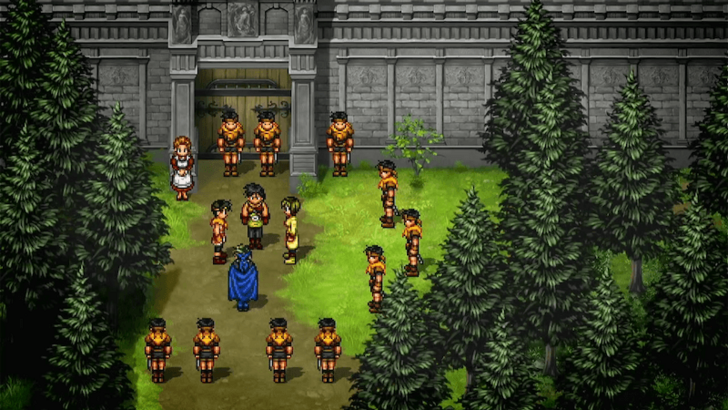
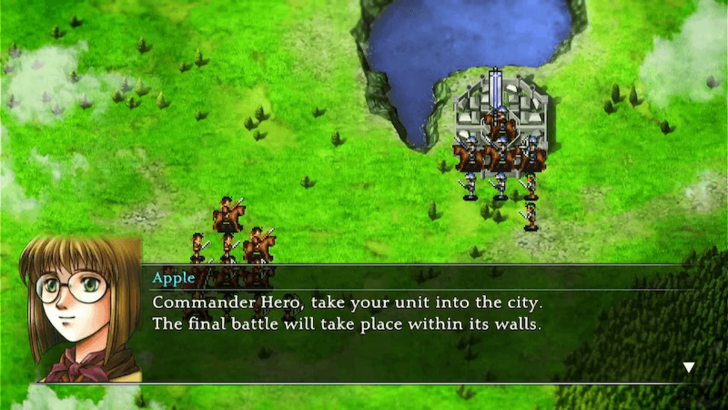
When you're ready, talk to Apple to start the final Army Battle.
Your main objective is to enter L'Renouille with one unit. Use your units to destroy the Karayans guarding the gate with strong abilities like Fire Spear, Wind Magic, and Lightning Magic, then move a unit through the gate to end the battle. |
| 1 |
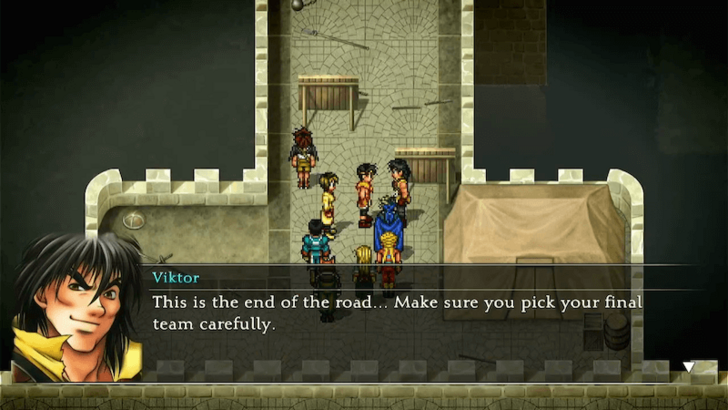
After the Army Battle, you will appear at the gate of L'Renouille Castle. Form your party for the final dungeon of the game. Equip Runes to have a mix of powerful physical and Magic attacks, along with sources for healing and defensive spells.
▶ Best Runes |
| * |
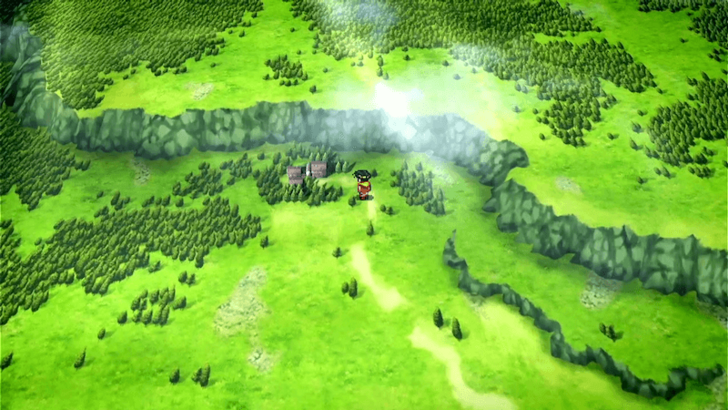
Before entering L'Renouille Castle, you can leave to the overworld and travel northwest Sajah Village.
|
| * |
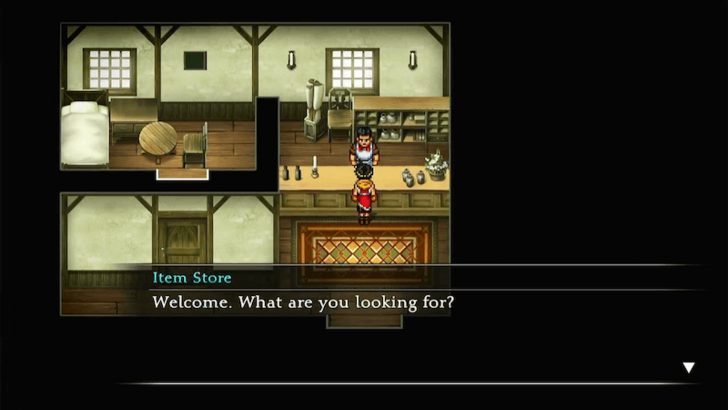
In Sajah Village, you can find some powerful gear in the Item Store's Rare Finds, including Windspun Armor
, Horned Helmet, and the Golden Hammer, which can upgrade your weapons to Level 16.
After obtaining the Golden Hammer, teleport back to Headquarters and give it to Tessai to allow him to sharpen your weapons to the maximum level.
▶ Sajah Village Guide |
| 2 |
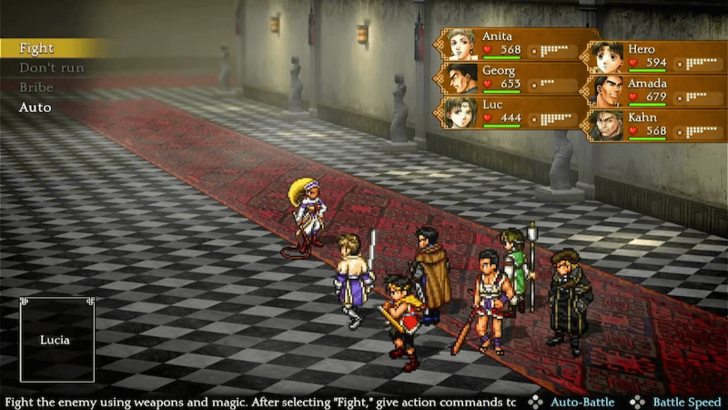
When ready, enter L'Renouille Castle. Lucia will be waiting for you inside, leading to the third and last boss fight against her. Defeat Lucia, and then head back outside to heal and recharge your spells.
▶ Lucia Boss Fight Guide |
| 3 |
From here, you can choose either the left or right path to progress through L'Renouille Castle. For this walkthrough, take the right path and head north until you reach a hall where you'll be forced into battle against Highland Soldiers.
After defeating them, enter the room on the right to find two chests containing a Fog Robe and a Bolt of Wrath. Be prepared for more forced battles as you continue!
▶ L'Renouille Dungeon Guide |
| 4 |
Proceed forward until you reach a hall with double doors. For now, ignore the doors and continue heading west where you'll see another hall with a right turn. Enter the storage room here to obtain a Fury Rune from a chest. |
| 5 |
Return to the main hall and enter the double doors to confront Han Cunningham in a duel. |
| 6 |
Defeat Han in a duel! The fight is fairly easy as long as you carefully counter his attacks.
▶ Han Cunningham Duel Guide
|
| 7 |
After defeating Han Cunningham, continue moving forward through the castle until you reach a large hall with three intersecting paths. |
| 8 |
Take the eastern path and continue heading north until you come across a group of Highland Soldiers on the left. Defeat them and enter the room ahead to obtain a Champion’s Orb and a Wind Amulet from the chests. |
| 9 |
Return to the main path just before the Highland Soldiers, then continue heading north. Climb the stairs until you reach an armory, where you'll find two chests containing a Stone of Power and a Stone of Protection. |
| 10 |
Backtrack to the large hall, then head south, turn left, and continue north. Take the stairs, then make your way southwest until you're outside of the castle. Follow the path forward, and you'll enter another door leading back inside. |
| 11 |
Keep moving forward until you reach a hall with three rooms. The middle room contains a Journeyman Orb, which you can use to save your game, while the room on the right holds a chest with an Escape Talisman. |
| 12 |
From here, head south to step outside again. Follow the path to the end, where you'll find a chest containing Goldlets. |
| 13 |
Return inside and take the stairs leading north. Continue forward until you come across another chest containing Window Set #7. |
| 14 |
Keep pushing north until you reach another Journeyman Orb. This one can also heal and recharge your party, so make sure to take advantage of this to recharge before the nearby boss battle against Seed and Culgan. |
| 15 |
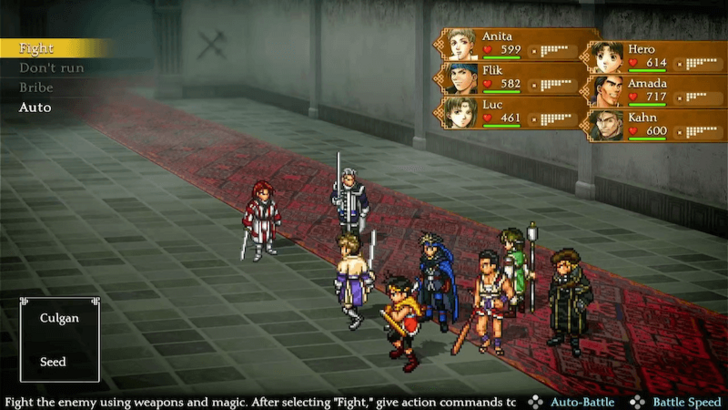
When you're ready, continue up ahead and face Seed and Culgan in a boss fight. Seed is strong against Fire spells and Culgan is strong against Lightning. Use focused physical attacks and spells to take them down one at a time.
▶ Culgan and Seed Boss Guide |
| 16 |
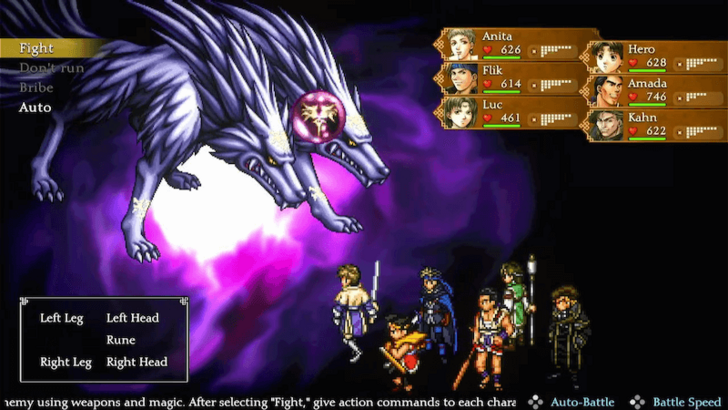
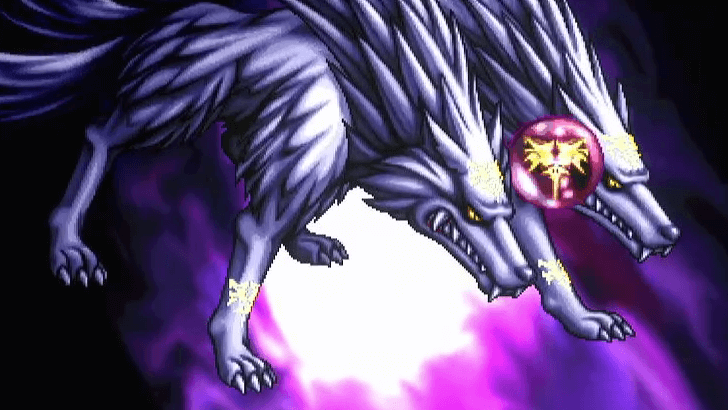
After defeating Seed and Culgan, recover at the Journeyman Orb and save your game before facing final boss battle. At the end of a long hallway, you will encounter Leon Cunningham, who summons the Beast Rune in the form of a Silver Wolf, the final boss of Suikoden 2.
Focus on destroying the Rune first, followed by the Left Leg, as those parts will defend the others and cast status magic, respectively. Heal frequently and use defensive buffs like Guardian Earth to enhance your defense against the Wolf's party attacks.
▶ Silver Wolf (Beast Rune) Boss Guide |
| 17 |
After defeating the final boss, you will escape the castle before it is destroyed and return to Headquarters automatically. |
| * |
Save your game when you regain control, as the next scene in the Great Hall contains a branching point for the ending. |
| 18 |
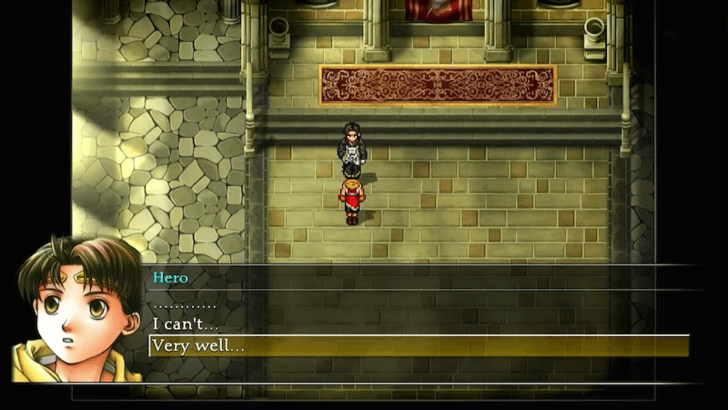
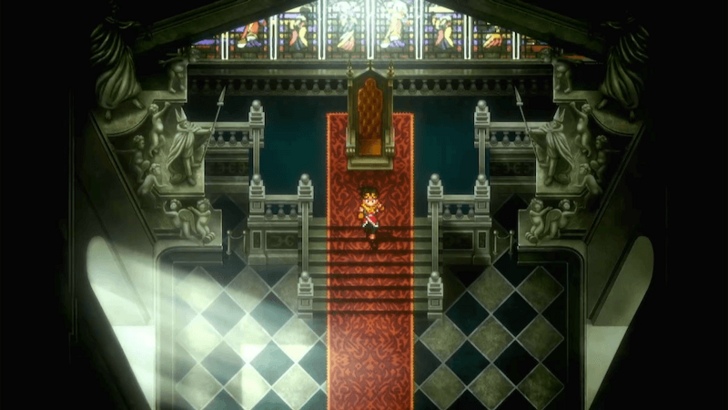
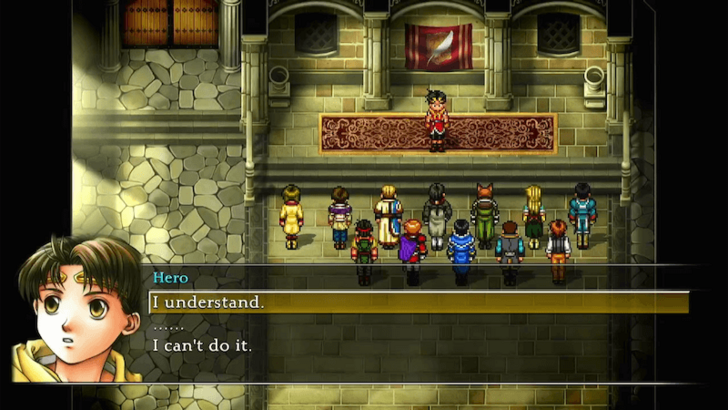
When you wake up in your bed, head to the Great Hall to trigger a cutscene. At this point, you'll be given a choice:
If you choose "I understand," this will lead to the first standard ending and the game will end from that point.
If you choose "I can't do it.", you will be allowed to leave to pursue the second standard ending or the Golden ending.
▶ Endings Guide: All Branching Endings and Conditions
|
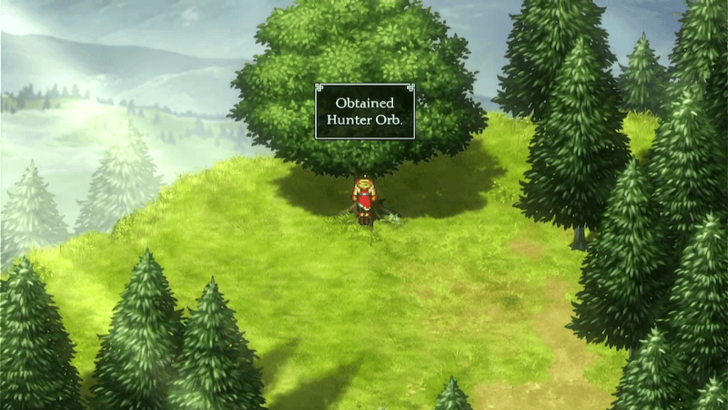
| 1 |
If you chose "I can't do it," in the previous cutscene, you will regain control. Teleport back to Kyaro Town and visit the path to Genkaku's House. Examining the large tree where you recruited Mukumuku will yield a Hunter Orb, Trio Painting, and 30 Potch.
|
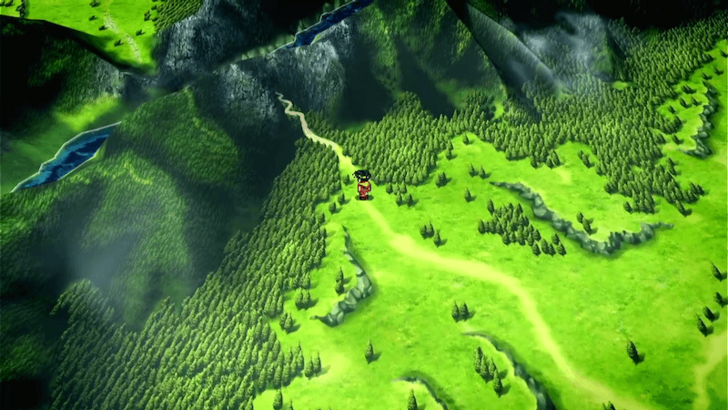
| 2 |
Leave Kyaro Town and enter Tenzan Pass to the northwest. |
| 3 |
Follow through Tenzan Pass until the road forks, taking the path west to the next area. You will eventually see the terrain from the beginning of the game, though the Unicorn Brigade camp has since been cleaned up.
▶ Tenzan Pass Dungeon Guide |
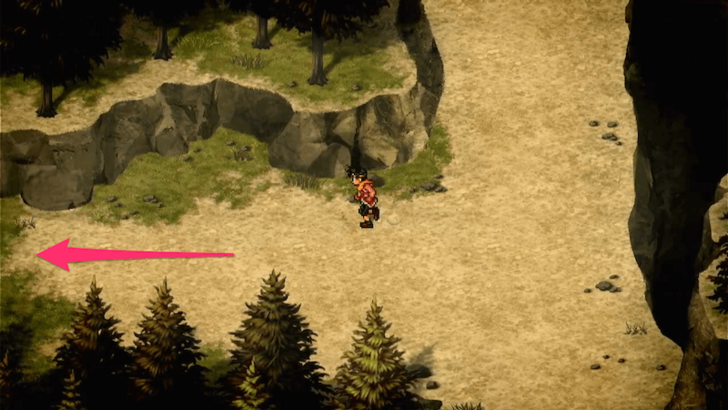
| 4 |
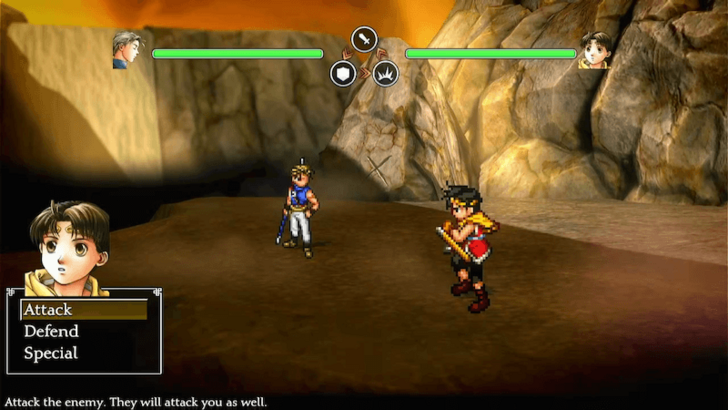
Continue past the camp until you approach the spot where you and Jowy jumped off the cliff at the beginning of the game. He will then challenge you to a duel.
During the duel, choose Defend each time to get the best ending. Defeat Jowy to get the second standard ending.
▶ Jowy Duel Guide |
| 5 |
After the duel, Jowy will offer you the Black Sword Rune.
Take it to experience the second standard ending. Keep refusing it to experience the best ending and complete Suikoden 2!
|