What you can do as a member?

Get free access to these features:.
- Save your data on maps and other tools
- Site theme change
- Game bookmarking feature
- Provide feedback on the website
★ Playing the first game? Suikoden I wiki here!
☆ Farming Guides: Money and EXP
★ Castle Headquarters Guide
☆ Army Battle Guide
★ Missables and Points of No Return
☆ All Endings and Branching Paths
This is a complete walkthrough guide for beating Suikoden 2 HD Remaster. Check out a steb-by-step walkthrough guide for each game section, as well as tips for your journey here!
List of Contents
This walkthrough aims for 100% completion with minimal spoilers, and is designed for players who want concise, step-by-step-guides highlighting all treasure chest locations, character recruitment points, and key objectives
If you're aiming to recruit all 108 Stars of Destiny, collect every item, or complete all minigame-related achievements, this walkthrough ensures you stay on track. Situational notes are also included for temporary party changes and item management, allowing for better preparation without unnecessary backtracking.
| 1 | 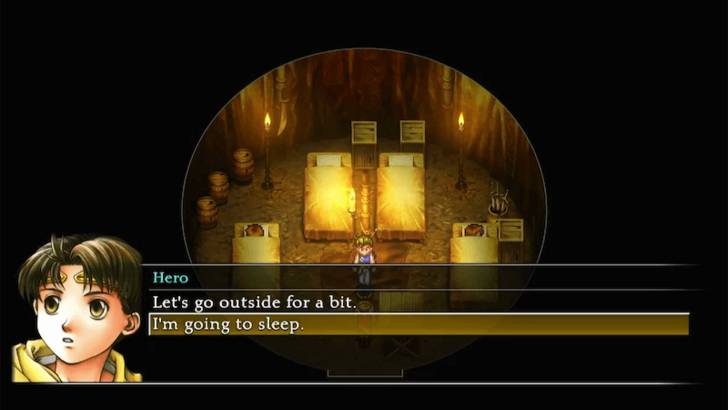 Players start out in a tent with Jowy. After some dialogue, he will be automatically recruited into your party. You can choose to explore the camp for a while or head straight to bed and rest. |
|---|---|
| 2 | 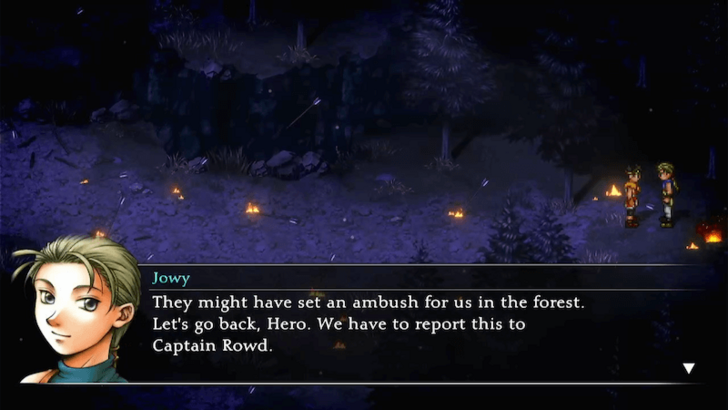 Once you go to sleep, a surprise attack will be launched on the camp and players will be told to head east. As you make your way, Jowy will stop you and urge you to return to camp. Head back to trigger a cutscene. |
| 3 | 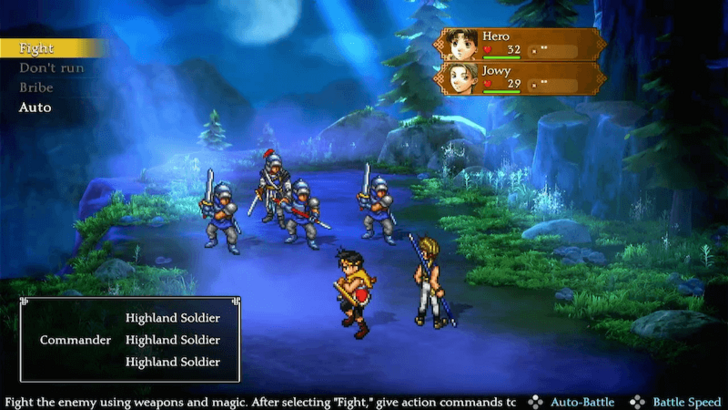 You can either confront the Captain or head to the cliffs. Choosing to confront him will lead to your first battle. Fight the enemy using weapons and magic. After selecting Fight, assign actions to each character. Choose Attack to target an enemy with a weapon or use a Unite Attack with Jowy for a powerful combination strike. |
| 4 | 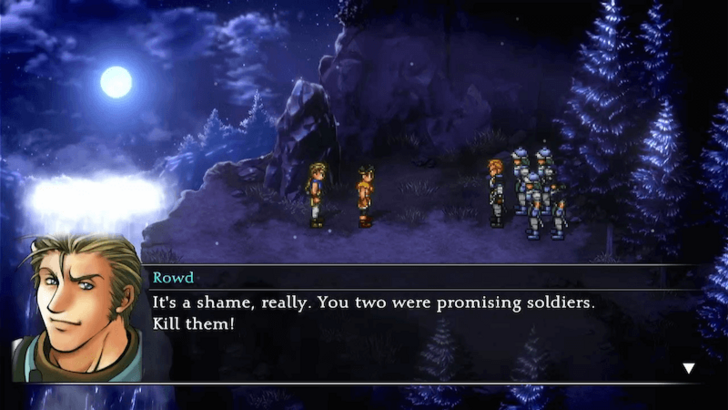 Head northeast to the cliffs to escape. However, enemies will ambush you again at the edge of the cliff. Defeat them in battle to continue. |
| 5 | 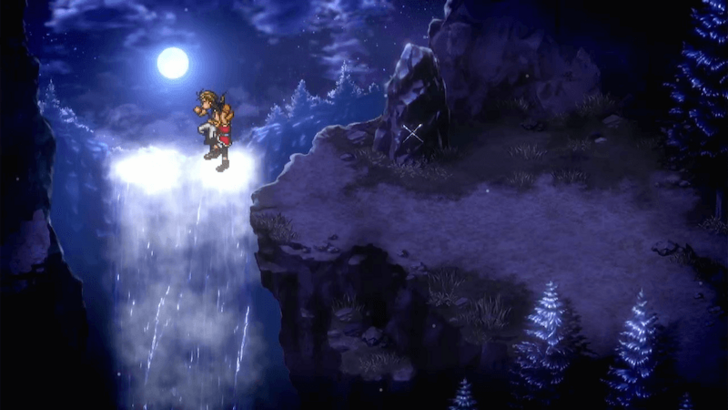 Once the battle is over, Jowy will ask you to jump off the cliff and into the water. Choose to jump and the opening credits will play. Refusing to jump repeatedly will cause the enemies to return and start another battle. |
| 1 | 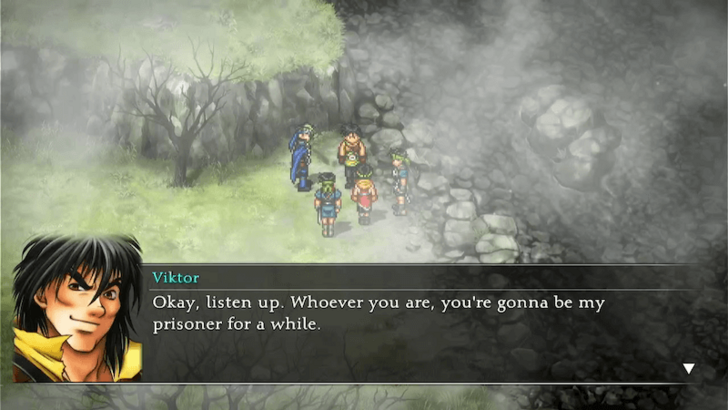 Following the opening cutscene, the player will be found by Viktor just outside of the Mercenary Fortress. The player will then be brought in as a prisoner. ▶︎ Mercenary Fortress Map Guide |
|---|---|
| 2 | 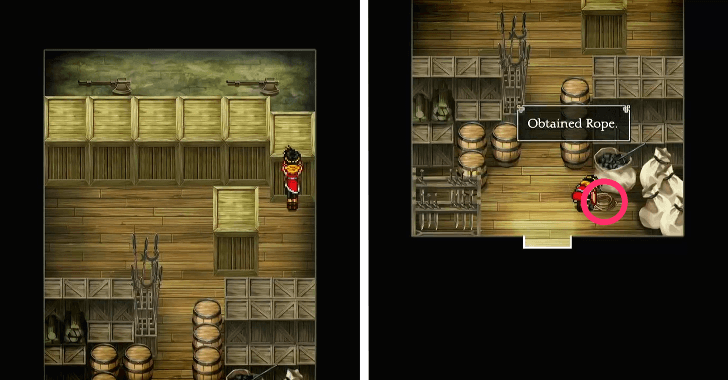 Pohl will enter your cell and ask you to move some crates. Push the crates and line them all up against the wall. Pick up the rope by the exit, then exit the room to progress. |
| 3 | 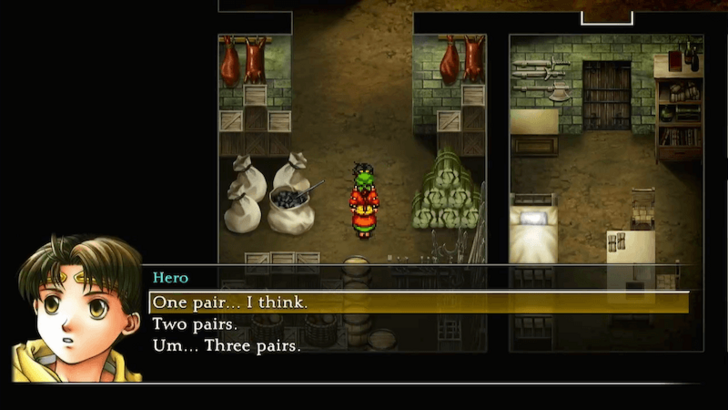 Pohl will then ask you to gather two pairs of boots, three flint stones, and one bag of flour. First, head to the storeroom and talk to Barbara to ask for 2 Boots. You can also ask for 3 Boots instead, keeping one to equip for yourself. |
| 4 | 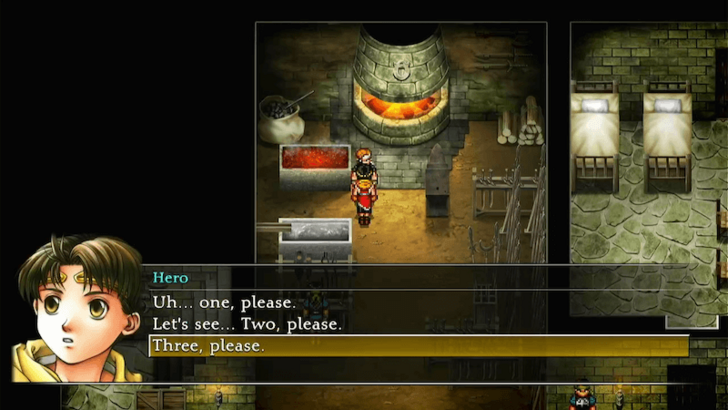 Talk to the Blacksmith and ask for 3 Flint Stones. |
| 5 | 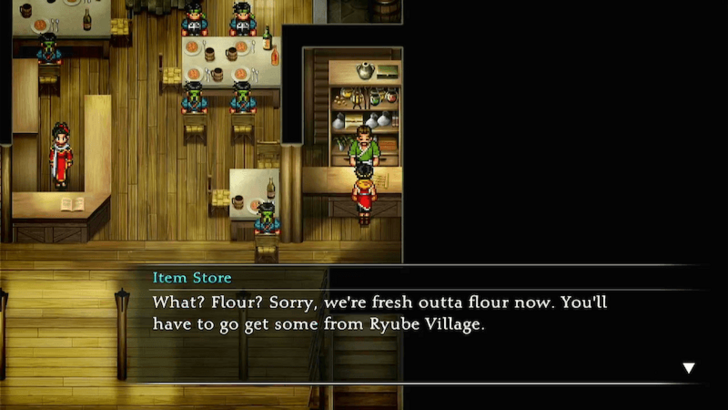 Go up to the ground floor and speak with the man at the Item Store. When you ask about flour, he will tell you that you'll need to travel to Ryube Village to get it. |
| 6 | 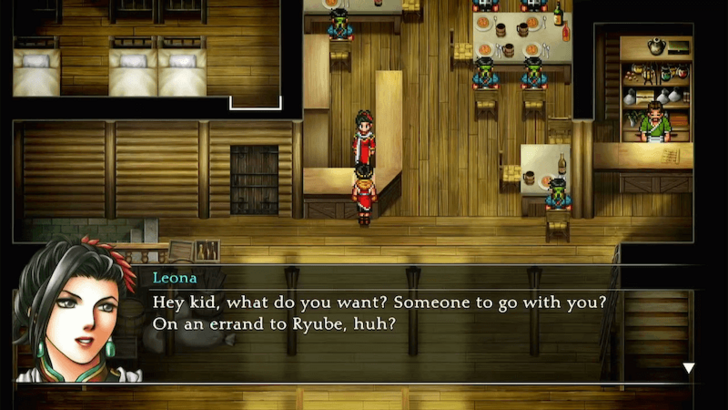 Return to Pohl and speak with him. Then, head back to the ground floor and speak with Leona. She will instruct Gengen to accompany you, and Tuta will follow along, temporarily joining your party. |
| 7 | 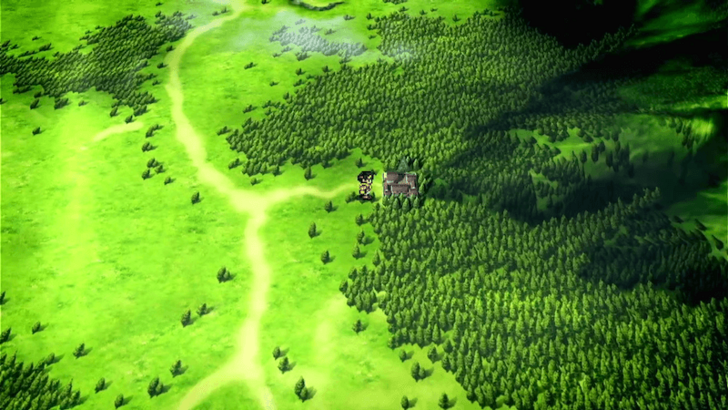 Speak to Pohl at the entrance and he will let you out. Head south and exit into the overworld. Ryube Village is located northeast of the Mercenary Fortress. |
| 8 | 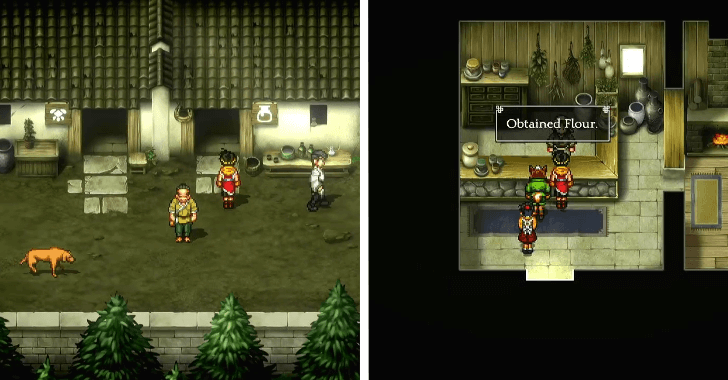 At Ryube Village, enter the Item Store located south of the main entrance and you will obtain the flour after some dialogue. Leave Ryube Village and return to the Mercenary Fortress. ▶︎ Ryube Village Map Guide |
| 9 | 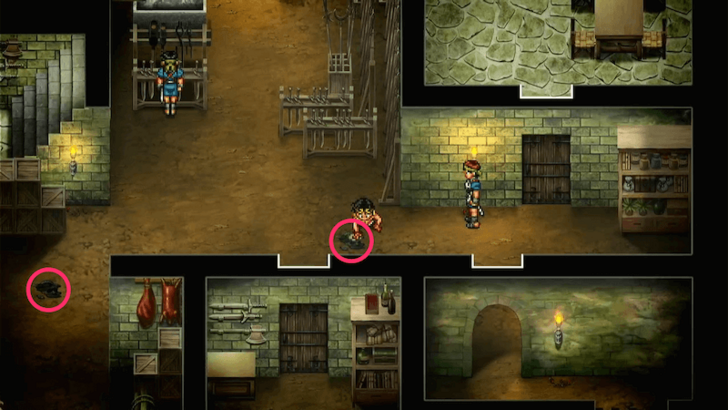 With all the items gathered, return to Pohl, who will then assign you a new task of cleaning up oil stains around the fortress using a rag. The first two oil stains are on the same floor, just left of Pohl, with another near Barbara. |
| 10 | 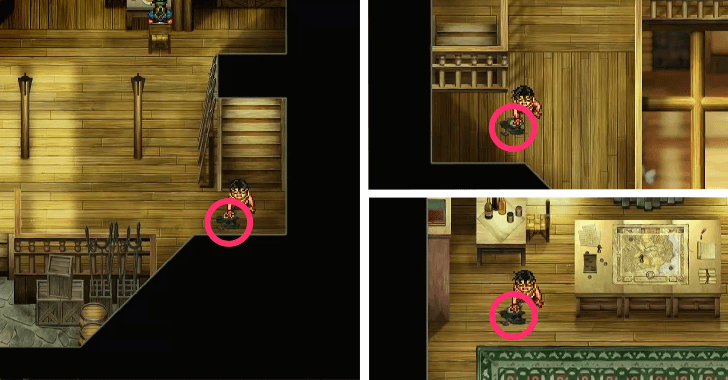 Head to the ground floor and clean the oil stain near the right staircase. Then, go up to the second floor and wipe the stain near the balcony exit on the left. The last oil stain is inside the War Room, near the desk. Once you've finished cleaning, return to Pohl. |
| 11 | 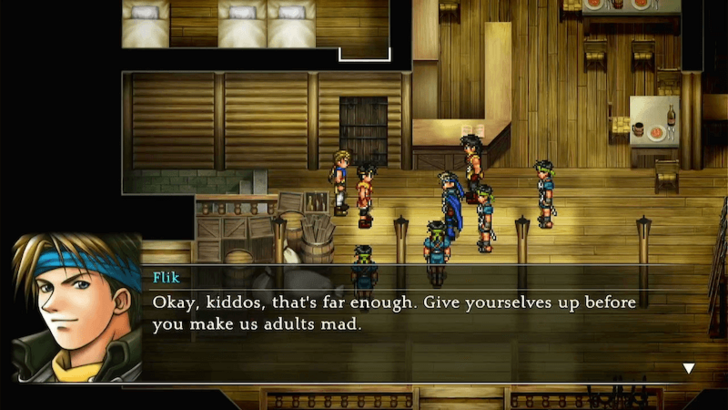 Later in the night Jowy will break in and try to rescue you. This attempt will fail however, leaving both you and Jowy back in your cell. |
| 12 | 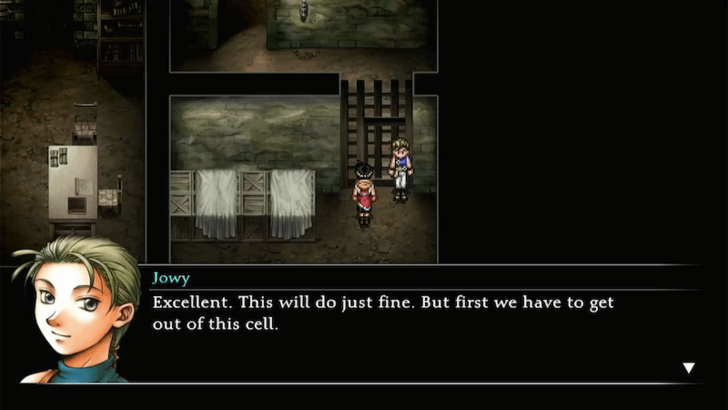 You and Jowy will attempt to escape again. Having one flint, one rope, and one oily rag is required to make the escape successful. |
| 13 | 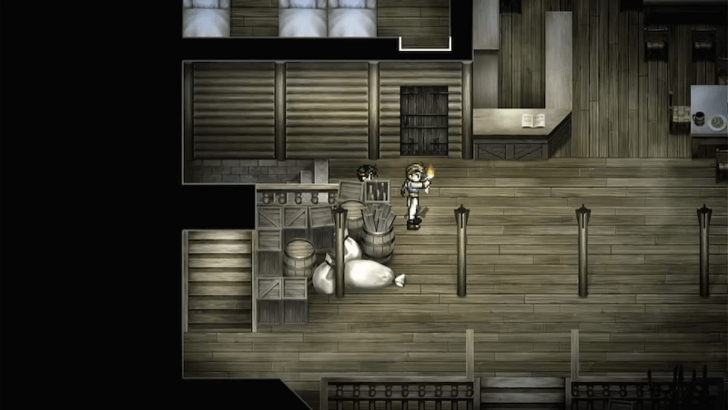 Once Jowy unlocks the door, make your way up to the ground floor. Jowy will light a fire to distract the guards. |
| 14 | 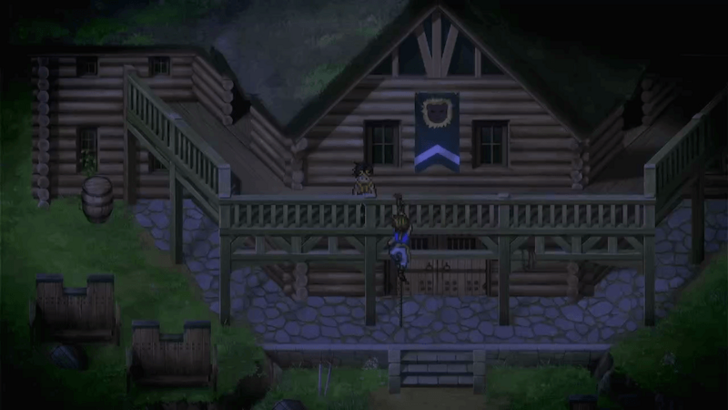 Use the left staircase to reach the second floor and head onto the balcony, where Jowy will tie a rope to the post, allowing both of you to escape. Exit the Mercenary Fortress and make your way back to Ryube Village. |
| 15 | 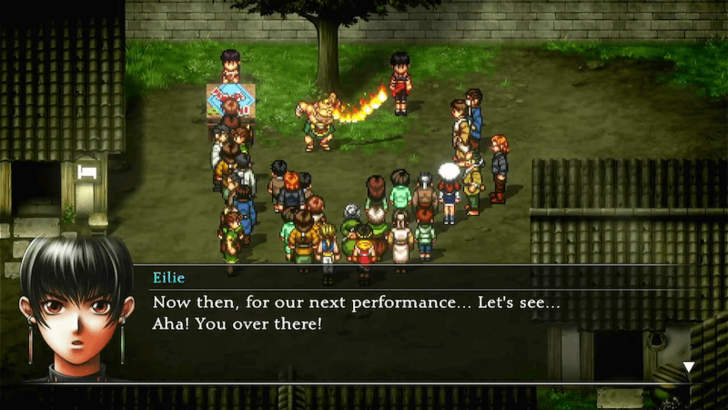 In the village center, you’ll come across buskers performing. They will invite you to participate as a target for their show. You can choose whether to move or stay still, but either way, Rina, Eilie, and Bolgan will temporarily join your party afterward. |
| 1 | 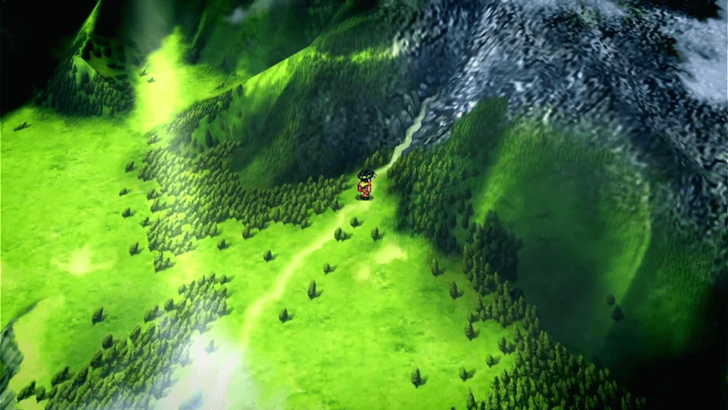 Leave Ryube Village and head far north to reach North Sparrow Pass. |
|---|---|
| 2 | 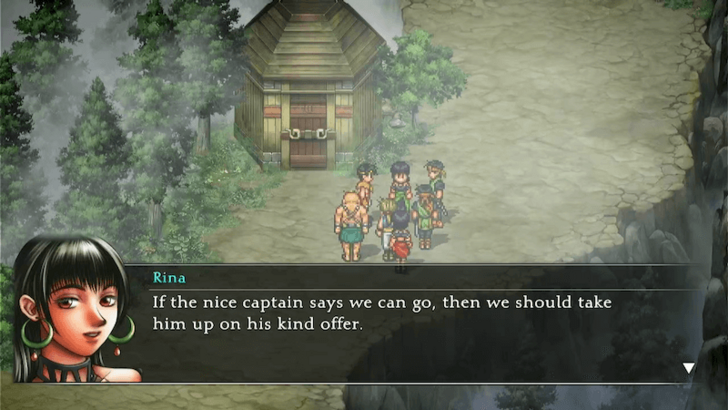 Upon entering, guards will block your way. But with Rina, Bolgan, and Eilie in your party, you will be allowed to pass through. ▶︎ North Sparrow Pass Map Guide |
| 3 | 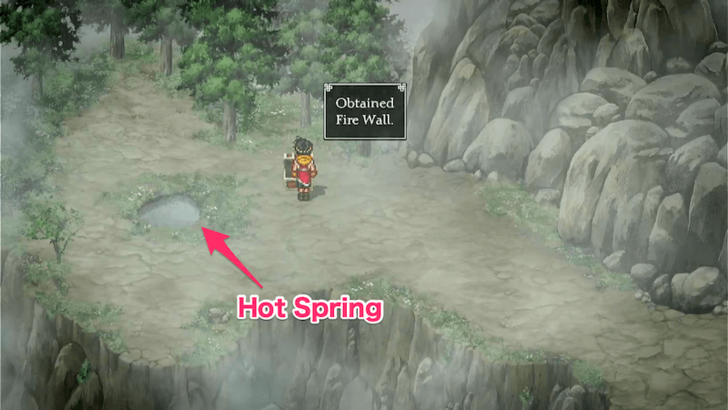 Head north until the road forks. Taking the left path will lead you to a hot spring where you can replenish health, and a chest containing a Fire Wall. Be ready to face enemies along the way, but this area is a great place to farm XP from battles! ▶︎ EXP Farming Guide: How to Level Up Fast |
| * | 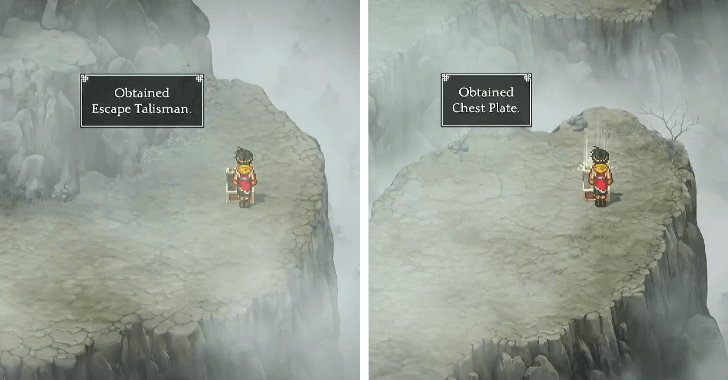 As you move forward, you’ll encounter a fork in the road. Take the right path to find an Escape Talisman in a chest. Further ahead, at the next split, turn right again to obtain a Chest Plate from another chest. |
| 4 | 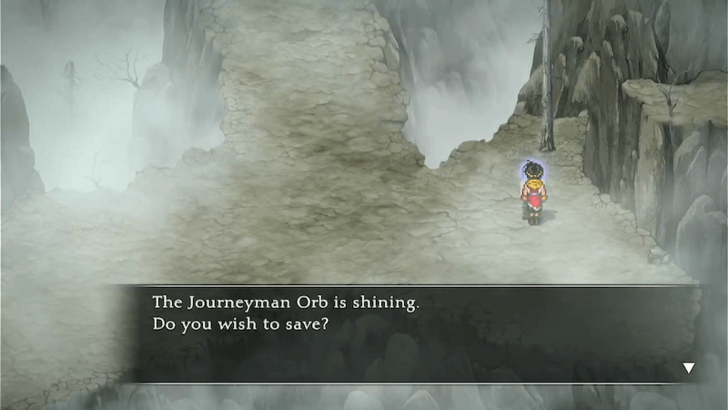 Keep going until you reach the Journeyman Orb. Take this opportunity to save and prepare for the upcoming boss battle. ▶︎ How to Save Progress |
| 5 | 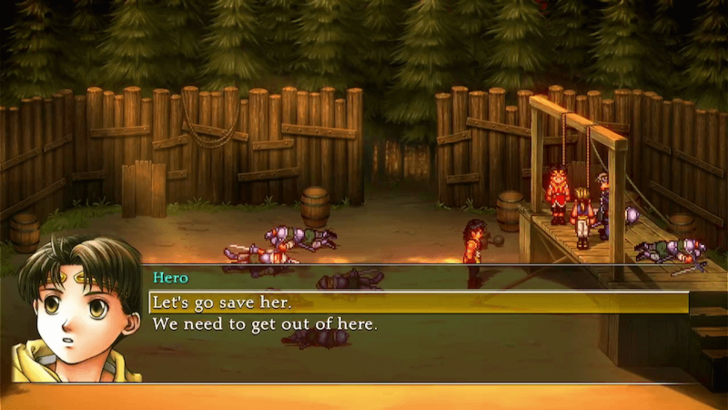 Proceeding past the Journeyman Orb will trigger the boss fight with the Mist Shade. It is weak to fire, so use fire attacks like the Fire Wall you recently acquired to take down the boss! ▶︎ Mist Shade Boss Guide |
| 6 | 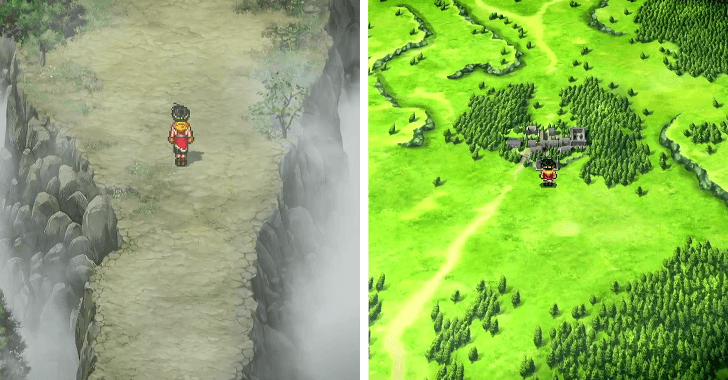 After defeating the Mist Shade, continue north until you exit North Sparrow Pass and enter the overworld. From there, head north to reach Kyaro Town. |
| 1 | 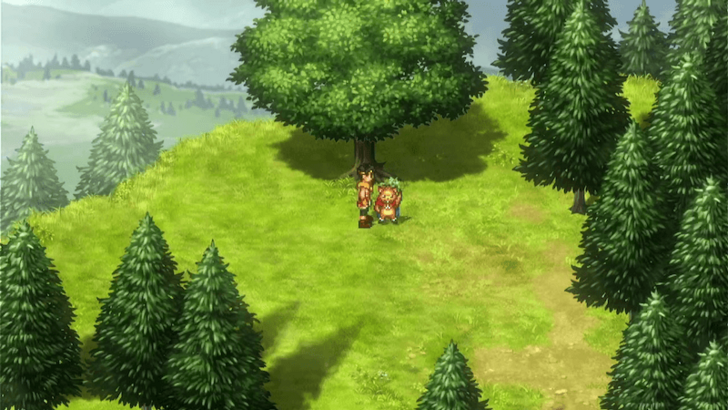 Once you're in Kyaro Town, take the left path and head north. Interact with the large tree three times to recruit Mukumuku. |
|---|---|
| 2 | 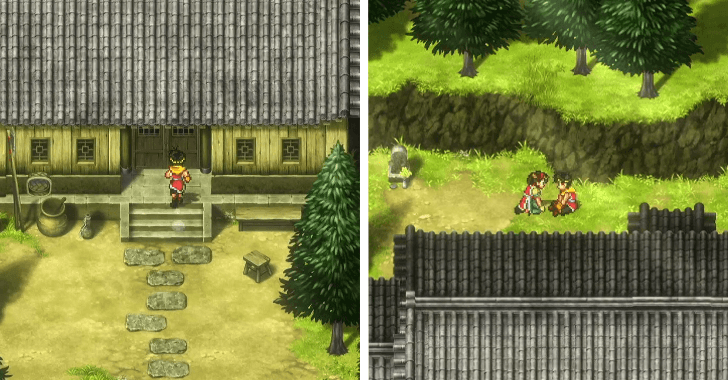 Just south of the tree, enter the large house and exit through the back door to find Nanami, the player’s sister. She will temporarily join your party. |
| * | 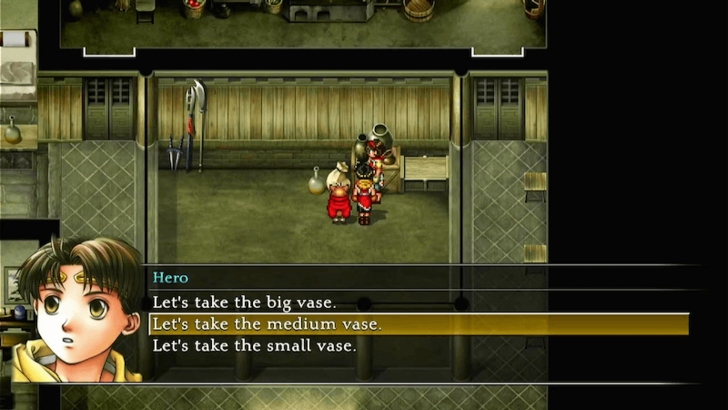 Going back inside the house, you will find a set of three vases. Take the medium sized vase as it can sell for a high price once appraised. |
| 3 | 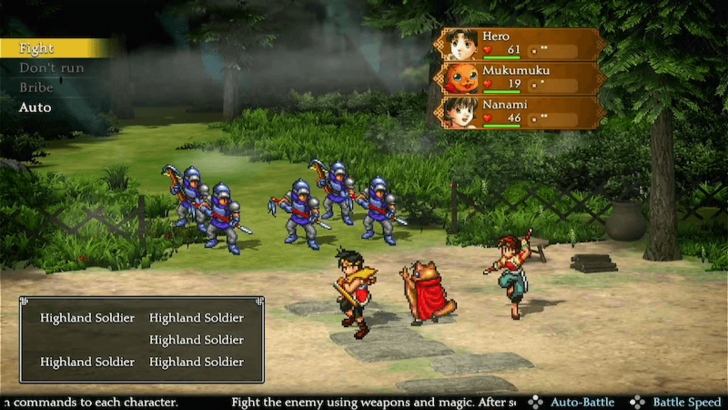 As you leave the house, guards will confront you, triggering a battle. Even if you win, you’ll be captured and imprisoned, facing execution. |
| 5 | 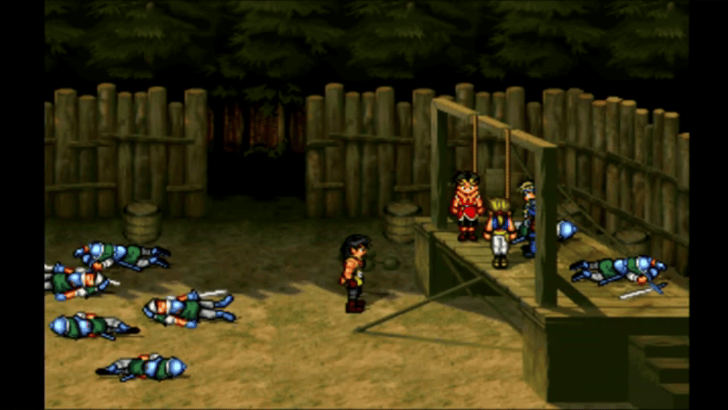 After a lengthy cutscene, Flik and Viktor will rescue you and join your party. You’ll then have choice between rescuing Nanami or leaving her behind. Your choice will impact the game's ending, so we recommend choosing to save Nanami to get the true ending. ▶︎ Endings Guide |
| 6 | 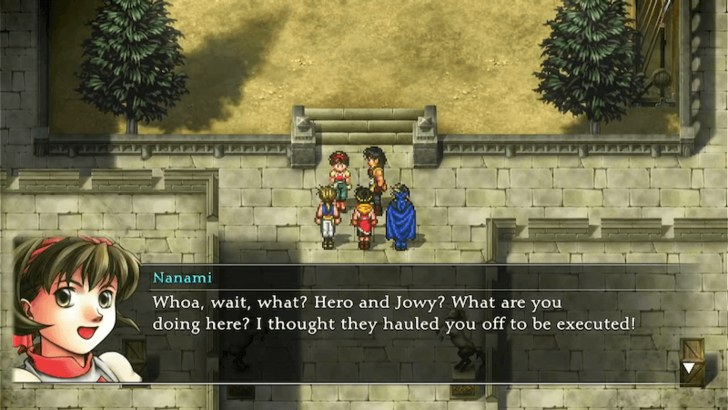 If you rescue Nanami, you’ll enter a Highland Army outpost, where she manages to escape on her own. If you leave her behind, she will rejoin you later in the game. |
| 7 | 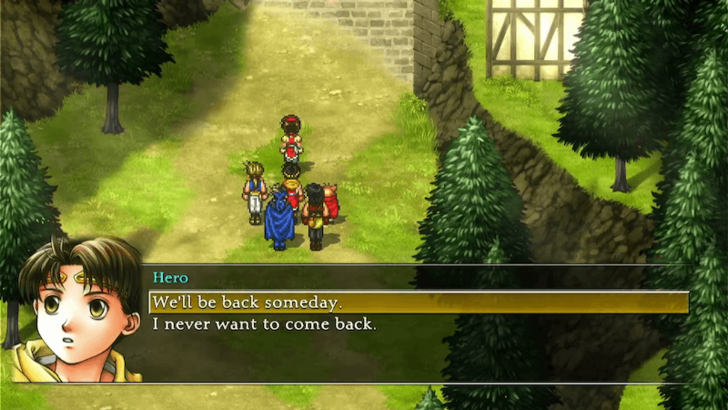 Regardless of your choice, head southwest to escape Kyaro Town and return to the Mercenary Fortress through North Sparrow Pass. |
| 8 | 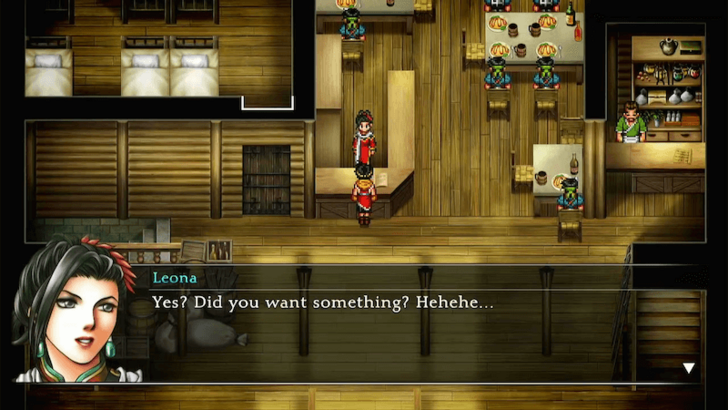 Back at the Mercenary Fortress, you will now have access to its facilities. Speak to Leona to rearrange your party, and you will find that Gengen has been automatically recruited. ▶︎ Ryube Village to Toto Village |
| 1 | 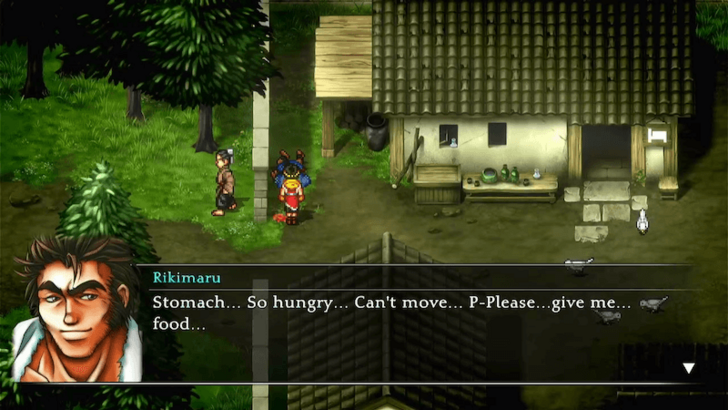 From Mercenary Fortress, head north to Ryube Village. Upon arrival, you'll find Rikimaru collapsed on the ground. Help him up and recruit him by paying 3,000 Potch for his meal. ▶︎ Ryube Village Map Guide |
|---|---|
| 2 | 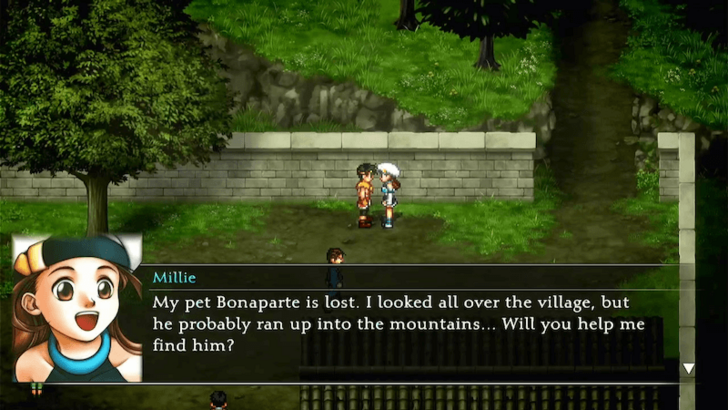 Make your way northeast of the village where you'll find Millie near the entrance of Ryube Forest. Speak with her to recruit her and accept her request to find her lost pet, Bonaparte. |
| 3 | 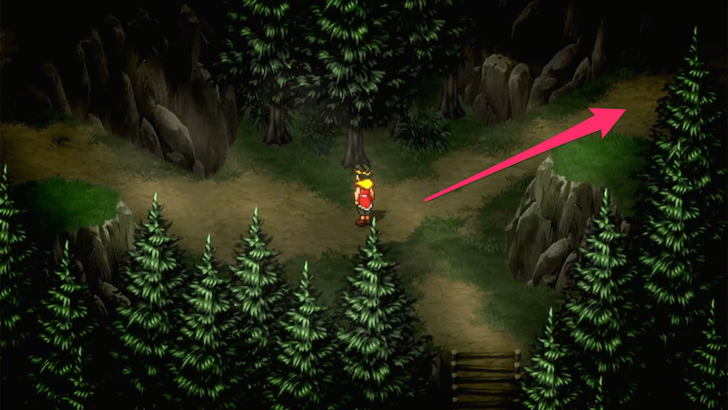 You'll then be transported to Ryube Forest to begin your search. Proceed forward, and when you reach a fork, take the right path. Be ready to face enemies along the way! |
| 4 | 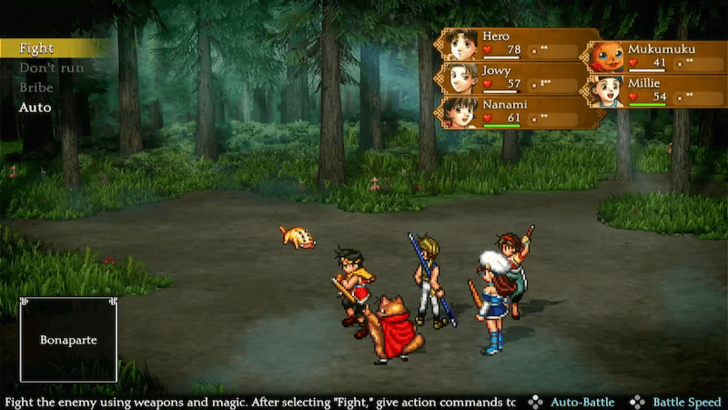 Continue heading east until you find Bonaparte. Approaching it will trigger a boss fight. Bonaparte is weak to fire, so use fire-based attacks and spells to take it down. ▶︎ Bonaparte Boss Guide |
| 5 | 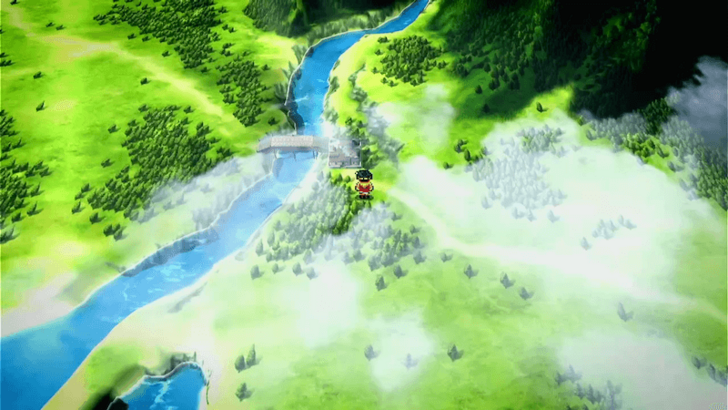 After defeating Bonaparte, exit the forest and leave Ryube Village. From there, head northeast along the river to Toto Village. |
| 1 | 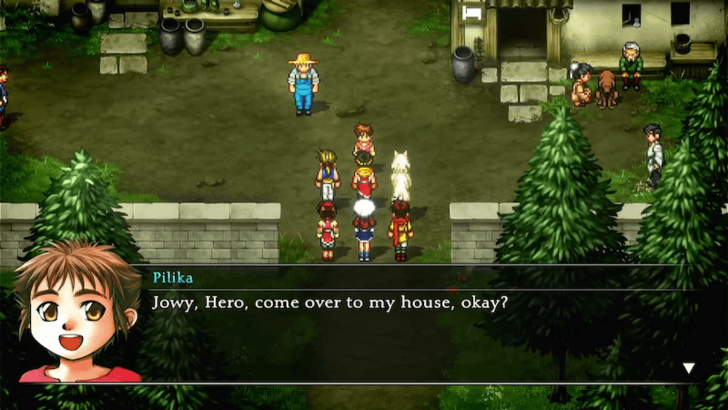 Upon arriving in Toto Village, a cutscene will trigger where you meet Pilika. Follow her north to her house. ▶︎ Toto Village Guide |
|---|---|
| * | 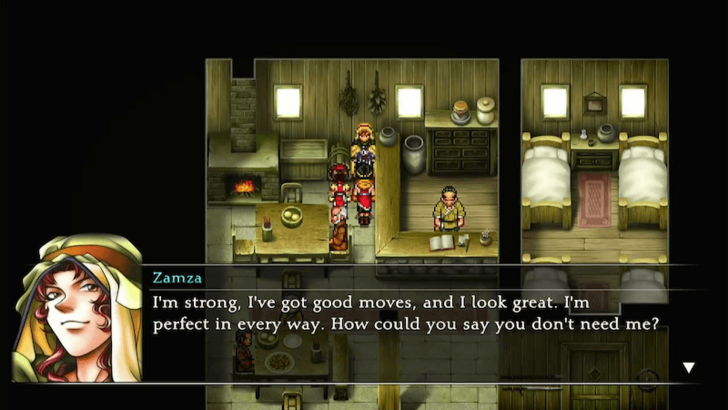 Head to the Inn on the right and speak with Zamza to recruit him. Note that Nanami must be in your party for him to join. ▶︎ What Can You Do at the Inn? |
| 2 | 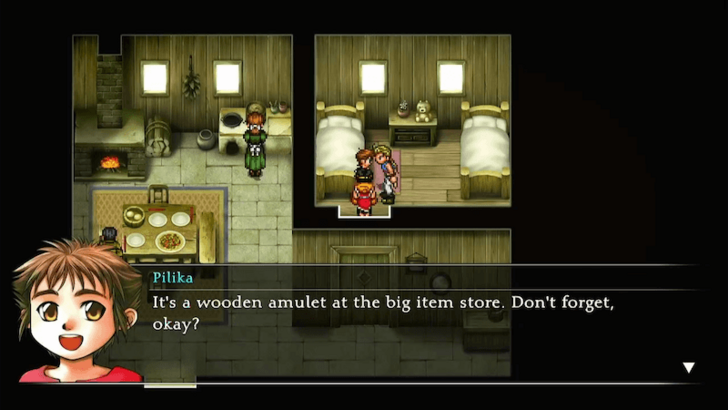 Inside Pilika's house, another cutscene will play, after which she asks you to buy a Wooden Amulet as a present for her father in Muse City. |
| 3 | 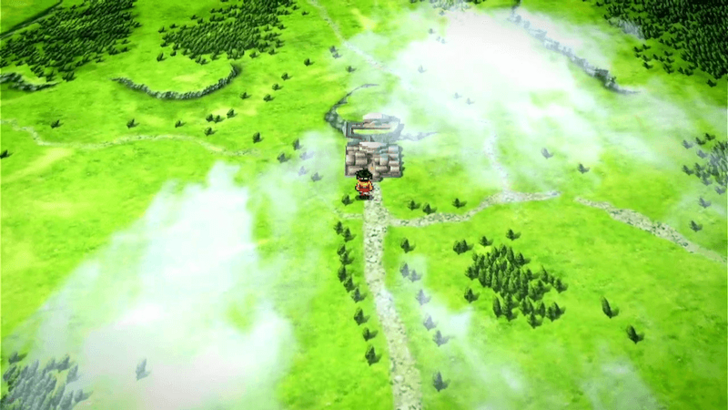 Exit through the left side of Pilika's house and travel northwest to Muse City. |
| 4 | 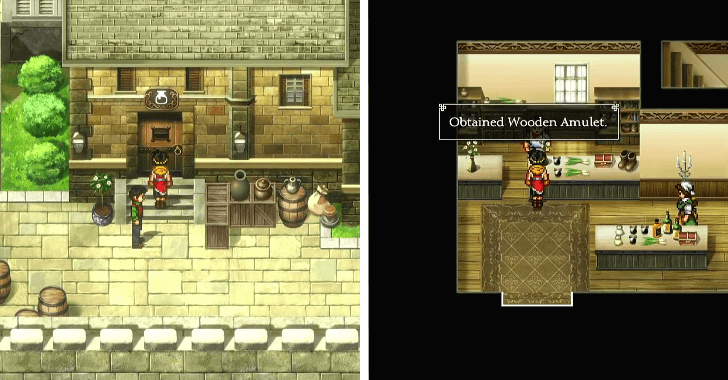 Head to the Item Store in the southwestern part of the city and ask for the Wooden Amulet. The shopkeeper will charge 500 Potch. If you refuse or don’t have enough money, Jowy will sell his ring for 1,500 Potch and purchase the amulet instead. Selling the ring has no consequence down the line, and it's also recommended to do so since it earns you a net profit of 1,000 Potch. |
| 5 | 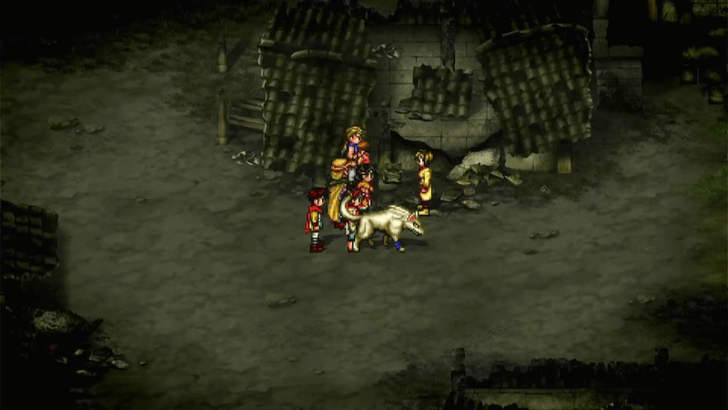 With the Wooden Amulet in hand, return to Toto Village, where you will find that the town has been burned down. A cutscene will play, after which Pilika and Apple will join your party. |
| * | 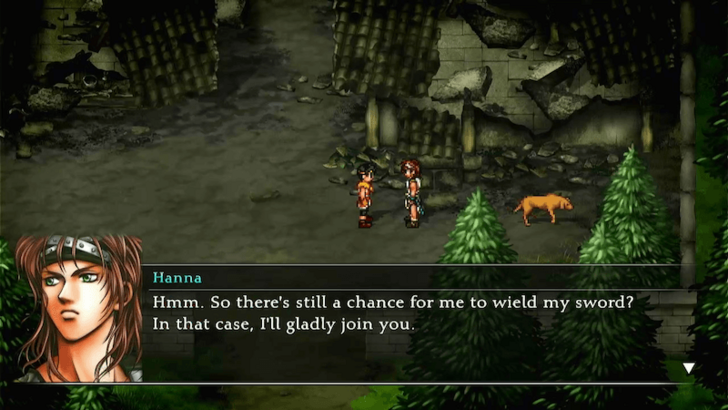 Before heading back to the Mercenary Fortress, re-enter Toto Village and speak to Hanna to recruit her. |
| 6 | 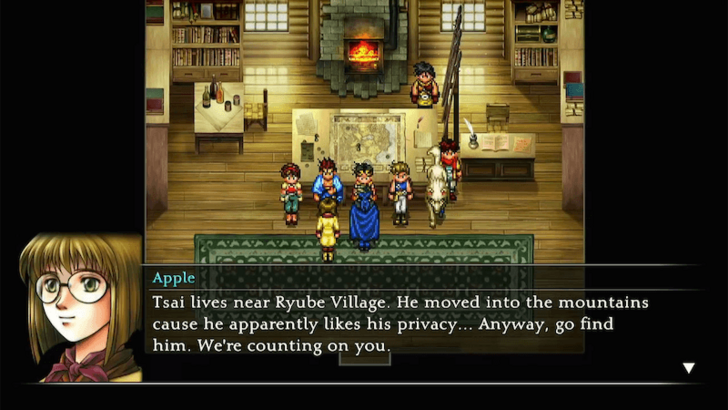 Return to the Mercenary Fortress and a cutscene will trigger. After speaking with Jowy, head to the War Room on the second floor. You'll then be tasked with finding Tsai in Ryube Forest. ▶︎ Mercenary Fortress Guide |
| 7 | 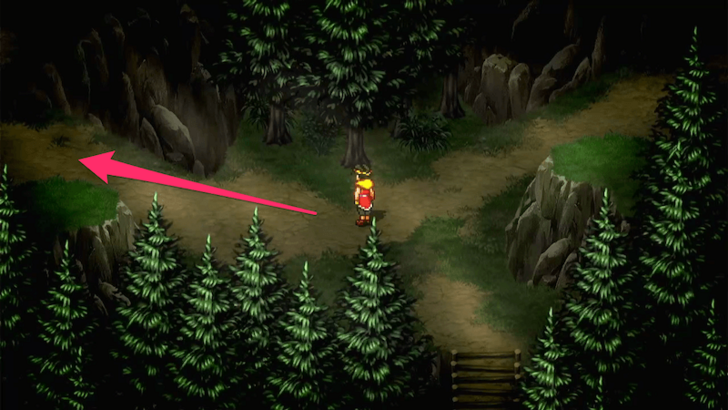 Travel back to Ryube Village and enter Ryube Forest to the northeast. Follow the path, and when you reach the familiar fork where you previously found Bonaparte, take the left path this time. |
| 8 | 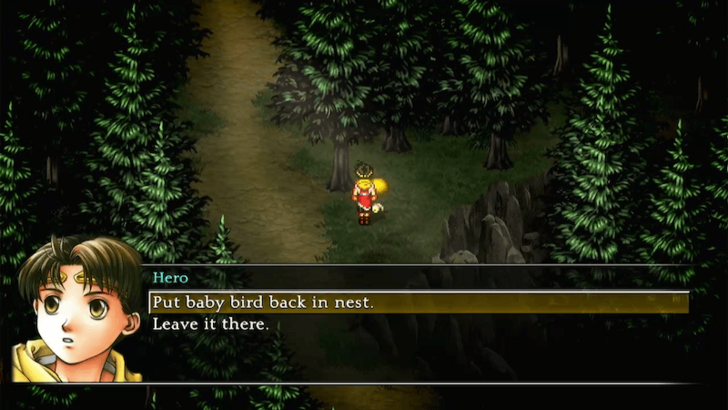 Along the way, you’ll come across a fallen baby bird. Interact with the nest on the ground and help it back up. |
| 9 | 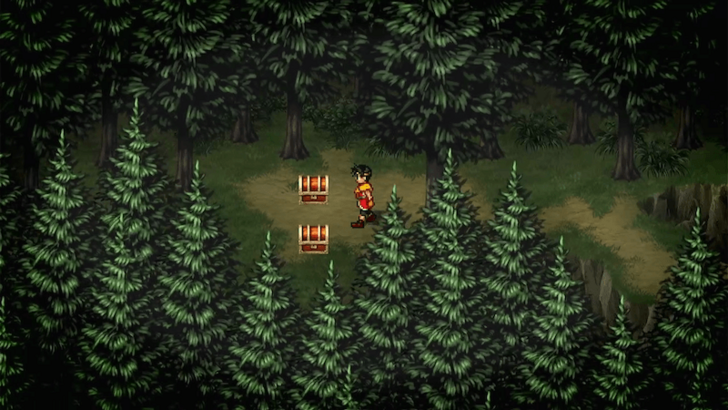 Continue forward until you reach another fork in the road. Take the left path first to open two treasure chests containing a Leather Cape and Gauntlets. |
| 10 | 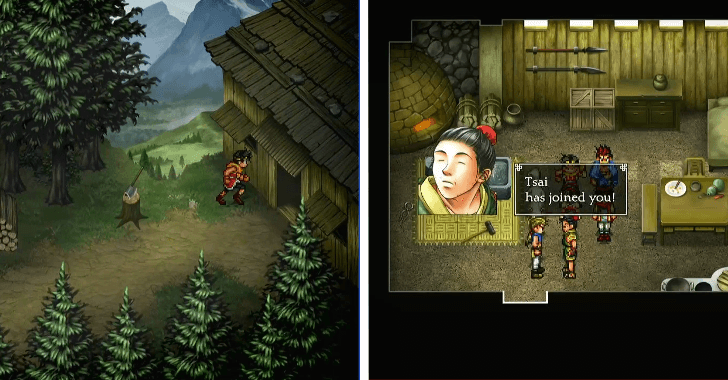 Return to the fork and take the right path. Follow it to the end, where you’ll find Tsai’s house. Enter the house to trigger a cutscene, after which Tsai will join your party. |
| 11 | 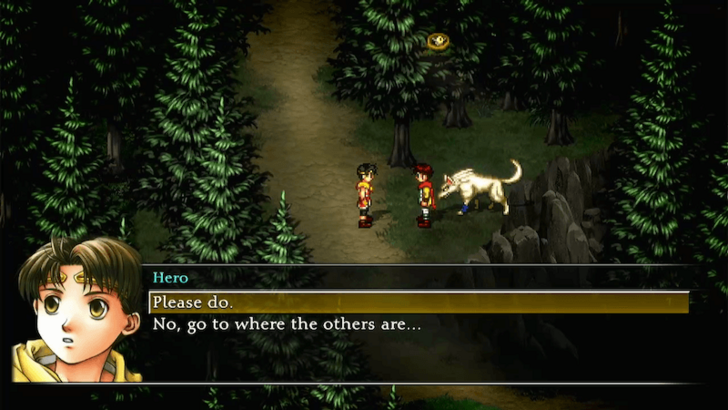 On your way back through the forest, near the baby bird’s nest, you’ll encounter Kinnison and his wolf companion, Shiro. Talk to them to recruit them into your party. |
| 12 |  As you exit the forest, a cutscene will play, showing Luca and the Highland Army burning down Ryube Village. |
| 13 | 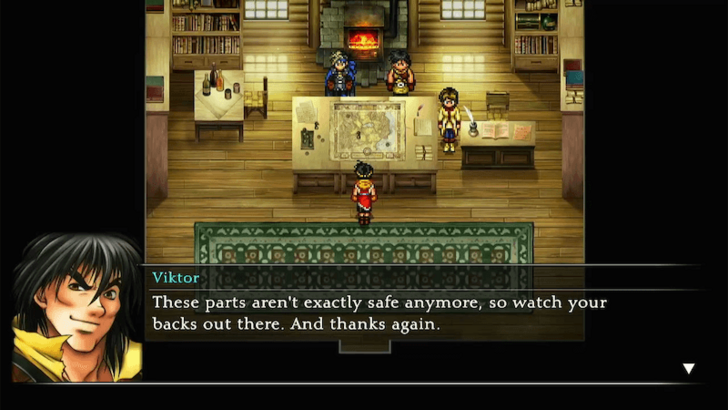 Return to the Mercenary Fortress and report to the War Room, where Flik and Viktor are preparing for an upcoming Army Battle. |
| * | 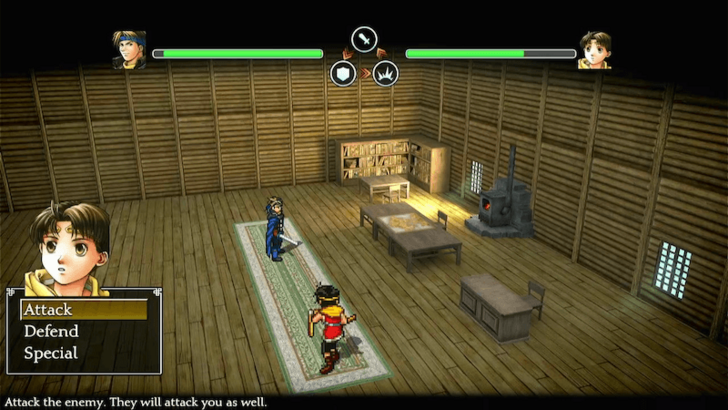 You can speak to Flik to practice dueling. Duels are one-on-one battles that follow a rock-paper-scissors mechanic, where you must predict and counter your opponent’s actions based on their dialogue cues. ▶︎ Flik Duel Guide |
| 14 | 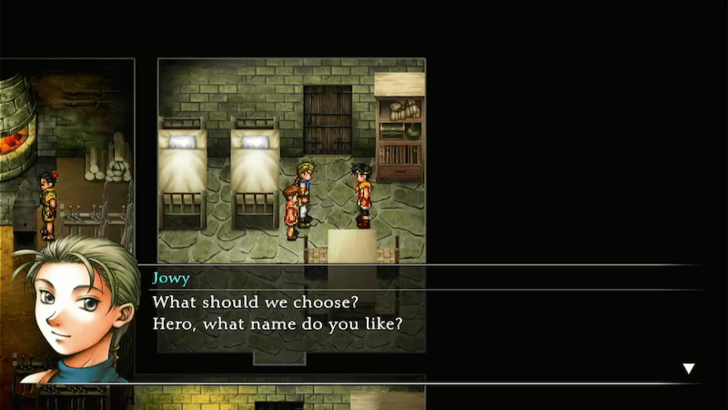 After leaving the War Room, another cutscene with Jowy will play. You’ll have the opportunity to name your army unit, so choose accordingly. |
| 15 | 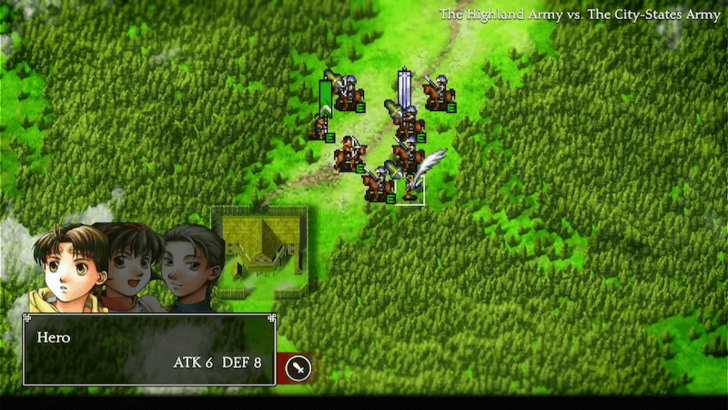 Head outside and speak with Viktor to confirm that you're ready for your first Army Battle. In Army Battles, you’ll choose from three commands to direct your units: Attack, Runes, or Wait. For this encounter, select Runes, then use Fire Spears to target enemy units and secure an easy victory. ▶︎ Army Battle Guide |
| 16 |  Following your initial victory, another Army Battle will initiate. Do as you please, as this battle is unwinnable and scripted for you to lose. |
| 17 | 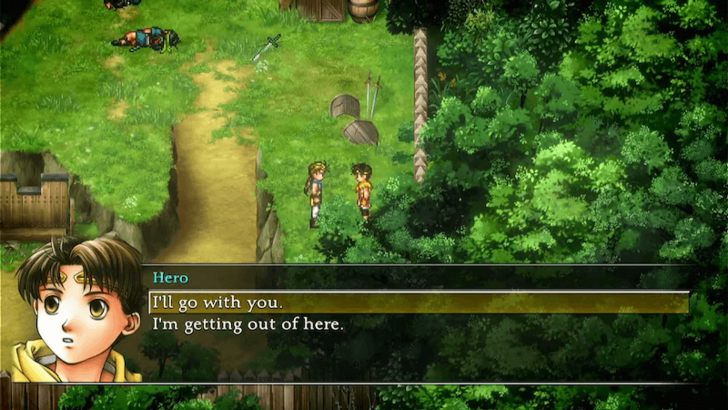 Afterward, the Highland Army will take over the Mercenary Fortress. Jowy will ask you to help him rescue Pilika inside. It's recommended that you join him, as refusing will make the battles much more challenging since you'll be alone. |
| 18 | 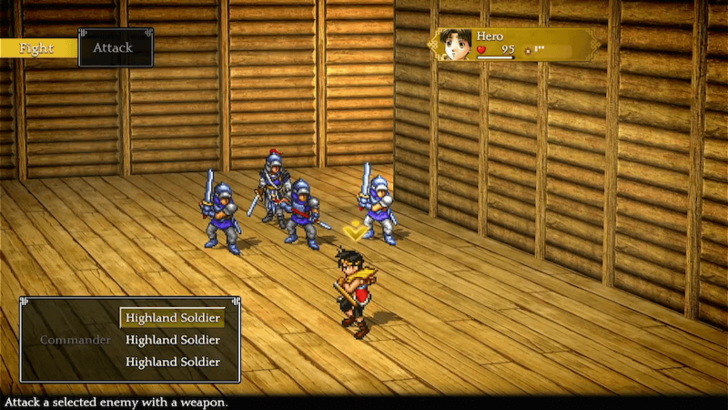 Head back inside the fortress and make your way to the War Room. Be prepared to fight Highland Soldiers along the way! |
| 19 | 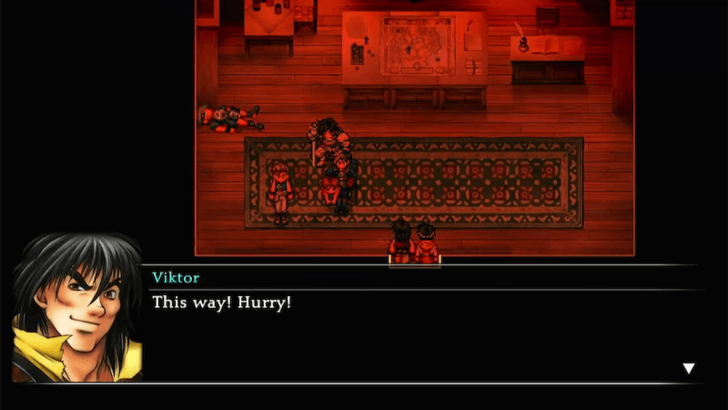 Upon entering the War Room, a cutscene will play, showing Luca preparing to execute Pilika. Viktor then intervenes at the last moment, leading to your escape. |
| 20 | 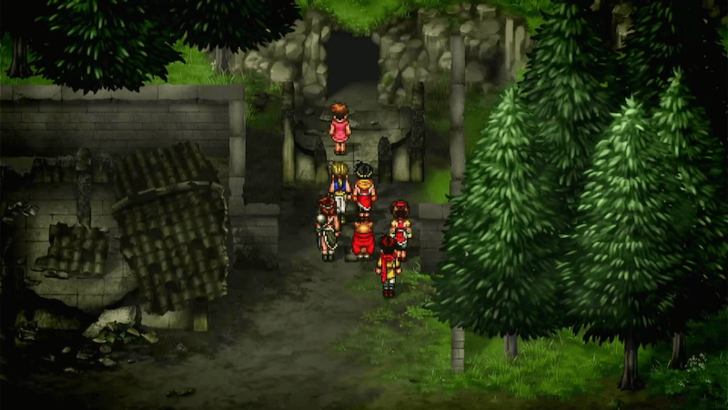 Make your way back to Toto Village and follow Pilika into the cave beside her old house. |
| 21 | 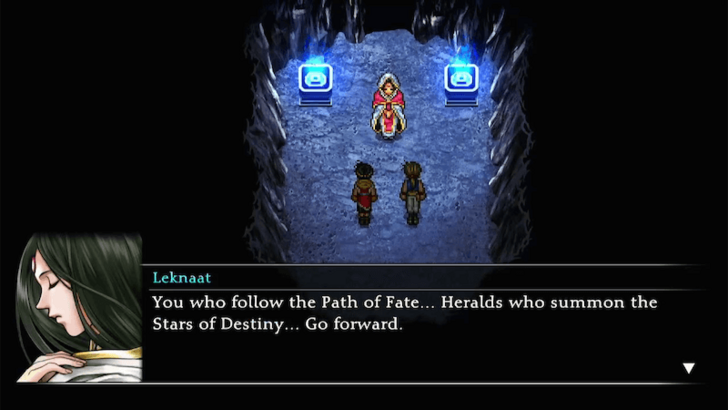 Continue through the cave until you reach the shrine, where Pilika awaits. A cutscene will trigger, transporting you and Jowy to a mysterious place where you meet Leknaat. |
| 22 | 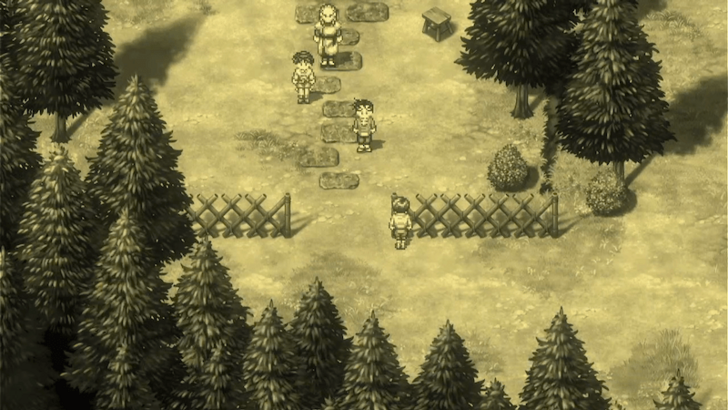 Just follow along as the cutscene unfolds, as you and Jowy reminisce on your friendship. |
| 23 | 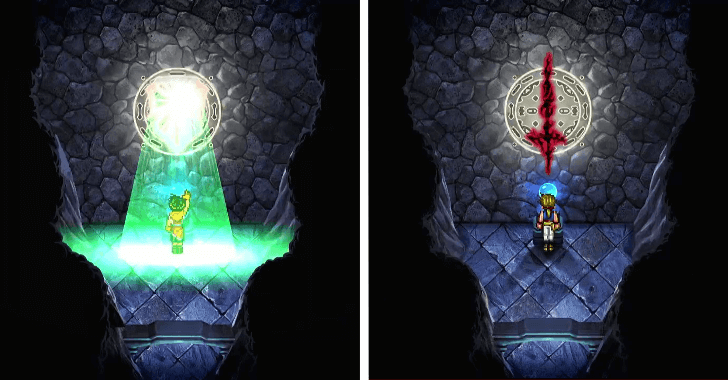 After the lengthy cutscene, tell Leknaat that you need power. Then, take the path to the left and interact with the orb to receive the Bright Shield Rune. Meanwhile, Jowy will take the opposite path and obtain the Black Sword Rune. ▶︎ List of All Runes and Effects |
| 24 | 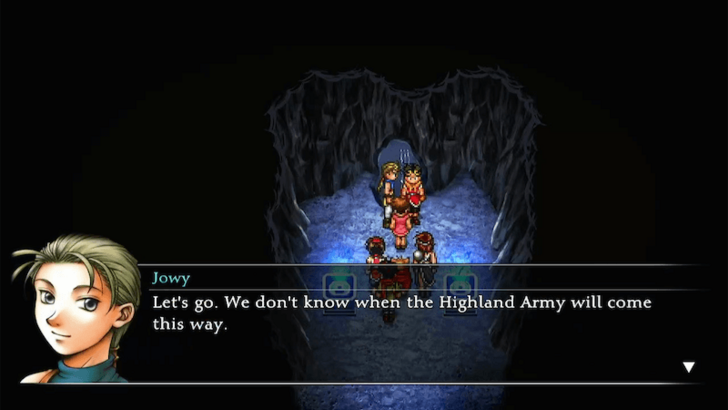 Return to Leknaat and you will be transported back to the shrine, now wielding your newfound power. ▶︎ Muse City to Kuskus Town |
| 1 | 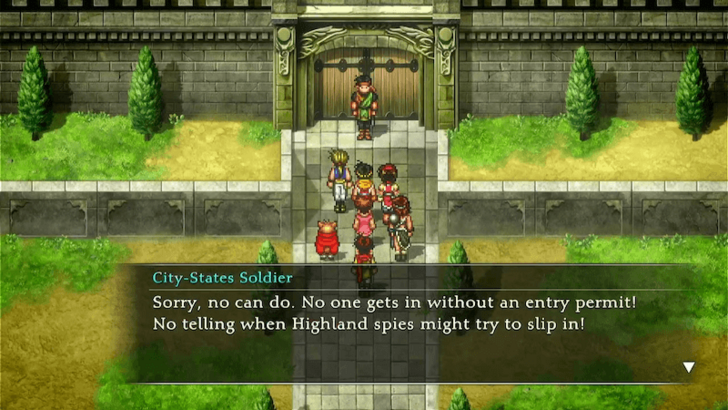 After leaving Toto Village, travel northwest toward Muse City. When you arrive, the guard at the entrance will inform you that you need an Entry Permit to enter. |
|---|---|
| 2 | 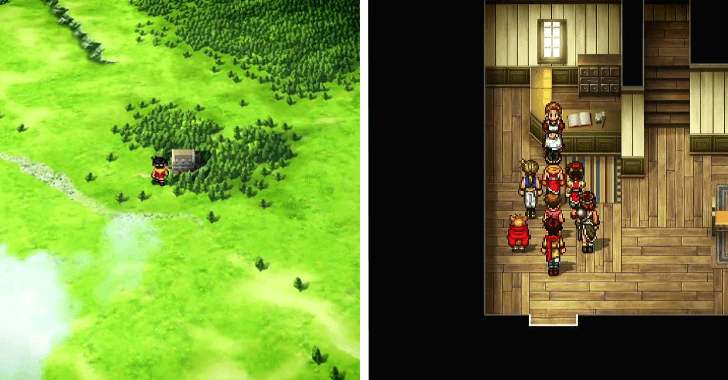 Head east to the White Deer Inn. Step inside the Inn and speak with Hilda to sleep for the night. |
| 3 | 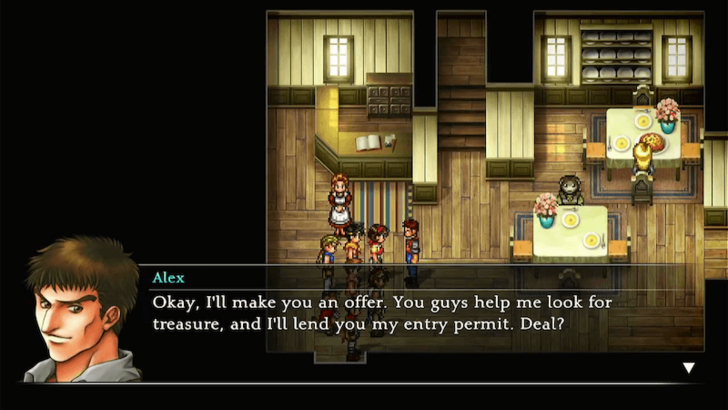 As you leave the Inn, you'll overhear Hilda's husband, Alex, mention that he has an Entry Permit. He offers to trade the pass in exchange for your help in finding treasure within the Sindar Ruins. |
| 4 | 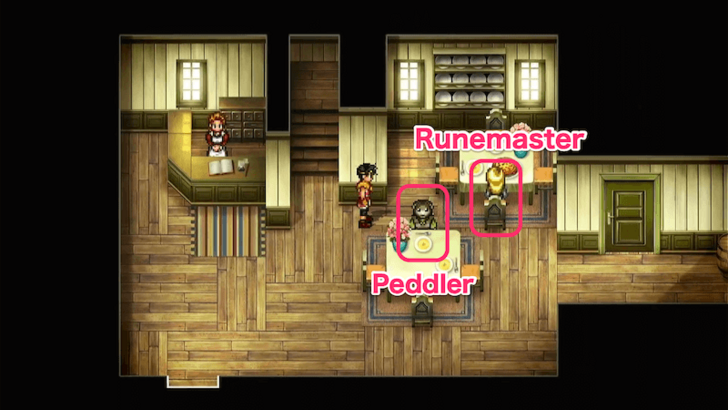 Before heading to the Sindar Ruins, make sure you're well-prepared, as the ruins are filled with enemies and culminate in a boss battle. There is a Peddler and a Runemaster in the Inn. |
| 5 | 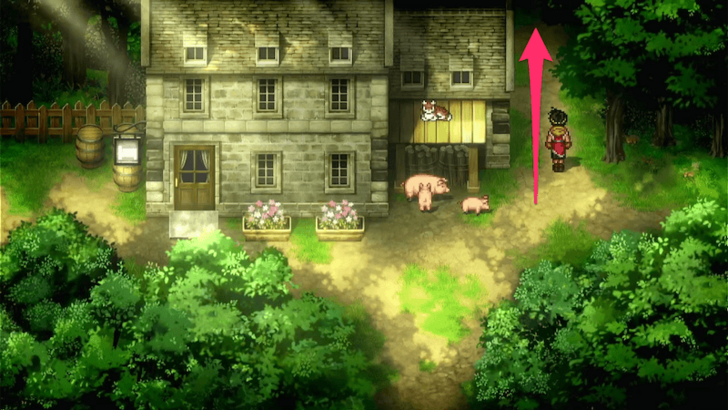 When you're ready, enter the Sindar Ruins by going to the path beside the Inn. |
| 1 | 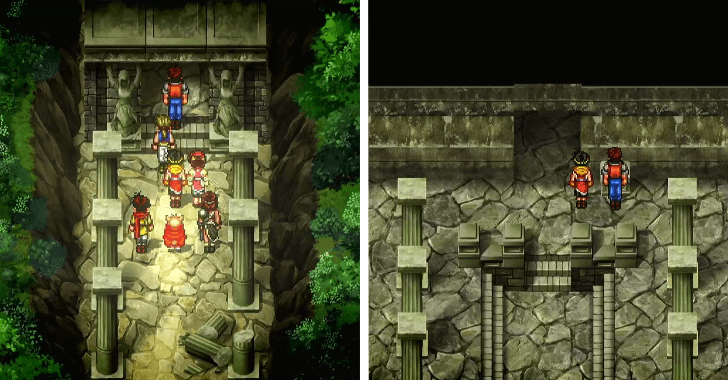 Approach the door and let Alex unlock it. Inside, interact with the panel beside the next door so he can open it again. |
|---|---|
| 2 | 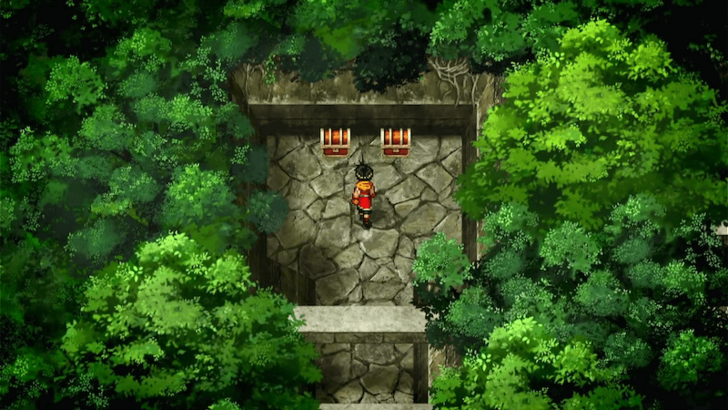 Once you're in Sindar Ruins, take the left path to find chests containing Mega Medicine and a Stone of Magic. Be ready to fight enemies along the way! ▶︎ Sindar Ruins Dungeon Guide |
| 3 | 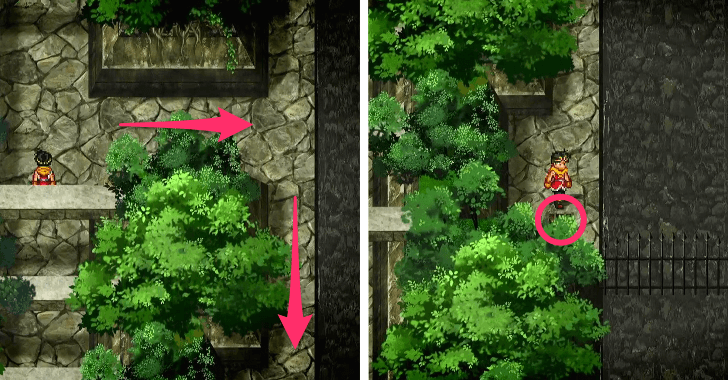 Head north, then turn right just before the bridge. Follow the path down the left side of the canal to obtain an Angry Blow Scroll from a chest. |
| 4 | 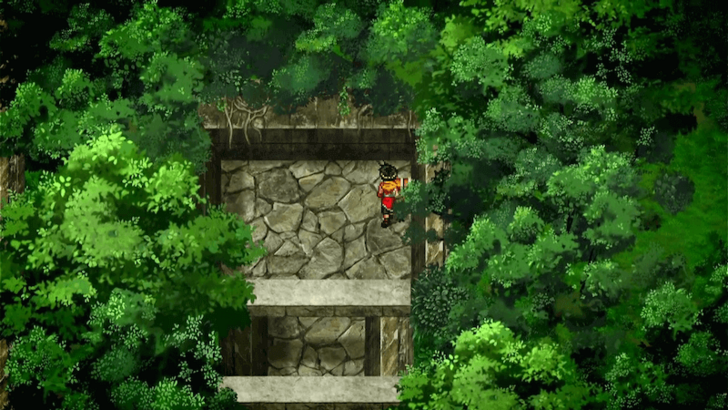 Cross the bridge and move north to obtain Gauntlets from a chest. |
| 5 | 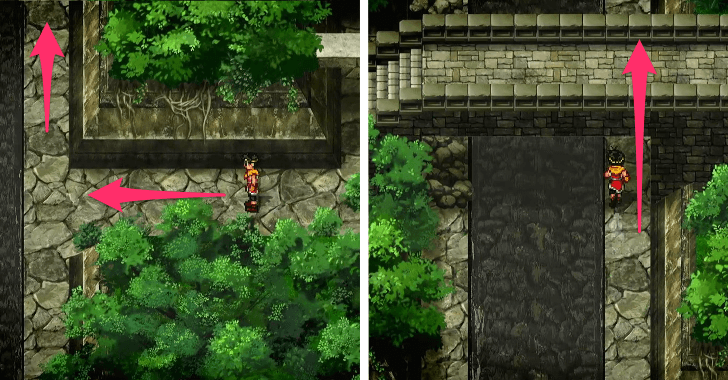 Go beneath the bridge, turn left along the right side of the canal, and proceed north into the next area. |
| 6 | 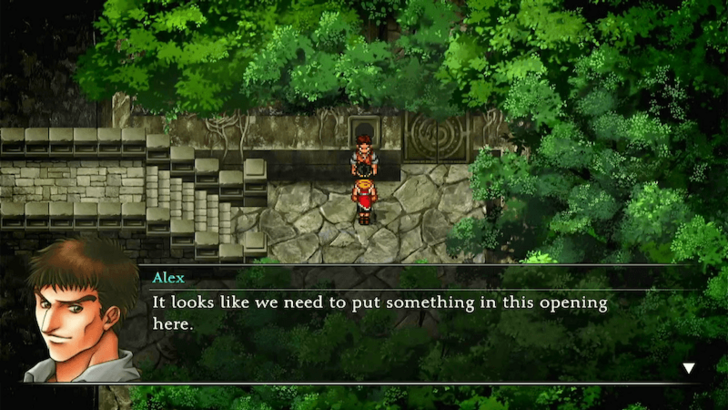 You'll find a door with a circular hole in it. Interact with it, and Alex will mention that you need to put something in the slot. |
| 7 | 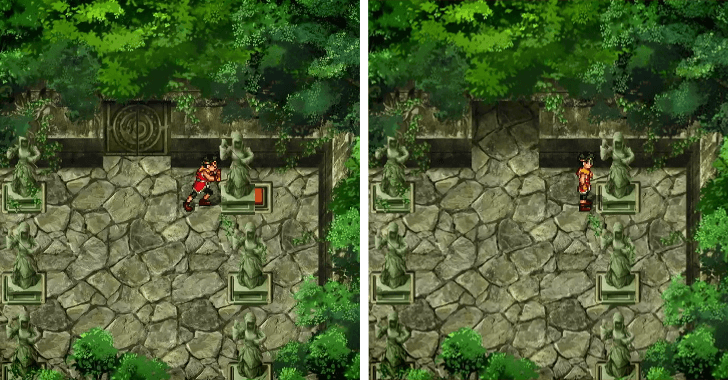 Head left to an area with statues. Push the misplaced statue to the right to unlock the door. |
| 8 | 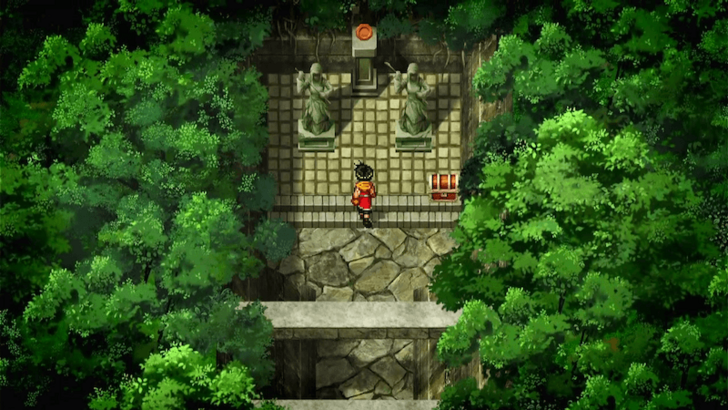 Enter the room to collect the Round Plate from the stand and Shoulder Pads from the chest. |
| 9 | 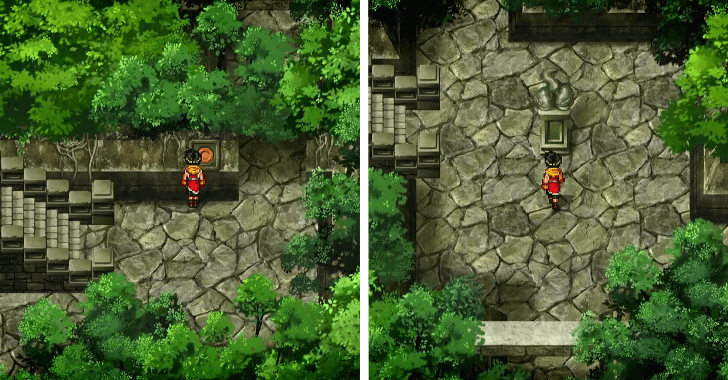 Place the Round Plate in the slot to open the door. Upon entering, you will come across a statue of a two-headed snake. |
| 10 | 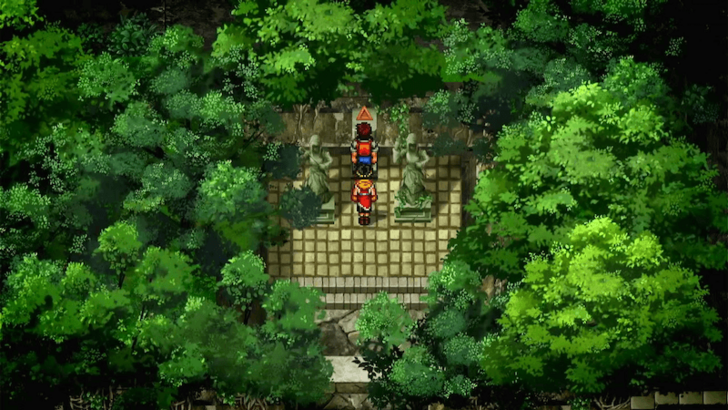 Cross the bridge to the left of the statue. At the first corner, you’ll find the Triangle Plate. Continue to the very end of the path to obtain the Fire Lizard Orb. |
| 11 | 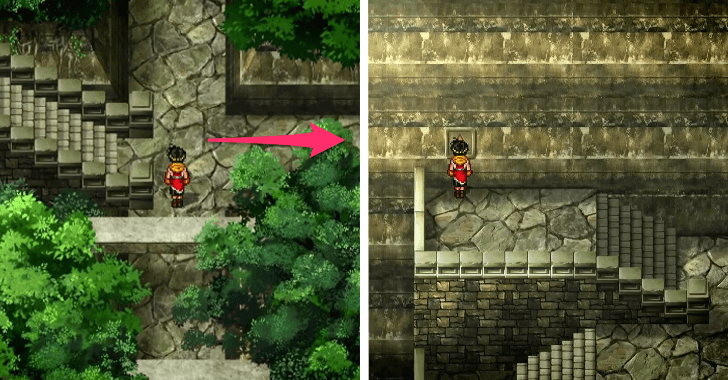 Return to the statue and go north to reach an intersection with a bridge on the left. Turn right toward the bridge, then climb the staircase and use the Triangle Plate to drain the water from the canal, allowing you to walk through it. |
| 12 | 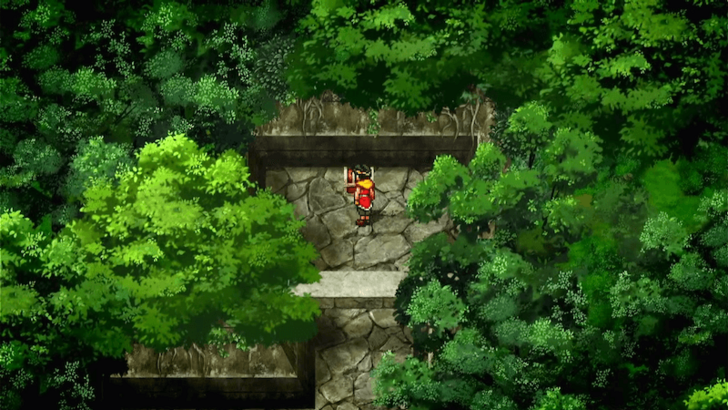 Head back to the intersection and proceed north to cross the canal, where you'll find a chest containing Chain Mail. |
| 13 | 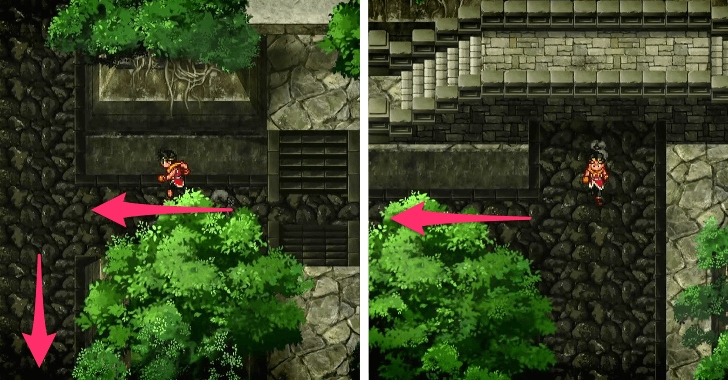 Step down into the canal, turn left, and continue south until you reach the bridge next to the door with the Round Plate from earlier. |
| 14 | 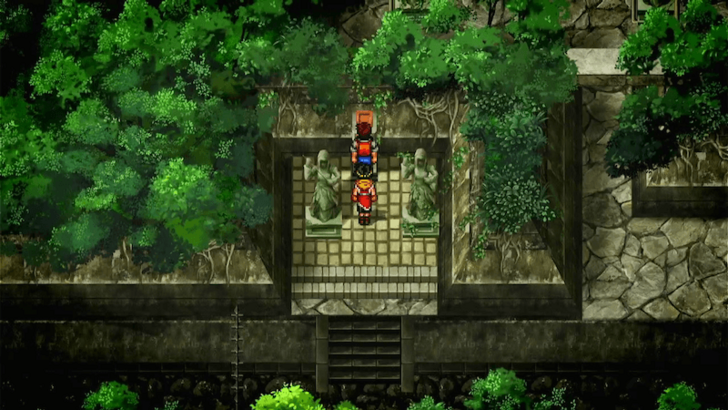 Turn left at the next corner to obtain the Square Plate. You can also head further south to open a chest containing a Water Orb. |
| 15 | 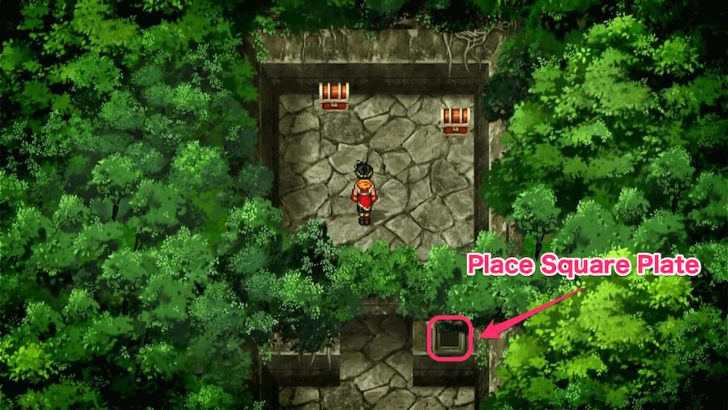 With the Square Plate in hand, return to the two-headed snake statue and take the path to its right. Use the Square Plate to unlock the door and obtain the Magic Absorb Orb and Old Book Vol. 2 from the chests inside. ▶︎ List of All Old Books and How to Use Them |
| 16 | 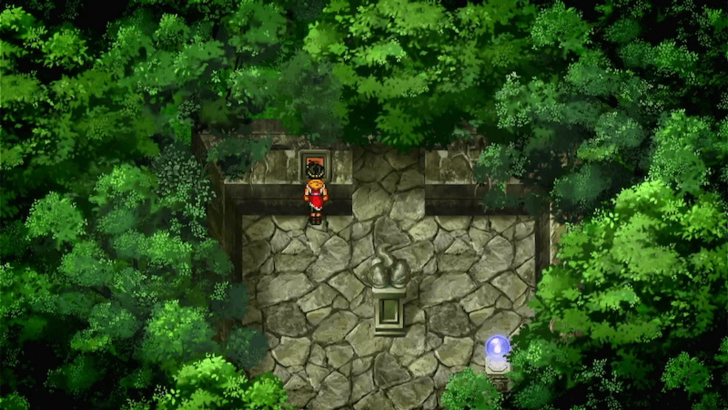 Return to intersection and cross the bridge on the left. Save your progress at the nearby Journeyman Orb. Place the Square Plate in the slot next to the door and step inside. ▶︎ How to Save Progress |
| 17 | 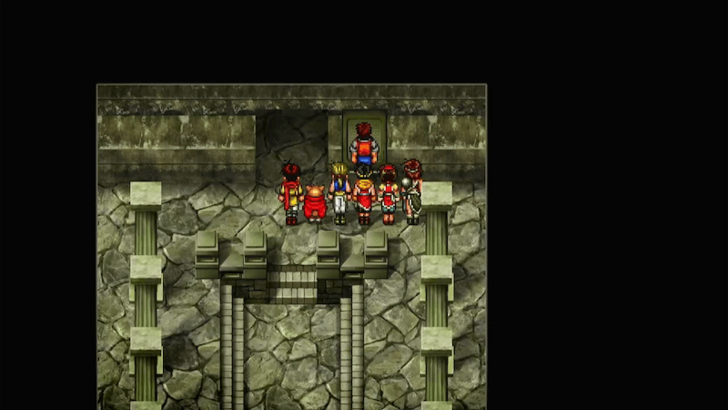 Prepare for an upcoming boss battle by making sure your party is fully healed and properly equipped. When ready, interact with the Stone Tablet next to the door to have Alex open it. |
| 18 | 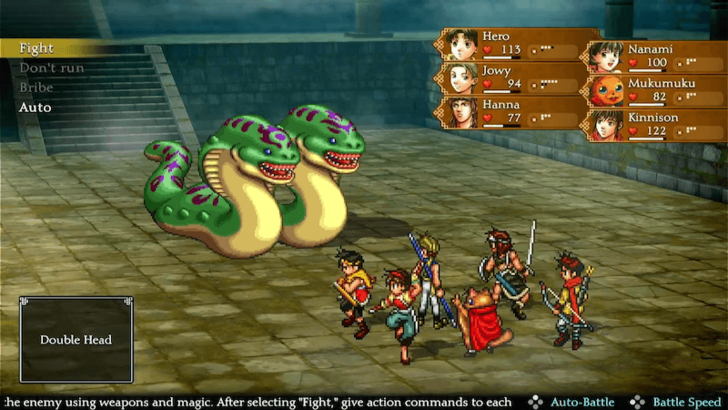 Enter the room and face Double Head. The boss is weak to fire, so use fire-based attacks and spells to take it down. ▶︎ Double Head Boss Guide |
| 19 | 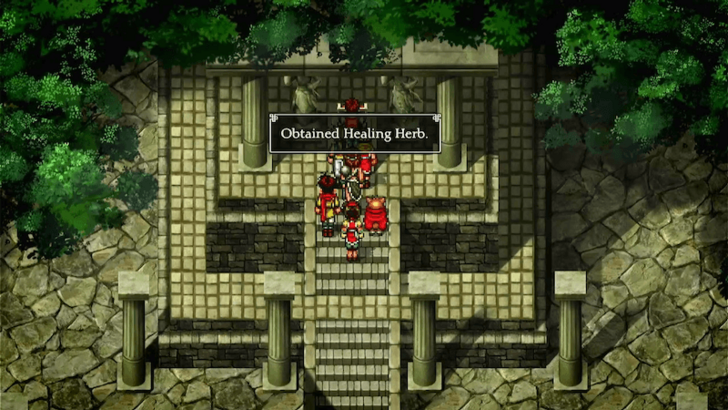 After defeating Double Head, go forward to claim the treasure of the ruins: a Healing Herb. With Alex disappointed by the find, make your way back to the White Deer Inn. |
| 20 | 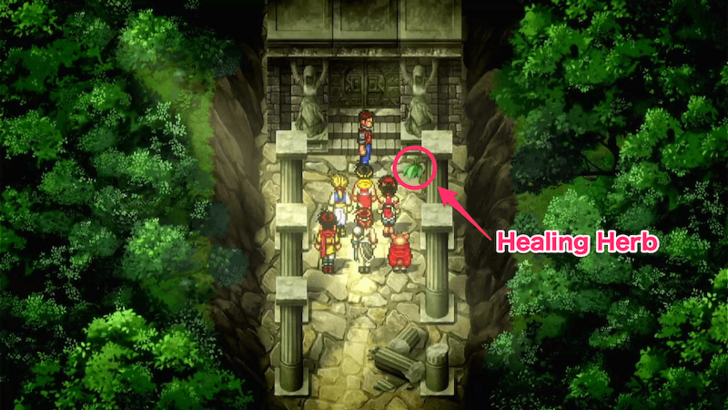 As you leave Sindar Ruins, Alex tosses the Healing Herb on the ground next to the entrance. Keep this in mind for later. |
| 21 | 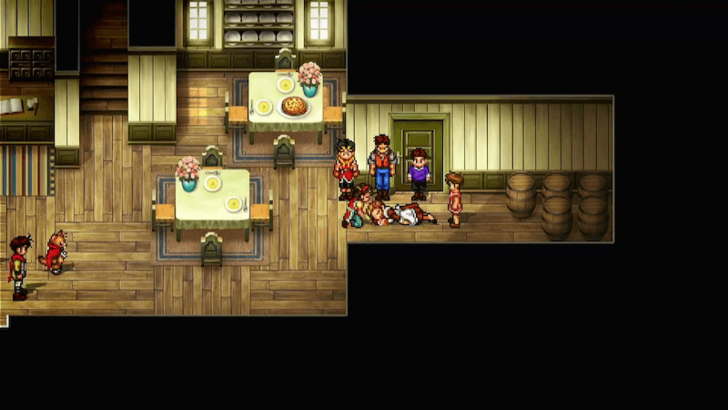 Upon returning to the Inn, you'll find that Hilda has fallen ill. |
| 22 | 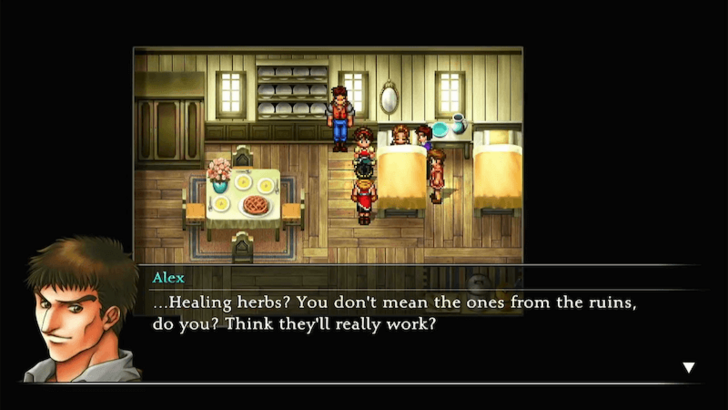 Go back to the entrance of Sindar Ruins, retrieve the discarded Healing Herb, and bring it to Hilda to cure her. |
| 23 | 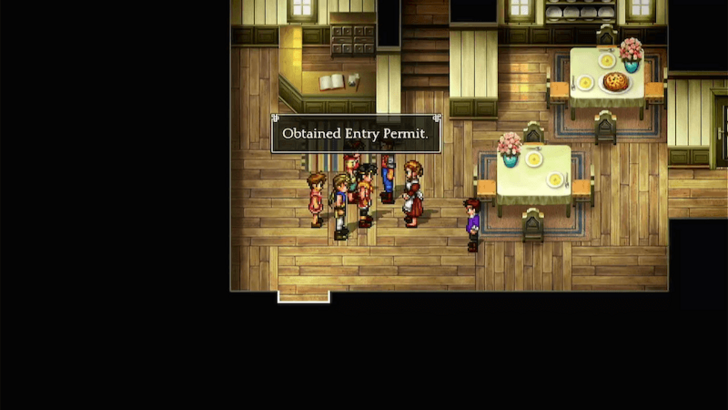 Grateful for saving his wife, Alex will give you the Entry Permit, allowing you to finally enter Muse City. |
| 1 | 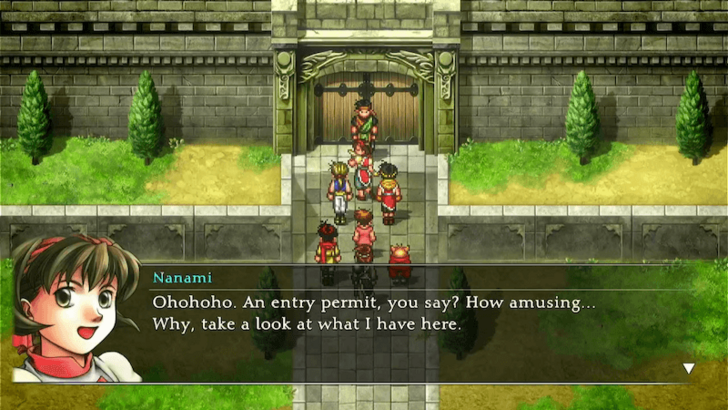 Return to Muse City and present the Entry Permit at the entrance. However, the guard becomes suspicious and arrests your party, sending you to jail. |
|---|---|
| 2 | 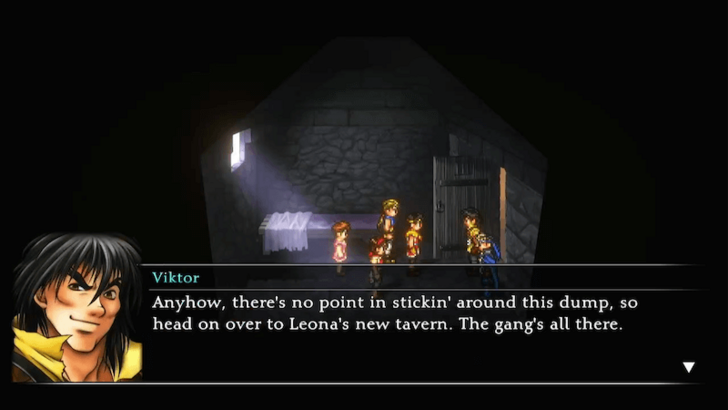 After a cutscene in prison, Viktor and Flik arrive to bail you out. You're then free to explore the city. ▶︎ Muse City Guide |
| * | 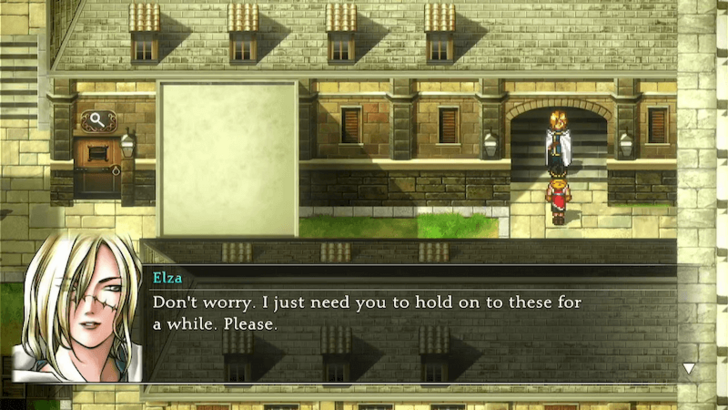 Head to an alleyway northeast of the city, to the right of the Appraisal Shop, you will trigger an event with Elza and Clive. If you miss this event, you will not be able to recruit Clive. ▶︎ Clive's Quest Walkthrough |
| * | 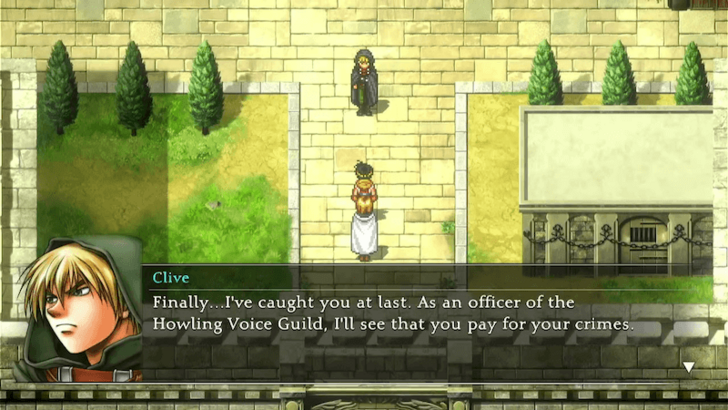 Go to the city entrance, where you'll encounter Elza again and receive Sound Set #1. ▶︎ How to Get and Use Sound Sets |
| 3 | 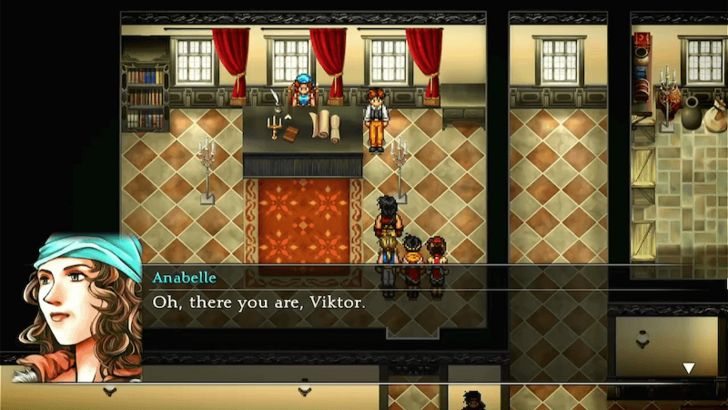 Make your way north to City Hall. Viktor will join the party, then talk to Anabelle in her office on the upper left. |
| 4 | 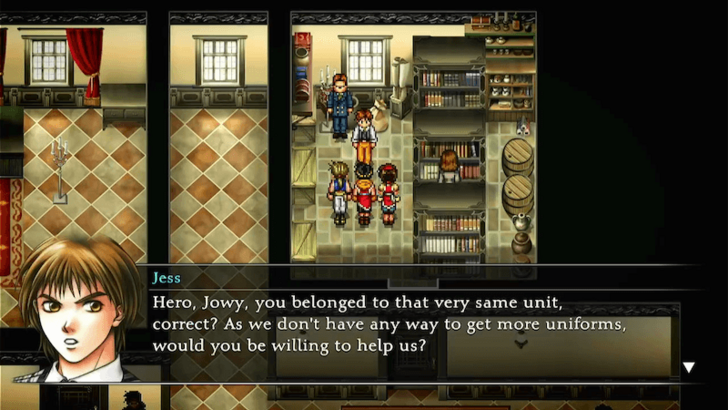 After speaking with Anabelle, enter the room to the right. Jess will task you to spy on Luca's army. You can get a Book when you interact with the nearby bookshelves. |
| * | 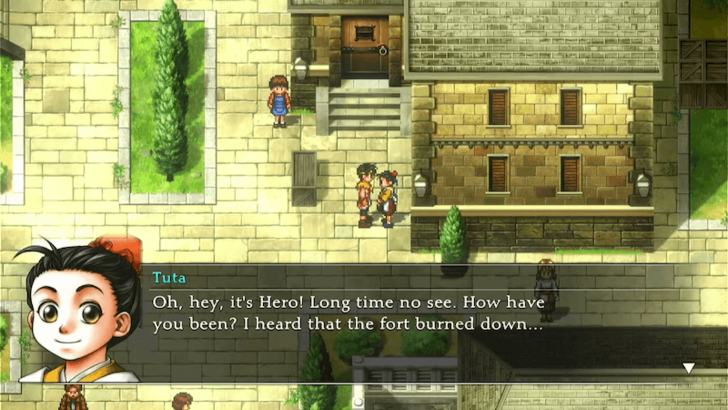 Before heading out, you can recruit Tuta, who is just south of City Hall. Talk to him, and after a conversation with Huan, he will join your party. Once you're outside, talk to Huan again and receive a Recipe #3. |
| * | 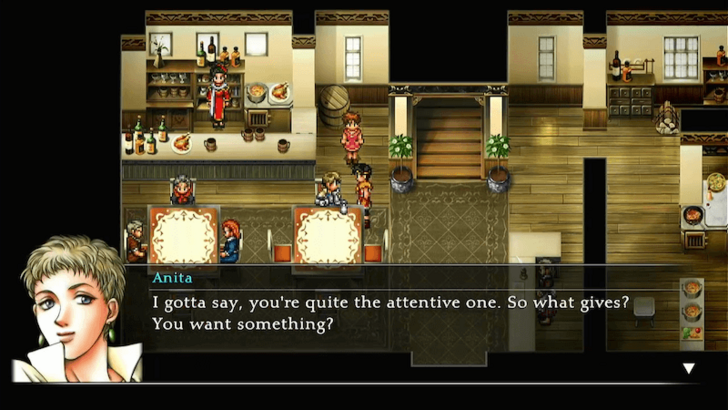 You can also recruit Anita in Leona's Tavern, located southeast of the city. Repeatedly enter and exit the tavern while speaking to her each time. Continue doing this until you can finally ask her to join your party. |
| 5 | 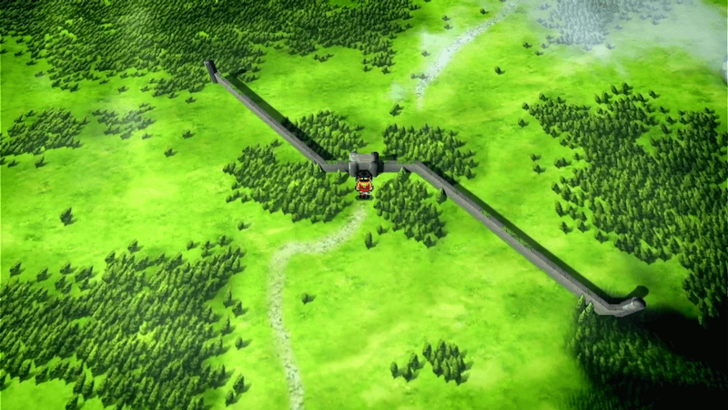 Leave Muse City and head north to the Muse-Highland Checkpoint. |
| 6 | 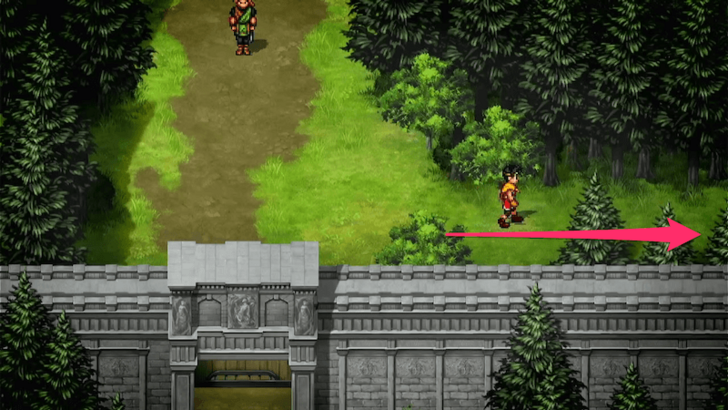 Speak to the guards at the gate to gain entry, then turn right toward the forest. Be ready to fight enemies along the way! ▶︎ Highland Garrison Duengeon Guide |
| 7 | 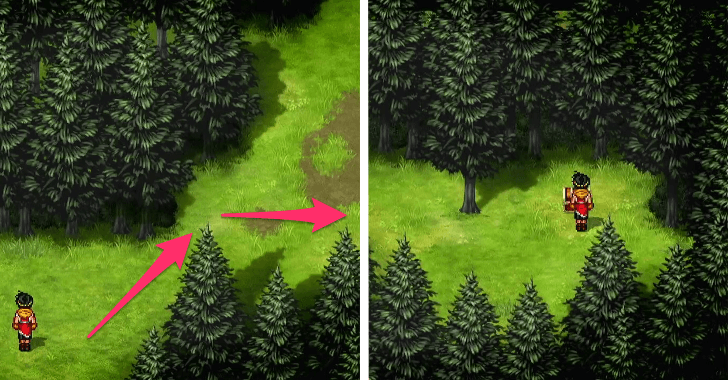 Follow the right path and continue east until you reach a chest containing a Circlet. |
| 8 | 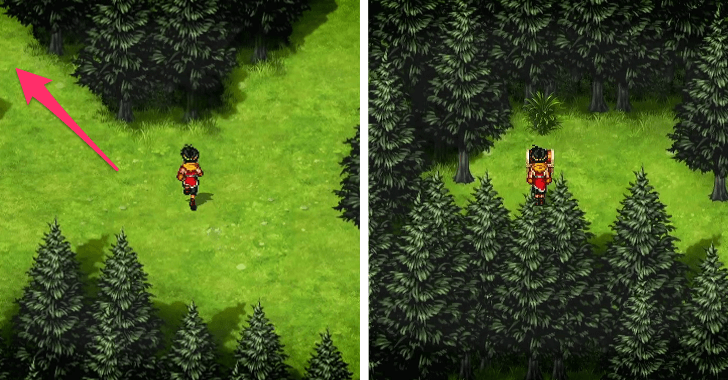 Take the northwest path at the fork to find another chest containing a Belt of Strength. |
| 9 | 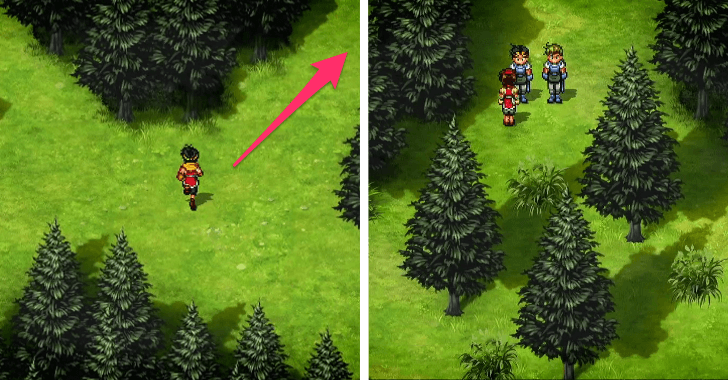 Return to the fork and head to the northeast path, following the trail upward until you reach the Highland Garrison. |
| 10 | 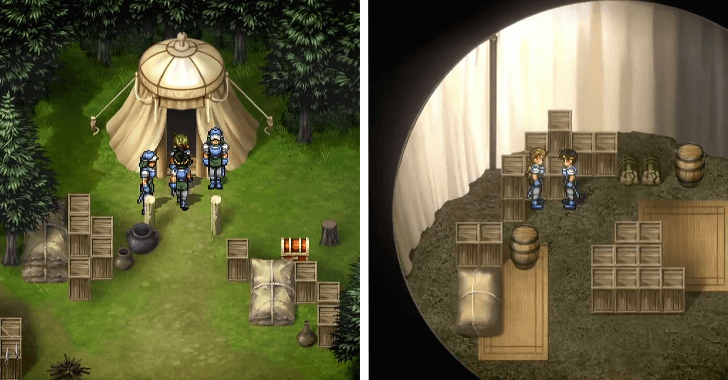 Once inside the garrison, make your way to the brown tent in the upper-right corner. A Highland Soldier will question you but ultimately allow you inside. |
| 11 | 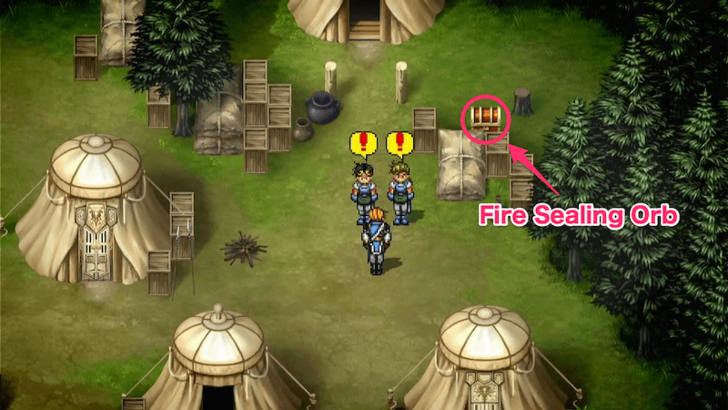 After investigating the tent, Rowd exposes your cover and alerts the soldiers. Before making your escape, open the chest near the tent to obtain a Fire Sealing Orb. |
| 12 | 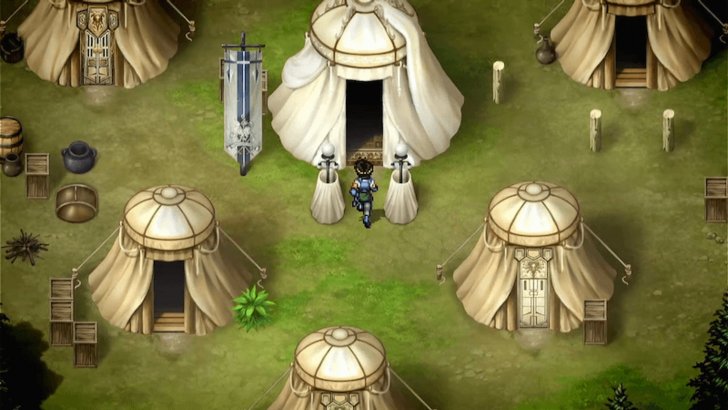 Run to the large white tent in the center of the garrison, where Jillia will step in to hide you both from Rowd. |
| 13 | 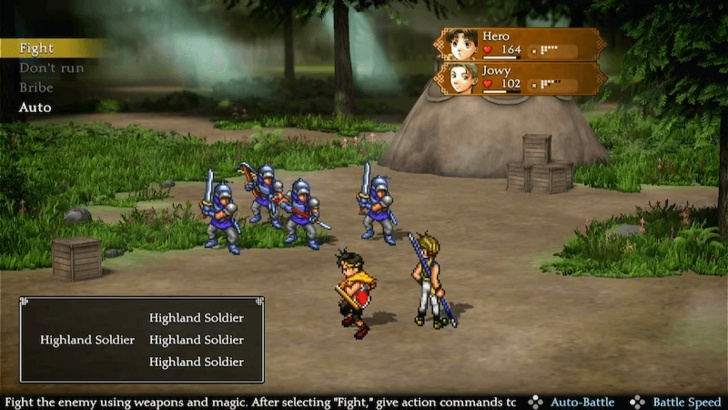 Escape the garrison, but just as you're about to leave, Rowd catches up to you, triggering a battle against the Highland Soldiers. |
| 14 | 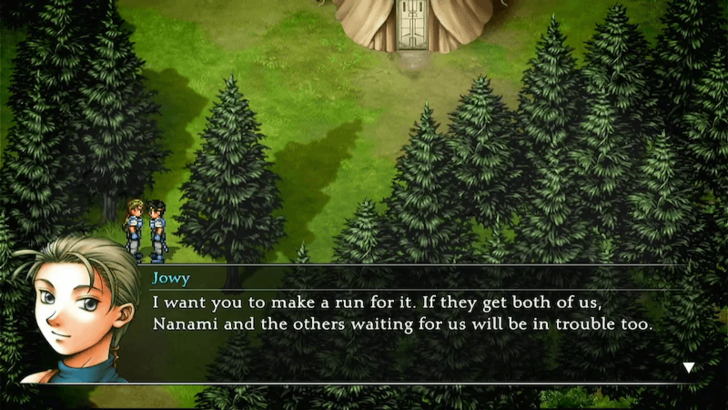 Following the battle, Jowy decides to stay behind and leave your party to buy you time to escape. |
| 15 | 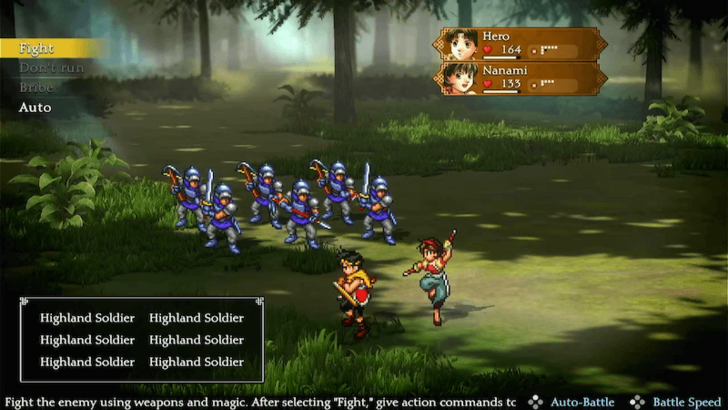 Meet up with Nanami at the forest, where you will be ambushed by another group of Highland Soldiers. Defeat them to survive! |
| 16 | 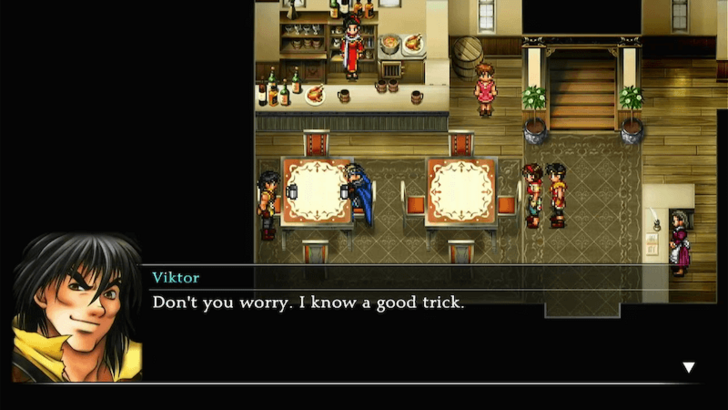 Return to Muse City and head to Anabelle's office in City Hall. An official will stop you, so make your way to Leona's Tavern to meet up with Viktor and Flik. |
| 17 | 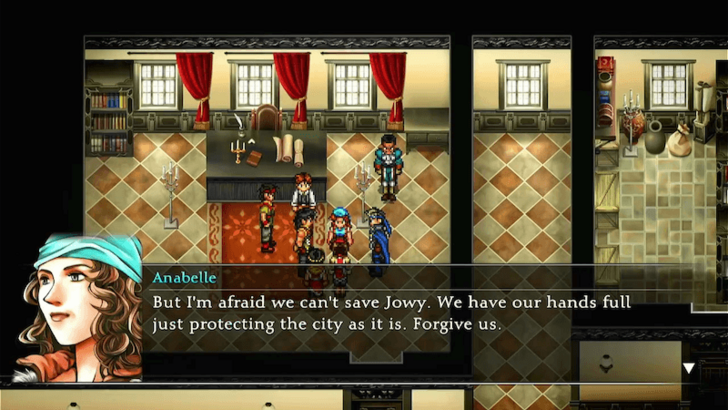 Head back to City Hall again and speak with Anabelle in her office. |
| 18 | 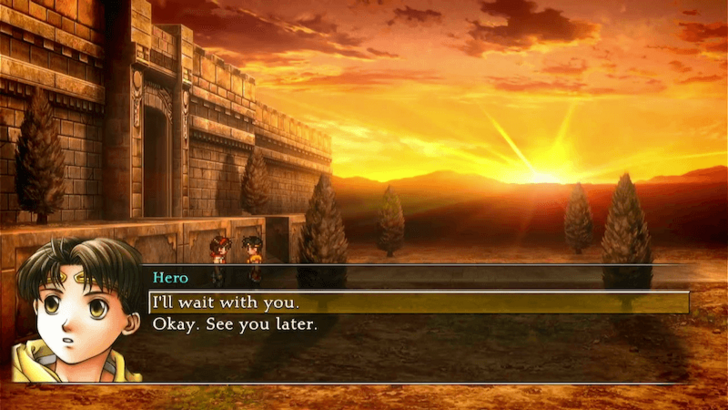 After talking with Anabelle, exit the city and talk to Nanami. You can choose to wait for Jowy with Nanami or wait at the tavern. Choosing to wait with Nanami will unlock additional dialogue. She will occasionally ask if you still want to wait with her, choose to stay each time. Eventually, Pilika will join in, and Jowy will arrive later to reunite with your party. |
| 19 | 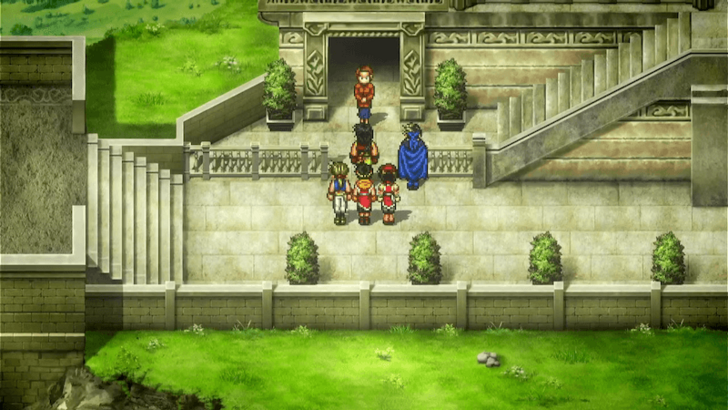 The next day, head northwest of the city to go to Jowston Hill for the Hilltop Conference. |
| 20 | 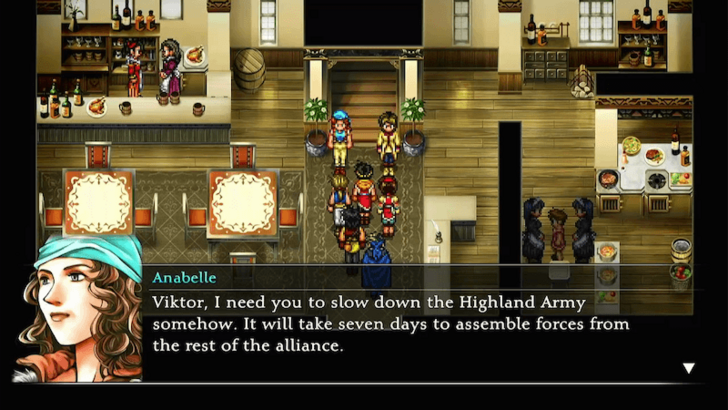 Following the lengthy conference, return to Leona's Tavern, where Anabelle will ask you to slow down the Highland Army. |
| 21 | 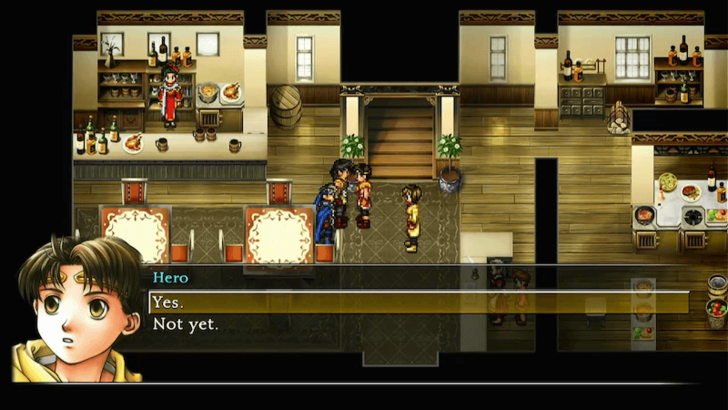 Before proceeding, be sure to save your game. When you're ready, speak with Viktor to initiate the Army Battle. |
| 22 | 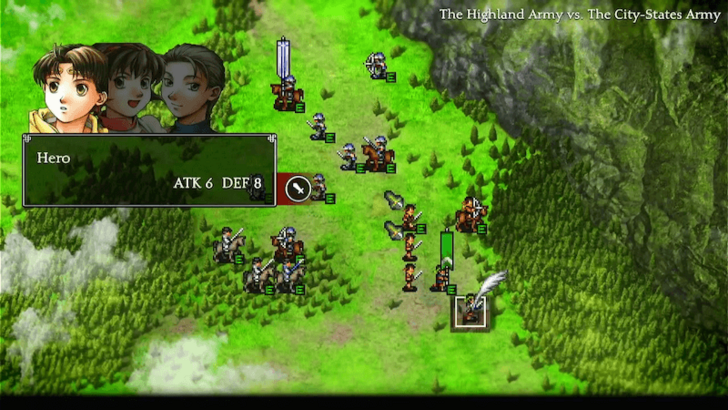 While you can engage enemy units, the best strategy is to focus on survival. Use your unit's Bright Shield Rune to heal nearby allies. Eventually, Miklotov's unit will arrive, forcing the enemy to retreat. ▶︎ Army Battle Guide |
| * | 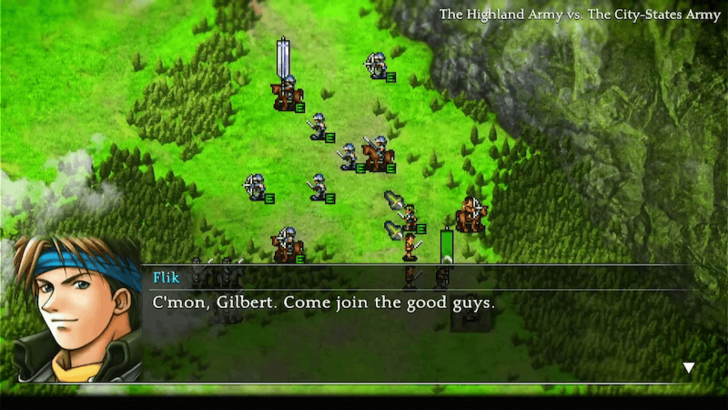 You can recruit Gilbert by attacking him. You cannot control his unit until this happens. If Gilbert's army unit dies, you will not recruit him and complete the 108 Stars of Destiny. |
| 23 | 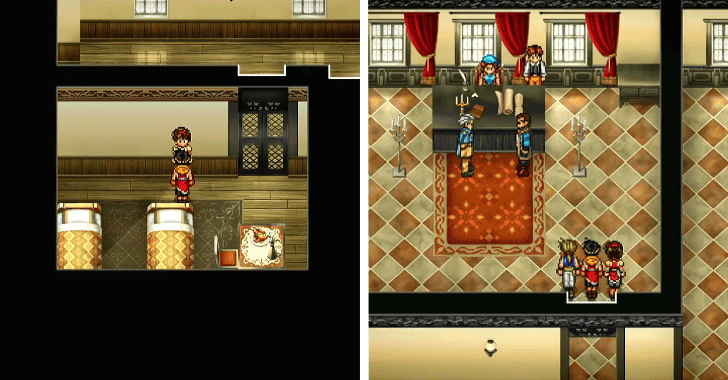 After the battle, speak with Nanami and rest for the night. The next morning, visit Annabelle’s office to speak with her, then head back to Leona’s Tavern. |
| 24 | 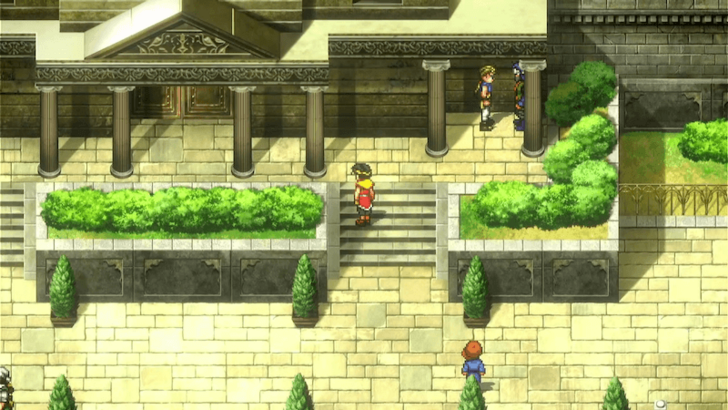 Follow Jowy to the right side of City Hall and confront him. This will trigger a cutscene with Viktor and Annabelle. |
| 25 | 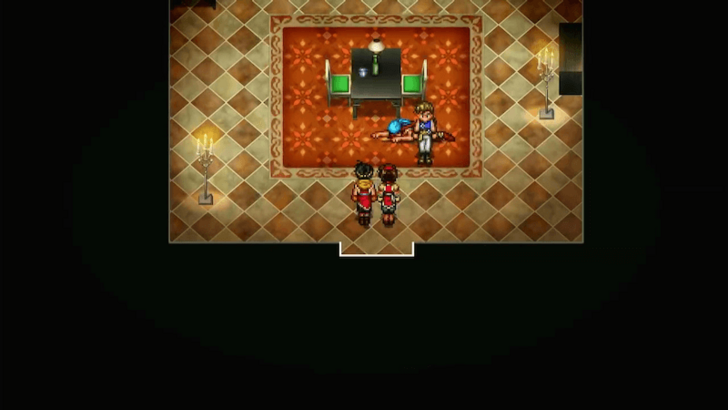 From the tavern, return to City Hall in the evening and head through the corridor and enter the private room. |
| 26 | 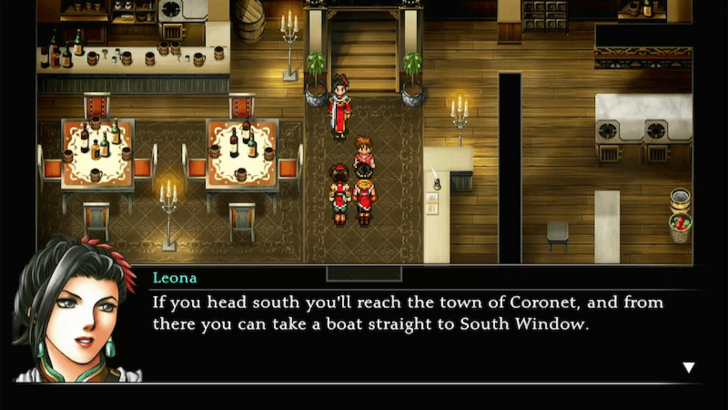 After the cutscene, run back to Leona’s Tavern to retrieve Pilika, but be prepared to fight Highland Soldiers along the way. |
| 27 | 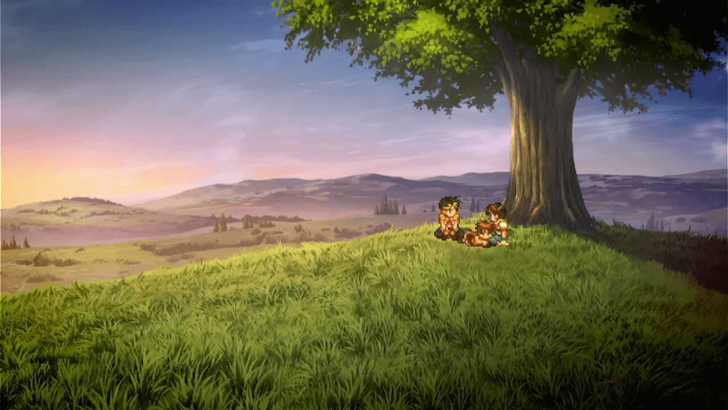 Escape the city through the south gate. A cutscene will play, showing you, Nanami, and Pilika resting under a large tree. |
| 1 | 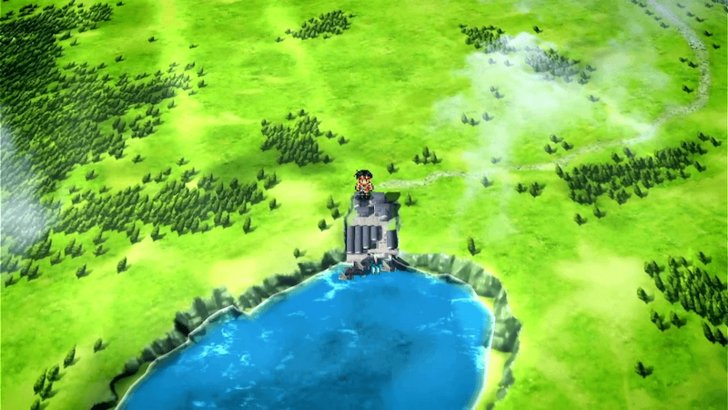 You'll find yourself on the overworld map with Coronet Town just south of you. Enter the town. |
|---|---|
| 2 | 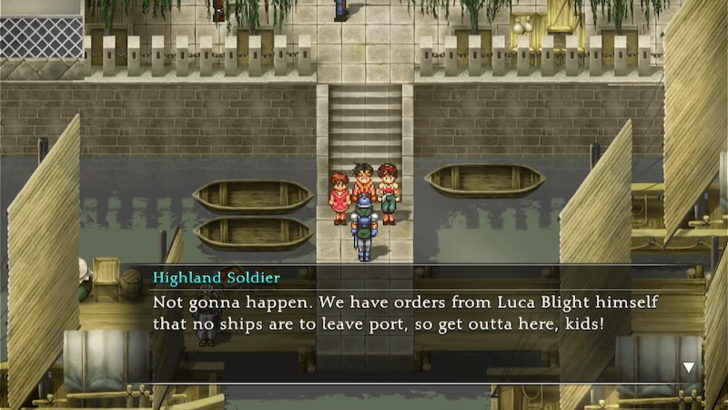 Make your way to the port at the southern end, where a Highland Soldier informs you that no one is allowed to sail across the lake. ▶︎ Coronet Town Guide |
| 3 | 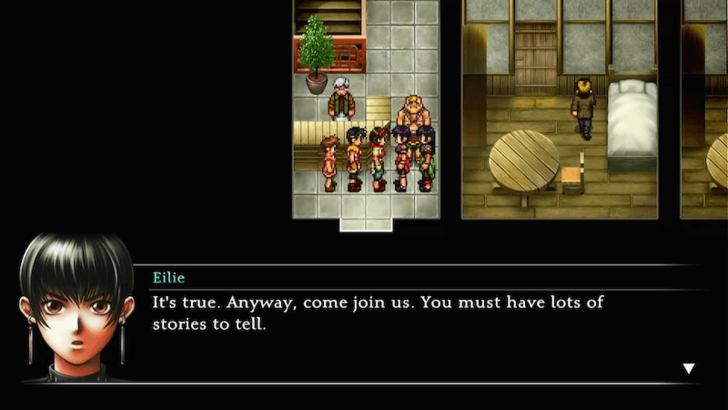 Head to the Inn near the northern entrance of town, where you'll reunite with Eilie, Rina, and Bolgan. The group catches up over lunch at the Tavern. |
| 4 | 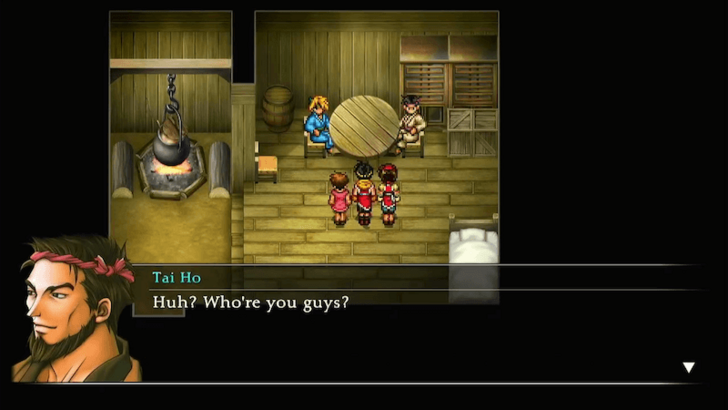 From the Tavern, go to the southeastern part of town and enter the small hut to meet Yam Koo and Tai Ho. |
| 5 | 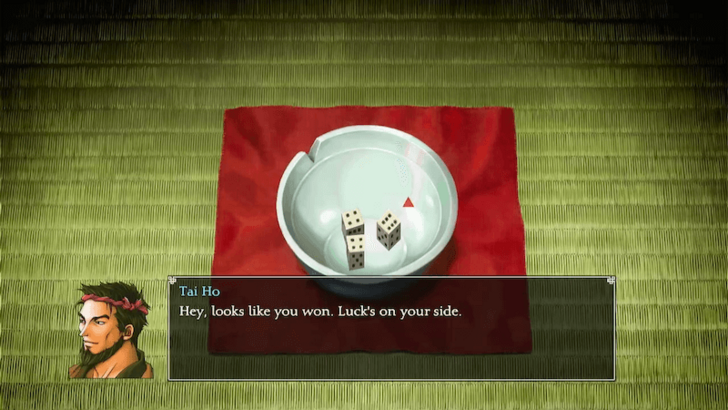 Tai Ho agrees to use his boat if you can defeat him in a game of Chinchirorin. This two-player dice game is played with three dice and a bowl. Be sure to save beforehand to avoid losing too much Potch. ▶︎ Chinchirorin Dice Minigame Guide |
| 6 | 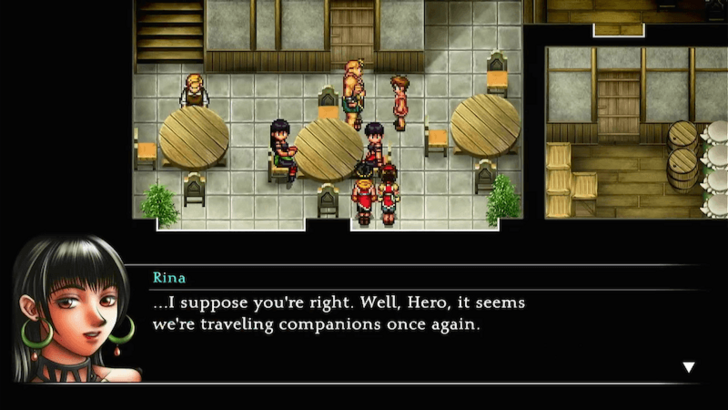 Once you win, return to the Tavern, where Eilie, Rina, and Bolgan will officially join your party. |
| 7 | 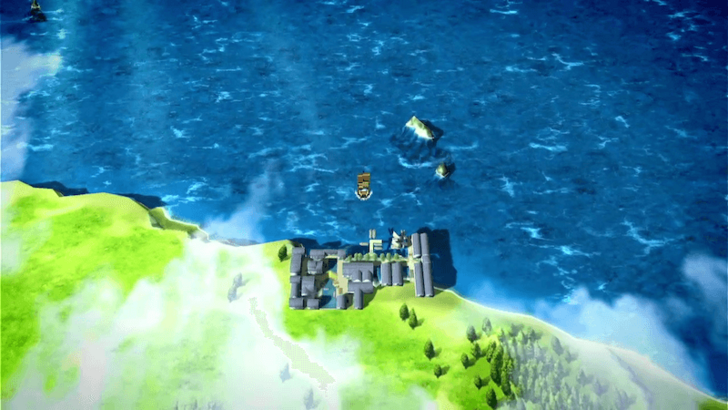 Go back to the hut, and Tai Ho and Yam Koo will sail you across the lake to Kuskus Town. ▶︎ South Window City to Lakewest Town |
| 1 | 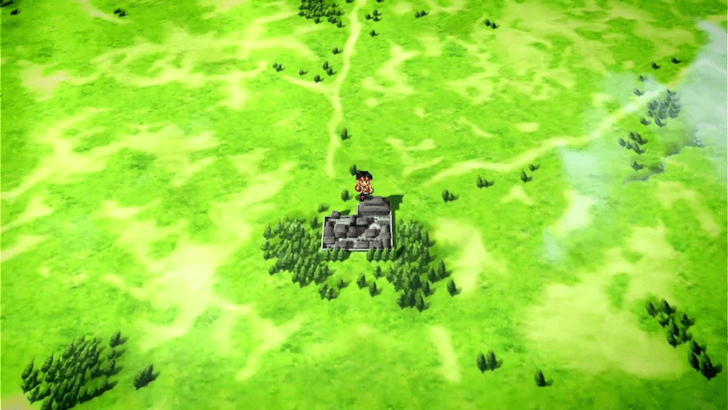 From Kuskus Town, travel south to reach South Window City. ▶︎ Kuskus Town Guide |
|---|---|
| 2 | 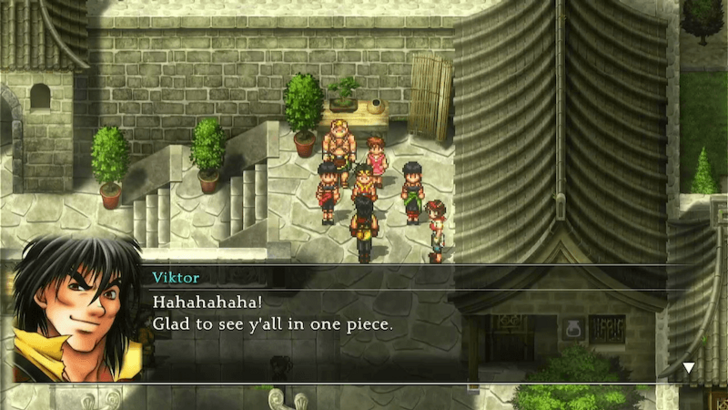 Upon arriving at South Window City, a cutscene will play, where you'll reunite Viktor. ▶︎ South Window City Guide |
| 3 | 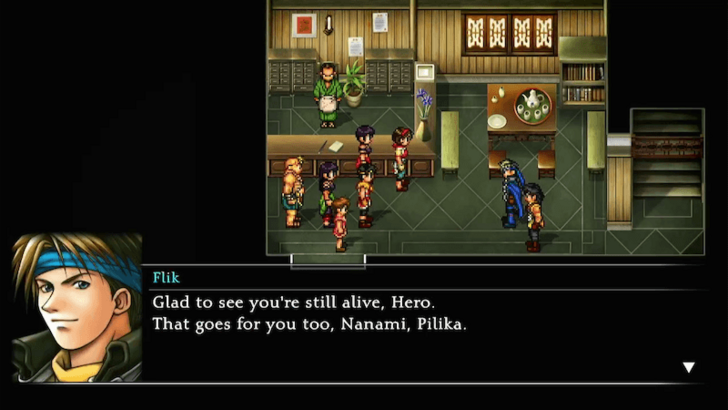 Head to the Inn located on the west side of the city. There, you’ll meet Flik and Viktor again. After a conversation, both characters will join your party. |
| 4 | 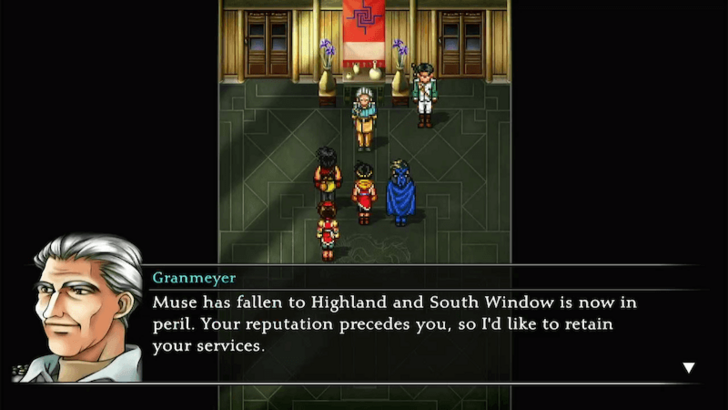 Go to the City Hall in the northeastern part of the city. Speak with Granmeyer to trigger another cutscene. Afterward, Freed Y. will join your party. |
| * | 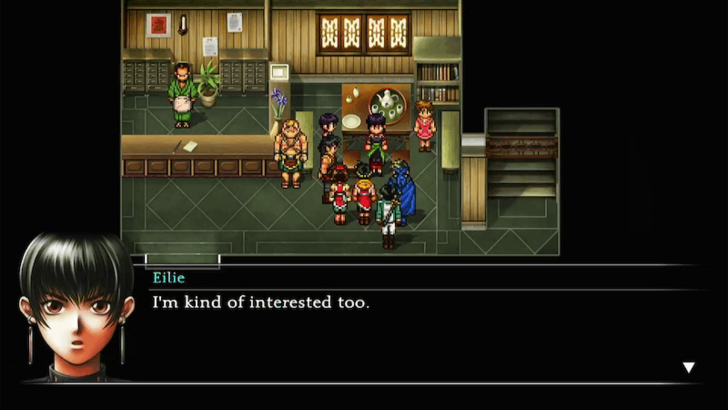 Take some time to prepare for the journey to North Window Village! Stock up on items, upgrade your gear, and adjust your party as needed. You can also return to the Inn to switch Flik for Eilie in your party. |
| 5 | 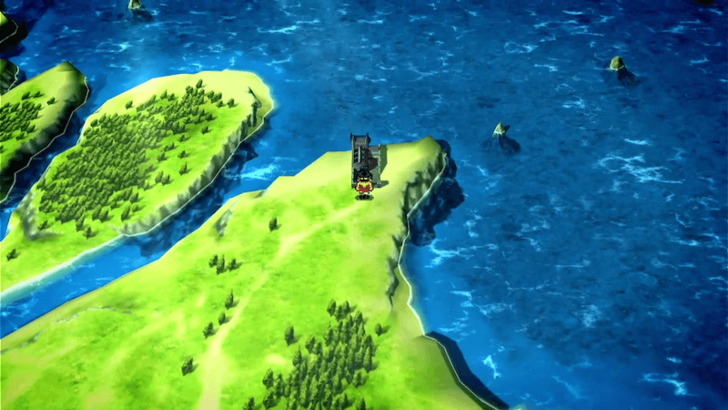 Once ready, leave South Window City and head northwest to reach North Window Village. |
| 6 | 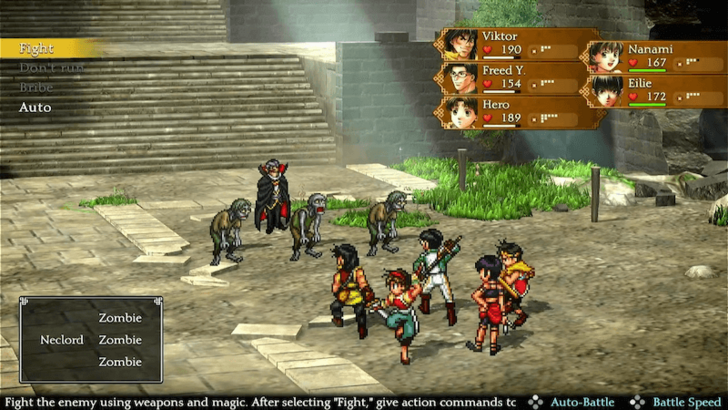 When you arrive at North Window Village, you’ll engage in a battle against Neclord. This fight is unwinnable, so conserve your resources by using only normal attacks until you enter a cutscene. |
| 1 | 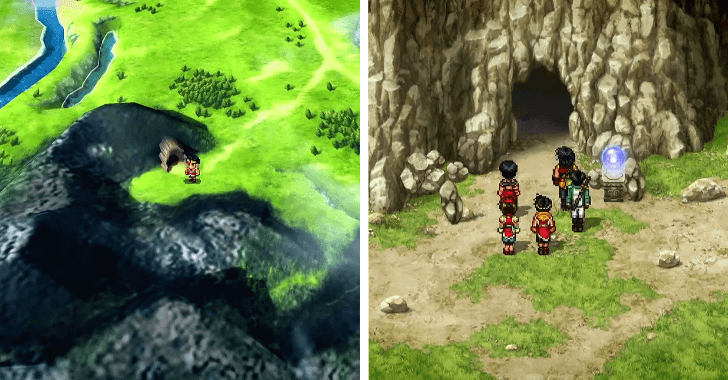 After fighting Neclord, leave North Window Village and head south to the Cave of the Wind. Make sure to save your game using the Journeyman Orb outside before entering the cave. ▶︎ How to Save Progress |
|---|---|
| 2 | 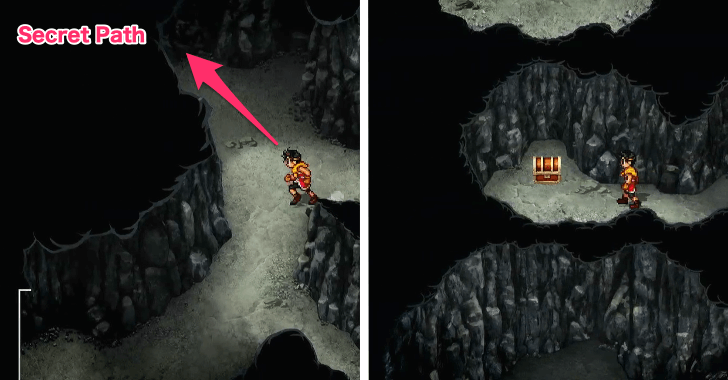 Inside the Cave of the Wind, follow the path until you reach a suspicious-looking fork just before the next area. Take the northwest path to find a hidden section containing a chest with a Sun Badge. Be ready to fight enemies along the way! ▶︎ Cave of the Wind Dungeon Guide |
| 3 | 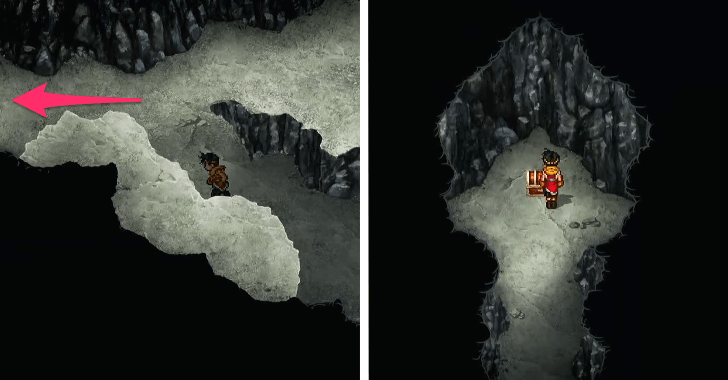 Return to the fork and take the southwest path to proceed. Continue along the trail until you reach another fork. Head left and go up to find a chest with a Fish Badge. |
| 4 | 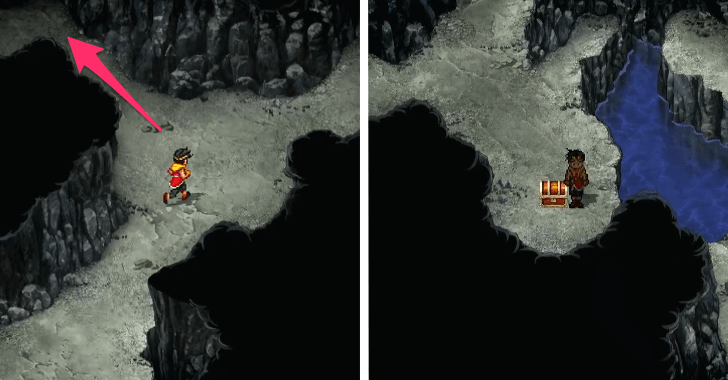 Head back to the fork and take the right path to advance. Keep going until you reach another split, then take the left path to obtain a Fire Wall from a chest. |
| 5 | 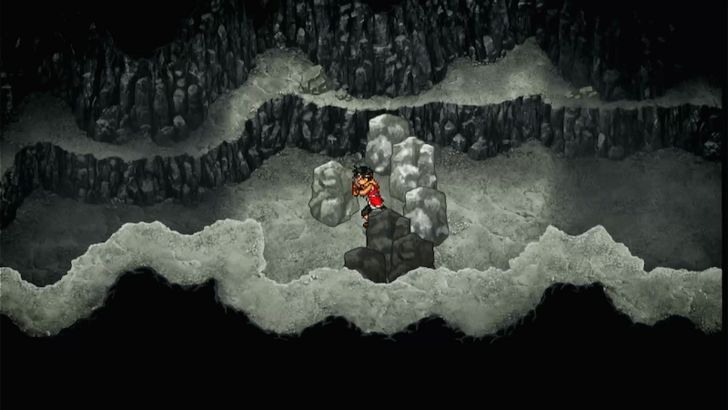 Continue along the right path until you come across an area with large rocks blocking the way. Push the rocks to clear a path forward. |
| 6 | 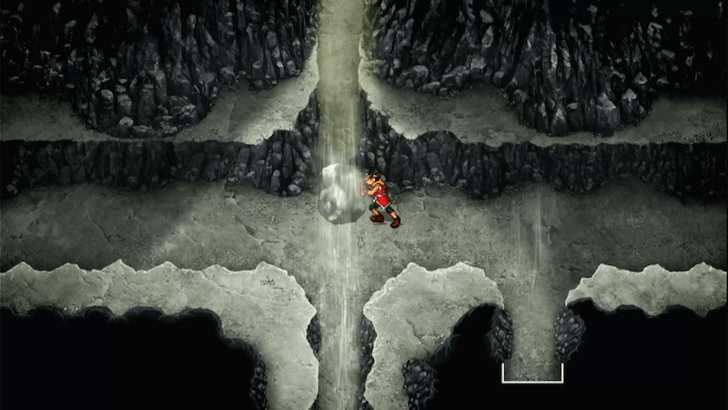 Push the large rocks to block the gusts of wind so you can safely move west. If you fall, you’ll respawn at the start of the area with the rock positions reset. |
| 7 | 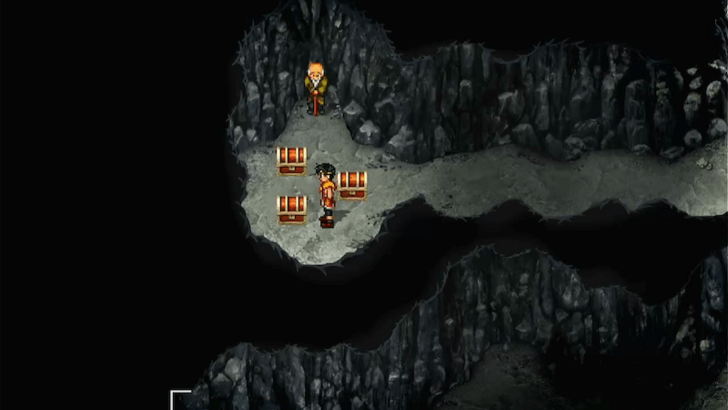 At the end of the path with four large rocks, enter the upper passage to find a section containing three treasure chests and a Mysterious Old Man. The chests hold the Pale Gate Rune, Medicine, and 3,000 Potch. The Old Man can also teleport you back to the cave's entrance. |
| 8 | 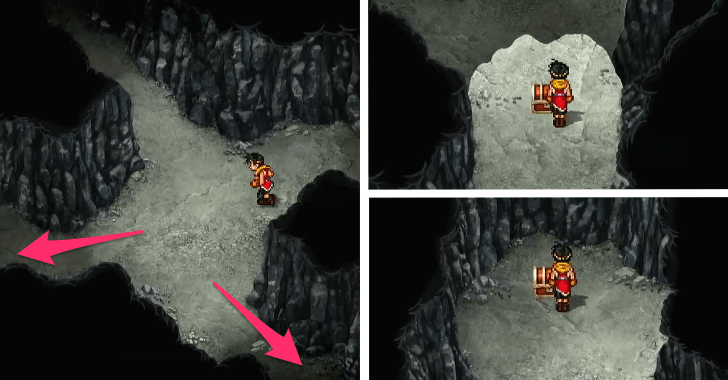 Return to the main path and head south through the next area of the cave. Take the south path until you reach a three-way split. Go south to find a chest containing a Stone of Protection, then take the left path to obtain a Half Helmet from another chest. |
| 9 | 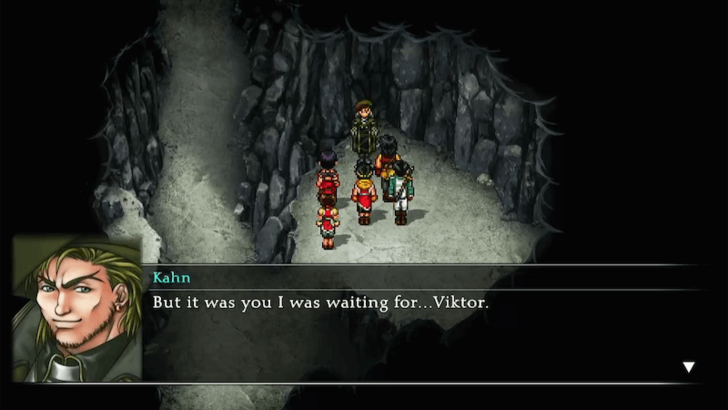 Return to the split and head north, then continue northwest to the next area. A cutscene will trigger, introducing Kahn, who will then join your party. |
| 10 | 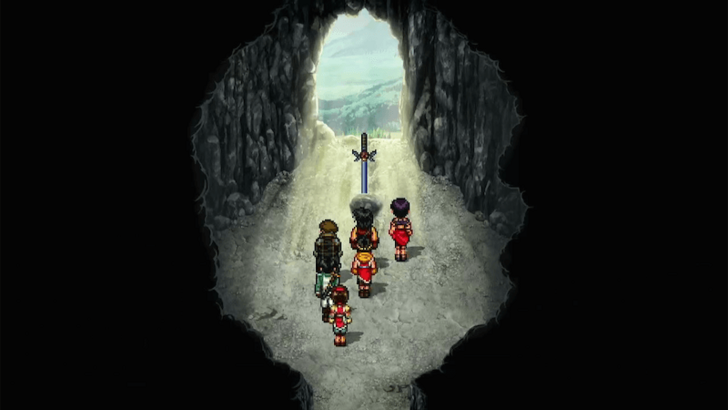 Prepare for an upcoming boss battle by making sure your party is fully healed and properly equipped. When ready, continue north, follow the path until you see the Celestial Sword waiting for you at the cave's exit. |
| 11 | 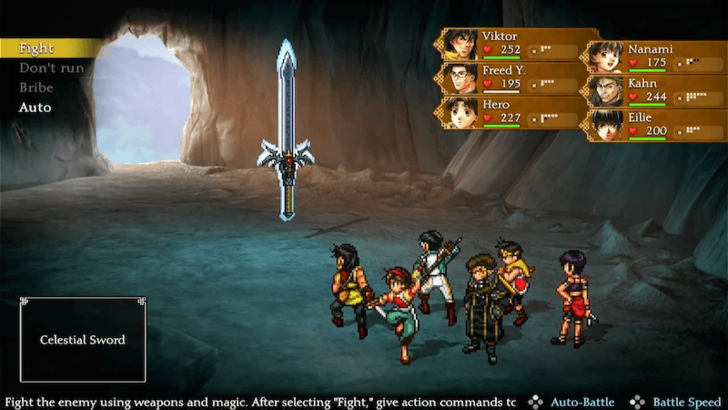 Defeat the Celestial Sword! The boss has no weakness, so unleash your strongest attacks, Runes, and spells to take it down efficiently. ▶︎ Celestial Sword Boss Guide |
| 12 | 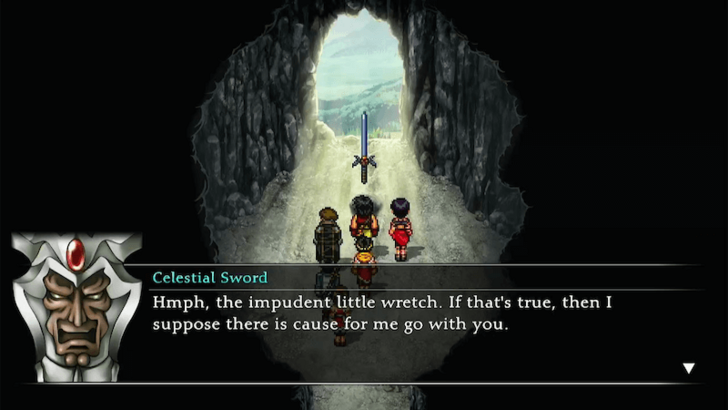 After defeating the Celestial Sword, Viktor will obtain the sword itself. Exit the Cave of the Wind and return to North Window Village by heading north. |
| 1 | 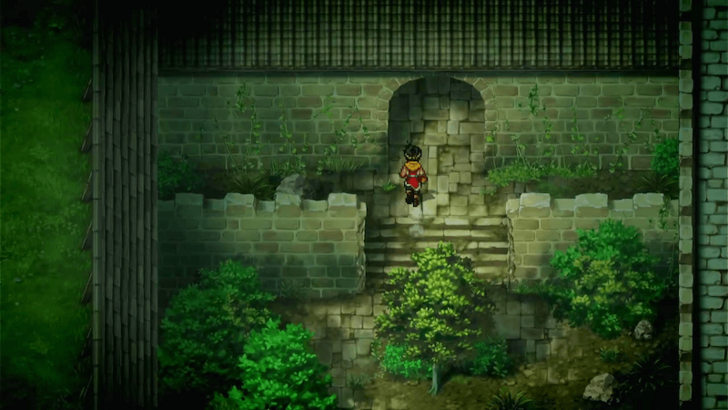 Upon returning to North Window Village, head north to enter North Window Castle. |
|---|---|
| 2 | 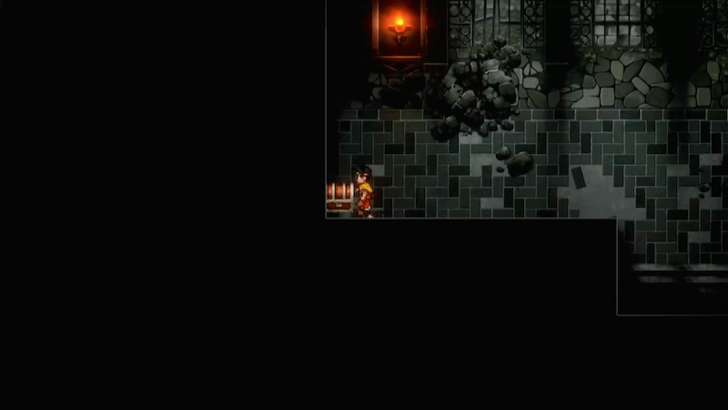 Once inside, take the path to the right to find a chest containing a Fire Rune. Be ready to battle enemies along the way! ▶︎ North Window Dungeon Guide |
| 3 | 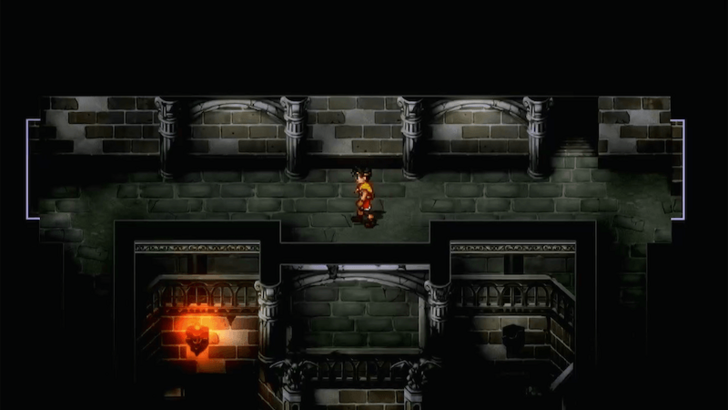 Backtrack then follow along the left path until you reach the main hall. On the ground level, head to the right side to open a chest containing a Stone of Magic Protection. |
| 4 | 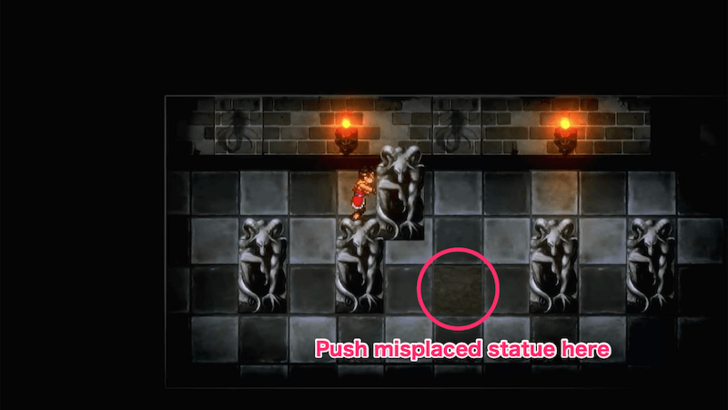 Enter the door on the left and continue following the path until you reach a room with five gargoyle statues. |
| 5 | 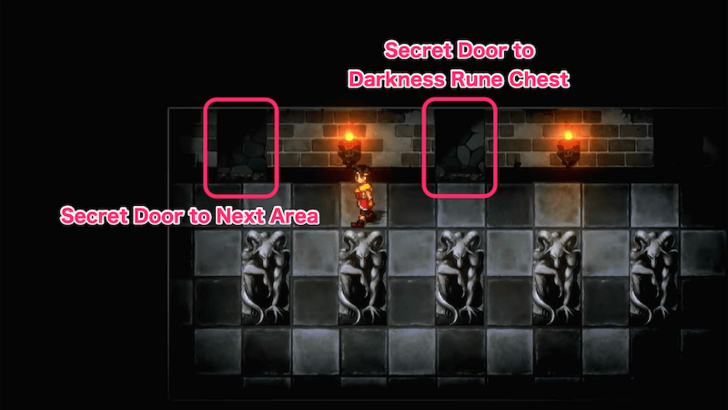 Move the misplaced gargoyle statue to the dirt tile to open a hidden door on the upper left. You can also move the gargoyle on the left slightly further to reveal a hidden door in the middle, where you’ll find a treasure chest containing the Darkness Rune. |
| 6 | 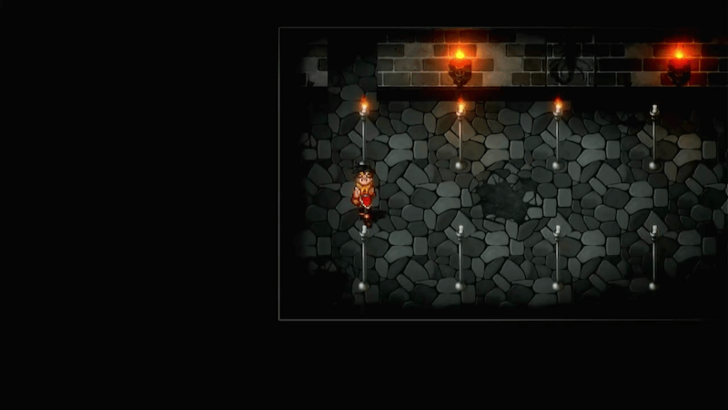 Go through the hidden door on the left and follow along the path until you encounter a hallway with candles. |
| 7 | 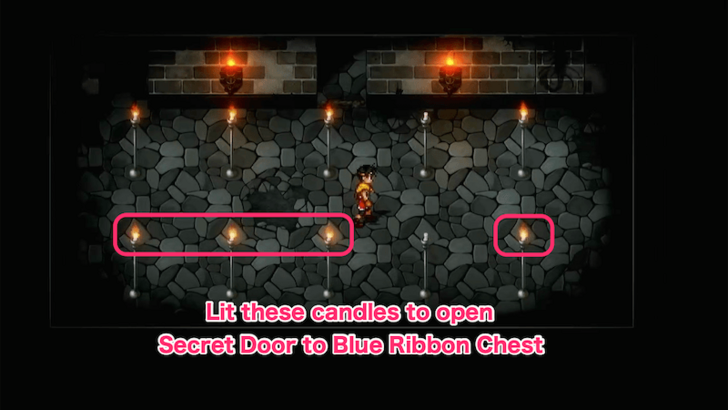 Light the candles in the bottom row to match the candles in the top row, revealing a hidden door in the middle. Enter the door to claim the Blue Ribbon from the treasure chest. |
| 8 | 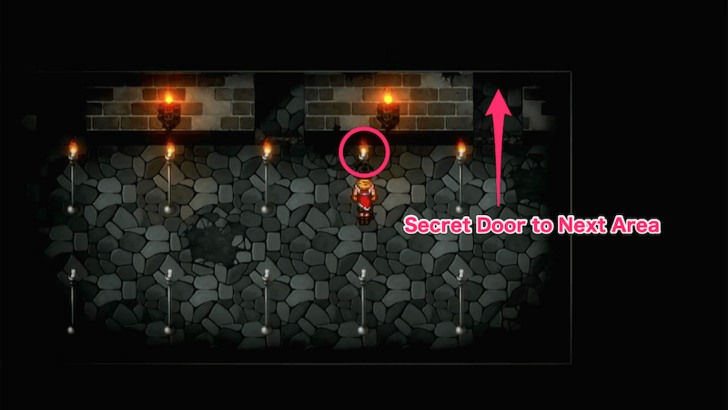 When you return to the candle room, the arrangement will reset. Light the unlit candle in the top row to open another hidden door on the right. |
| 9 | 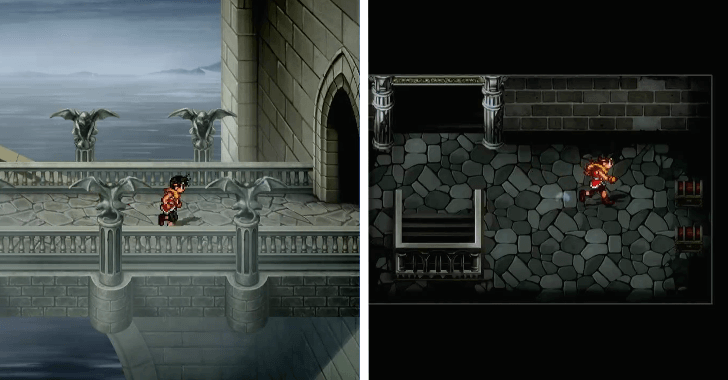 Proceed through the right door to reach the upper level of the castle, where you can collect the Chain Mail and Collar from treasure chests. |
| 10 | 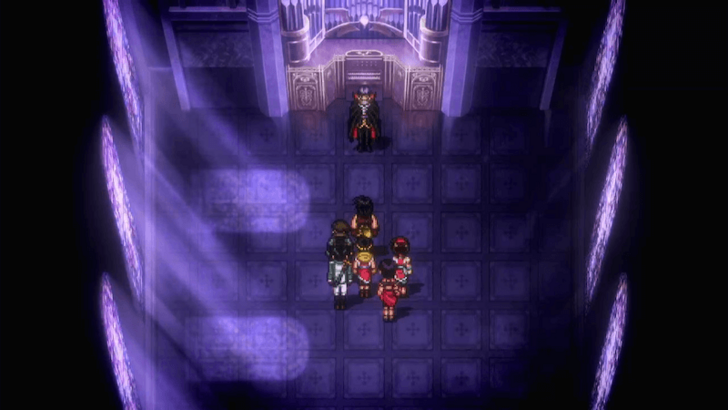 Prepare for a boss battle by ensuring your party is fully healed and equipped. Once ready, continue forward to confront Neclord. |
| 11 | 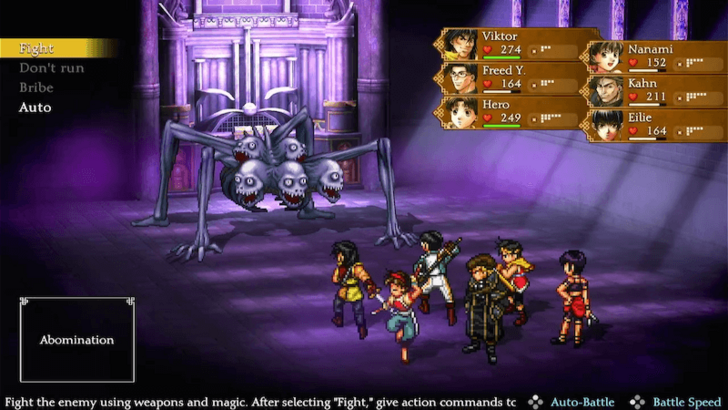 Defeat Abomination! The boss is weak to fire and Holy magic, so use fire-based attacks and spells, as well as Kahn's Ressurection Rune to take it down. ▶︎ Abomination Boss Guide |
| 12 | 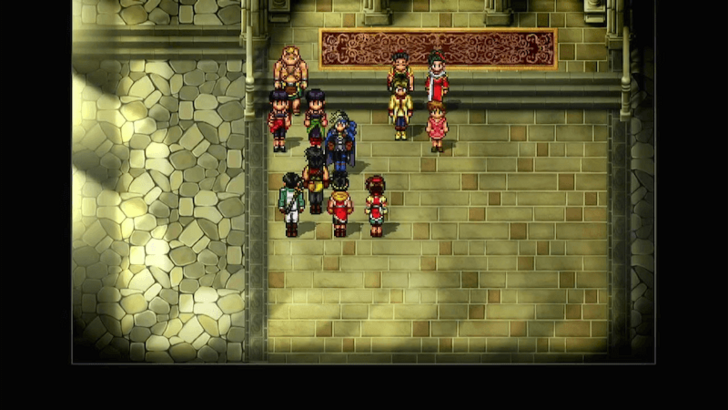 After defeating Abomination, exit the castle. A lengthy cutscene will follow, during which the castle becomes your new Headquarters. You can now also change your party members in the Tavern southwest of the castle. ▶︎ How to Change Party Members |
| Jump to an Area Walkthrough | ||
|---|---|---|
| Radat Town | Lakewest Town | Two River City |
| Two River Sewers | Greenhill City | Greenhill Forest |
| Forest Village | Rockaxe Town | Muse City |
| Radat Town | Banner Pass | Gregminster |
| Headquarters | - | - |
| 1 | 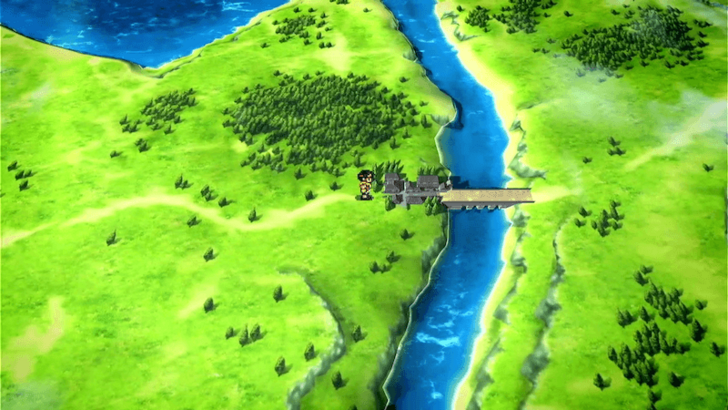 From North Window Village, head east to Radat Town. |
|---|---|
| 2 | 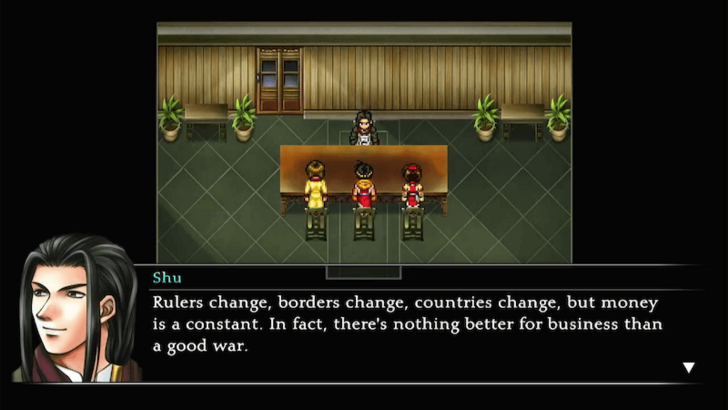 Upon arriving in Radat, visit the house on the eastern side of town and speak with Shu. He will initially reject your offer to join party. ▶︎ Radat Town Guide |
| 3 |  Head to the Tavern to mingle for a while. As you leave the place, Shu will enter and will have another conversation with you. |
| 4 | 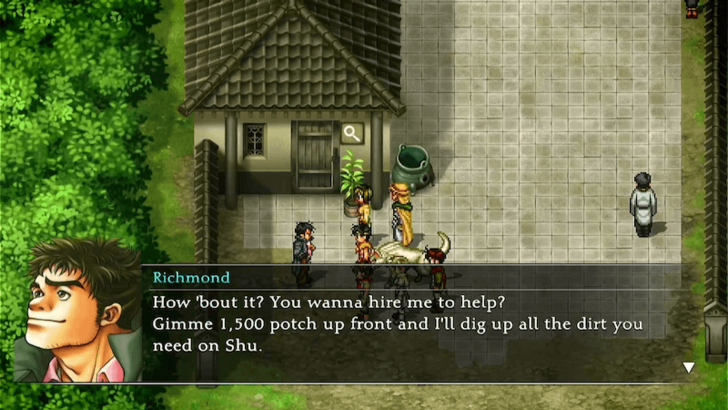 Go to the Appraisal Shop located southwest of town and talk to Richmond. You’ll need to pay him 1,500 Potch to gather information about Shu. If you’re short on funds, grind for Potch by battling enemies outside of town. ▶︎ Money Farming Guide |
| 5 | 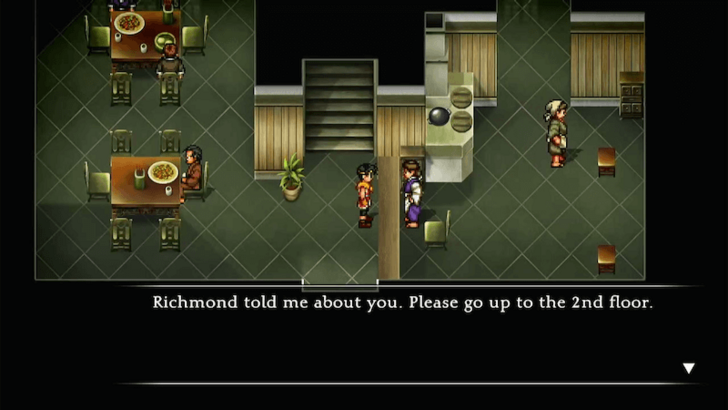 After paying Richmond, he’ll direct you to the Inn. Head there and proceed to the second floor to trigger a cutscene. |
| 6 | 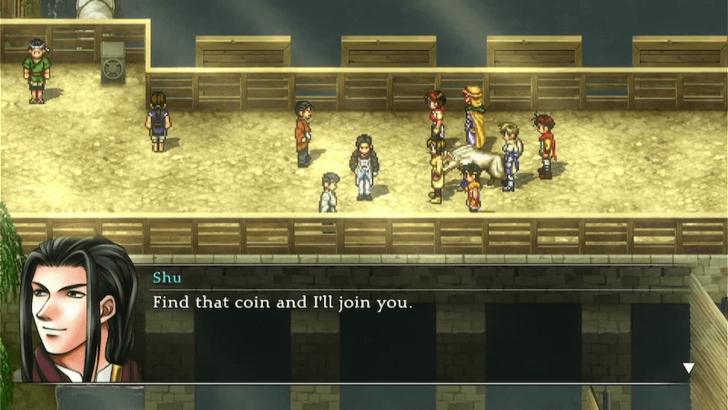 Make your way to the bridge on the eastern side of town to meet Shu again. |
| 7 | 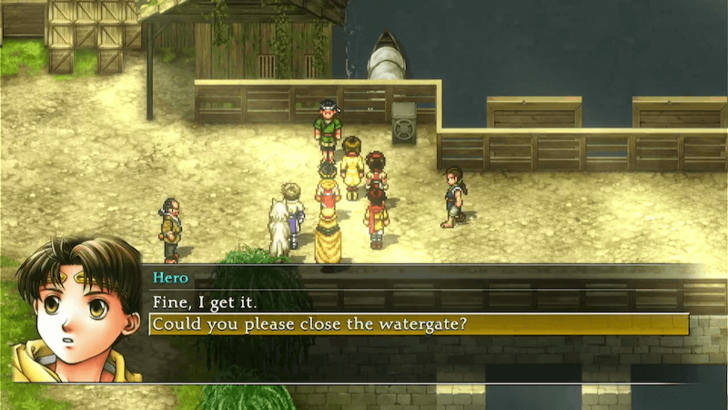 After speaking with Shu, talk to the Green Villager standing on the left side of the bridge about lowering the watergate. This will lead to a duel with Amada. ▶︎ Amada Duel Guide |
| 8 | 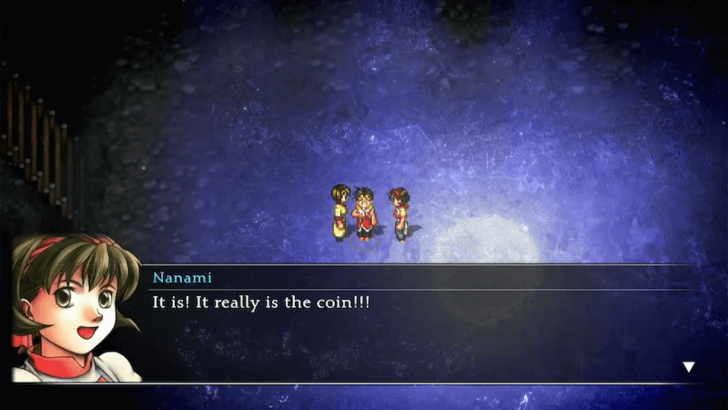 Once Amada is defeated, the watergate will be lowered, allowing safe exploration of the river below. Head to the river to search for the silver coin. After a cutscene, you will find the coin, and Shu will finally join your party. |
| 9 | 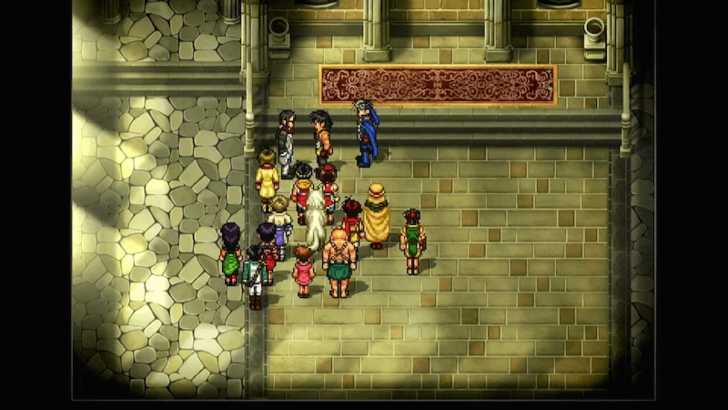 Return to Headquarters and head to the Great Hall to initiate a war meeting with your party. |
| 10 | 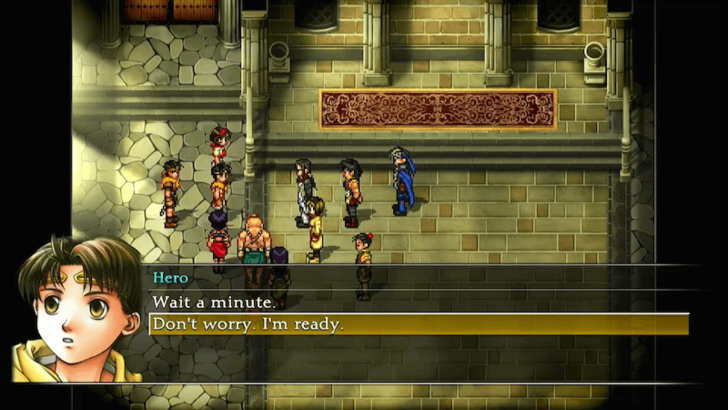 Before moving forward, save your progress using the Journeyman Orb located just before the Great Hall. Once you're ready, return to the Great Hall to initiate an Army Battle against the Highland Army. |
| 11 | 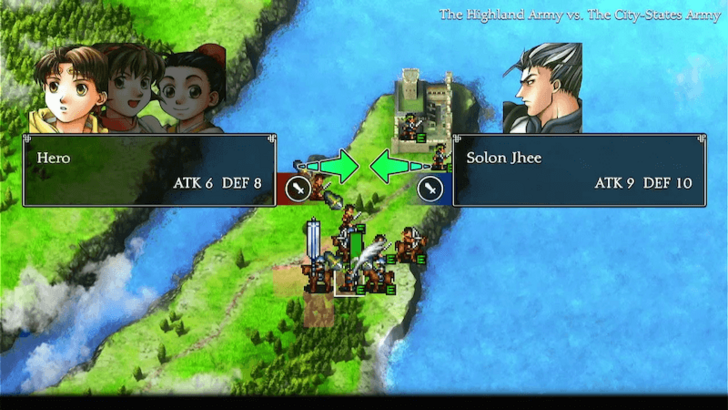 During the battle, focus your unit on attacking Solon Jhee’s unit. Once his unit is down, you can pretty much win the battle by targeting and eliminating the remaining enemy units. ▶︎ Army Battle Guide |
| 12 | 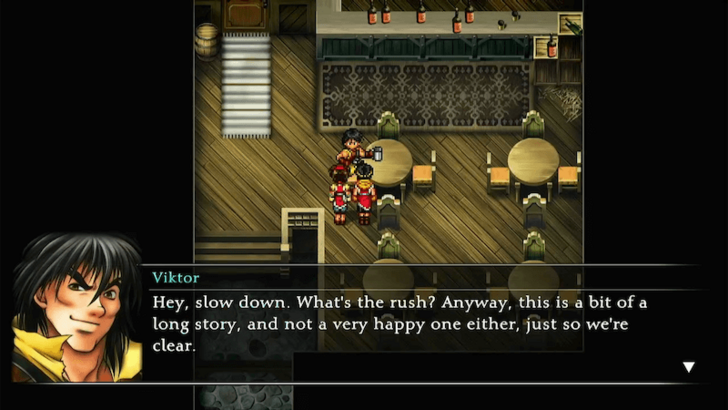 After claiming victory, a long cutscene will play. Visit the Tavern in Headquarters after and speak to Viktor. |
| 13 | 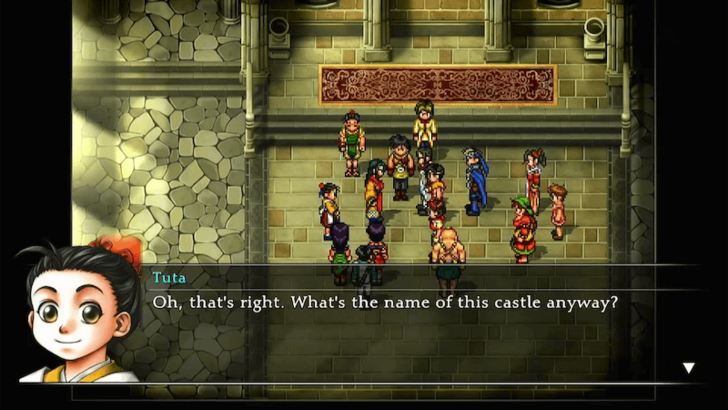 The next morning, you’ll wake up in your bed. Head back to the Great Hall. Luc, Huan, and Barbara will join your party, and you’ll have the opportunity to rename North Window Castle, so choose a name wisely! ▶︎ Castle Headquarters Guide |
| 1 | 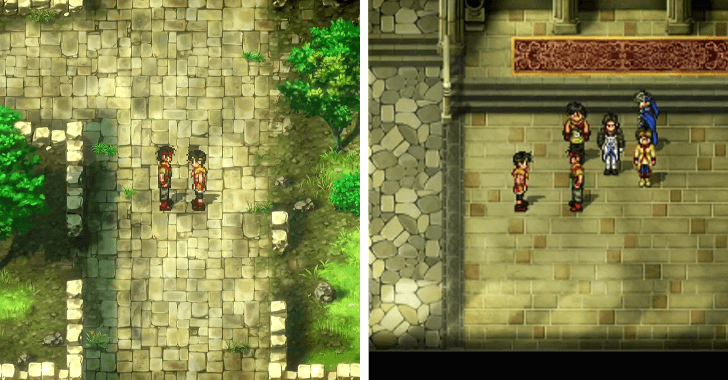 After another night's rest, go to the entrance of Headquarters, where you'll run into Fitcher. Head to the Great Hall to meet him again, and he'll invite you to travel to Two River City. To make the journey, you'll need someone to man the boat for water travel. You can choose either Tai Ho or Amada, but it's recommended to recruit both. |
|---|---|
| * | 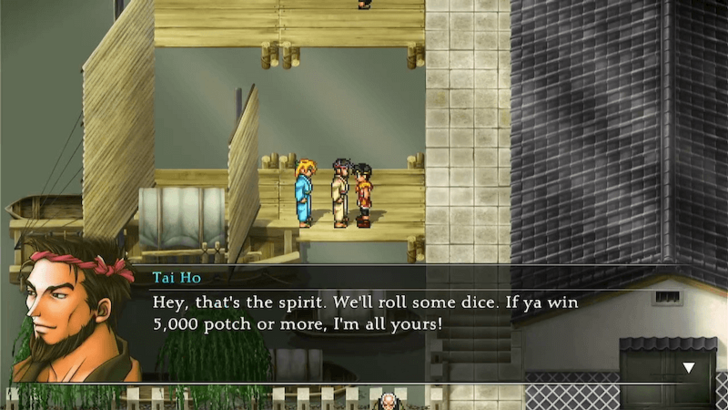 To recruit Tai Ho, head back to Kuskus Town and speak with him at the docks. Win 5,000 Potch in a game of Chinchirorin, and both he and Yam Koo will join your party. Be sure to save beforehand to avoid losing too much Potch. ▶︎ Chinchirorin Dice Minigame Guide |
| * | 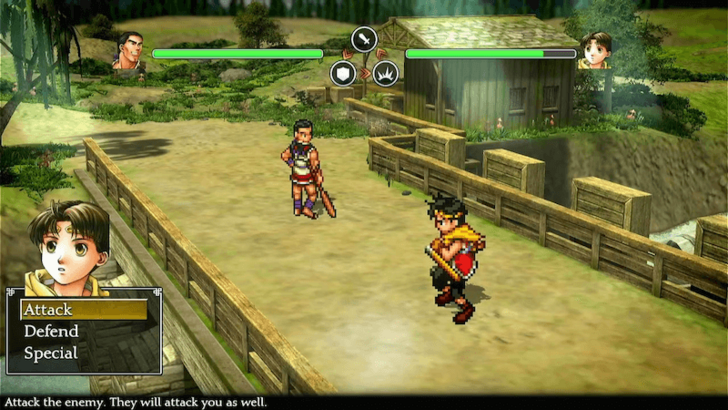 For Amada, return to the river bridge in Radat Town and talk to him. Defeat Amada in a duel again to have him join your party. |
| * | 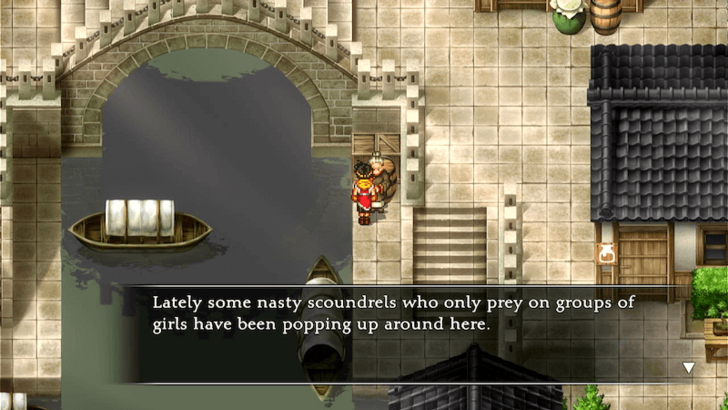 Before continuing, you can also recruit Oulan. Talk to the old woman near the southeast entrance of Kuskus Town. Leave and return with an all-female party, then cross the bridge. After a brief event, Oulan will rescue you and can then be recruited. |
| 2 | 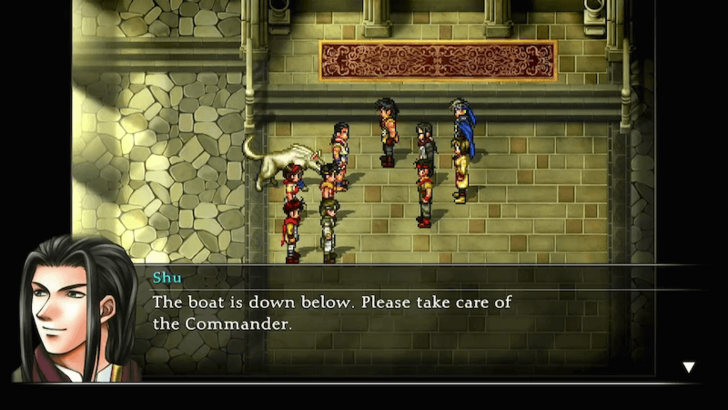 Put either Tai Ho or Amada in your party and talk to Shu in the Great Hall at Headquarters. |
| 3 | 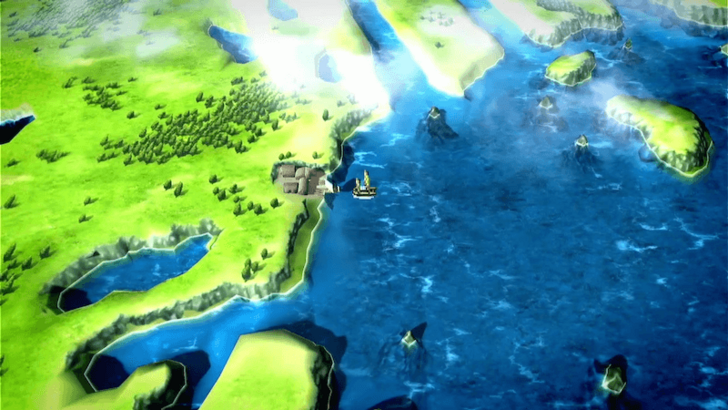 Head to the docks below. Use the boat to travel northwest to Lakewest Town. |
| 4 | 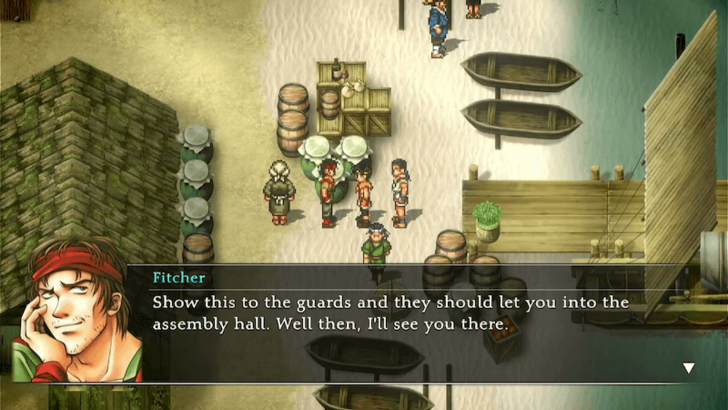 Upon arriving at Lakewest Town, Fitcher will give you the Letter of Introduction and leave your party. ▶︎ Kuskus Town Guide |
| * | 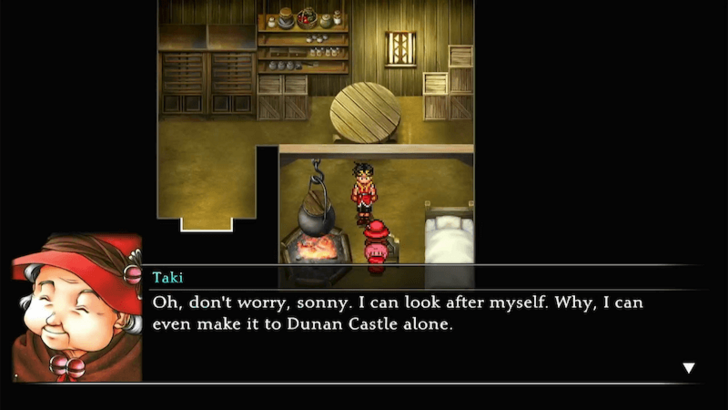 You can recruit Taki by speaking to her repeatedly in the house located in the upper left corner of the town. While at the docks, inspect the vegetable basket to obtain a Kindness Rune. ▶︎ Two River City to Greenhill Forest |
| 1 | 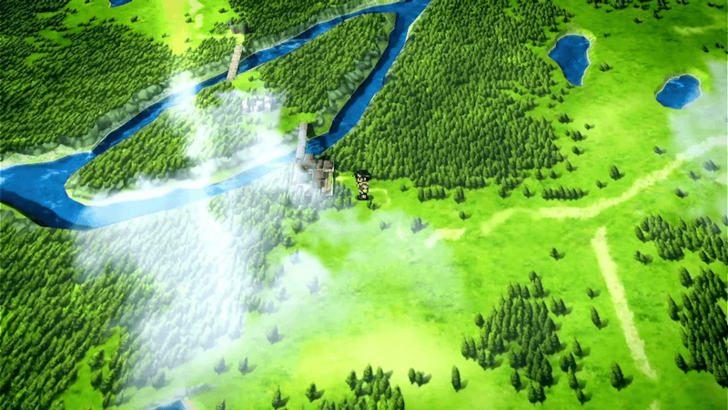 From Kuskus Town, travel west to reach Two River City. |
|---|---|
| 2 | 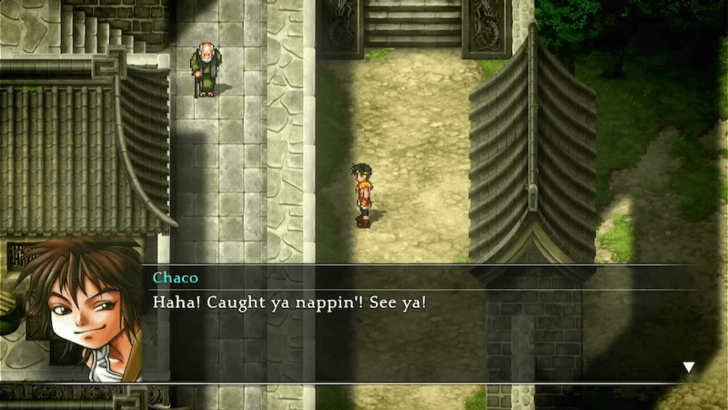 Upon your arrival in Two River City, Chaco, a Winger, will steal your wallet and Letter of Introduction, leaving you with 0 Potch for the time being. Note that Chaco will give you back the Potch later on when he gets recruited. ▶︎ Two River City Guide |
| 3 | 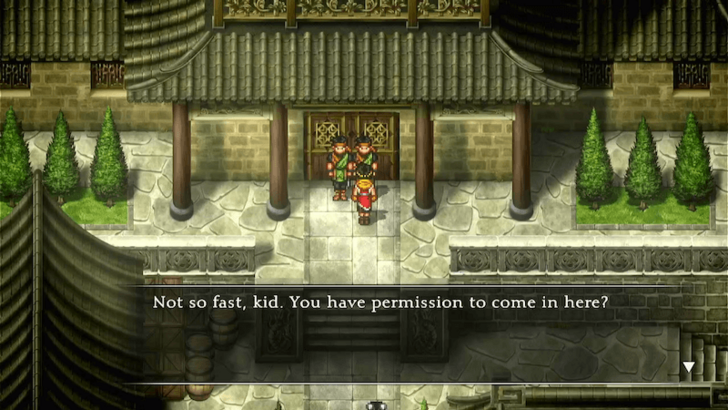 Head towards the Assembly Hall north of the city's Human District, where the guards will not let you in as your letter was stolen. You will then see Chaco run to the Winger's District, northwest of the city. |
| 4 | 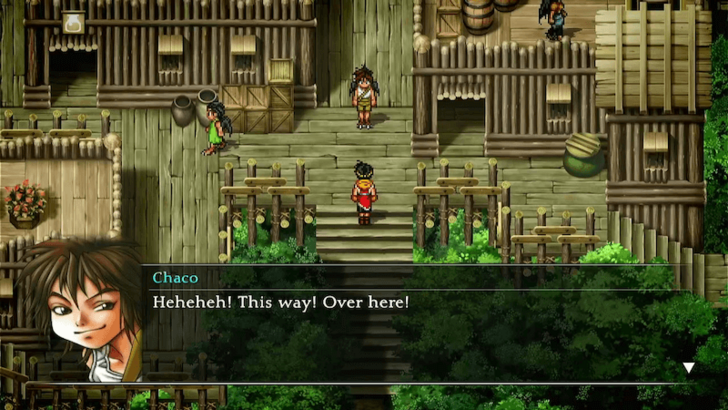 Go to the Winger's District and chase down Chaco until you finally corner him. He confesses to throwing away the Letter of Introduction before flying off. |
| 5 | 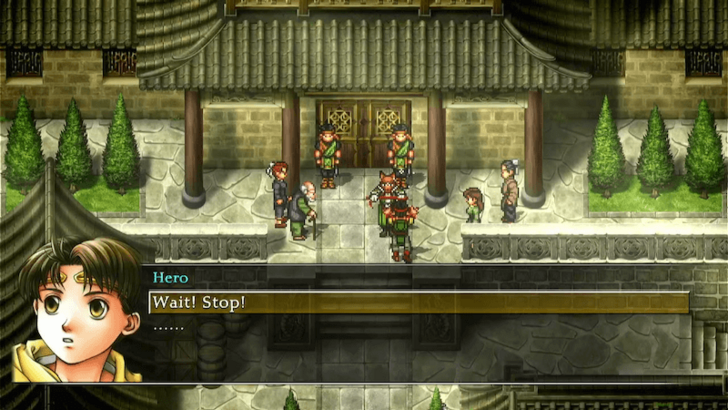 Return to the Human District, where you'll see Ridley scolding Fitcher. Step in to diffuse the situation. |
| 6 | 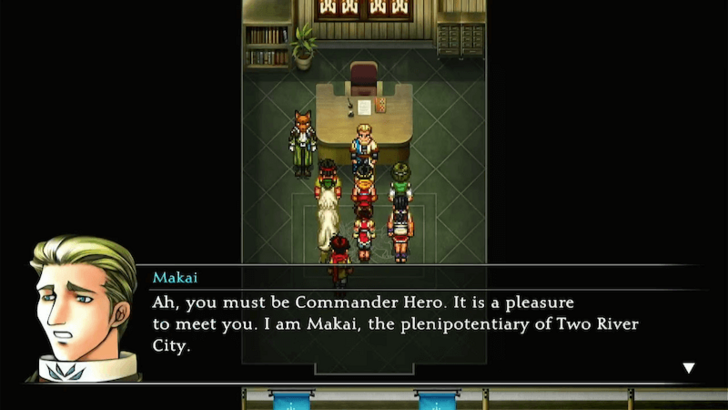 Afterward, enter the Assembly Hall and speak with Makai in his office. |
| 7 | 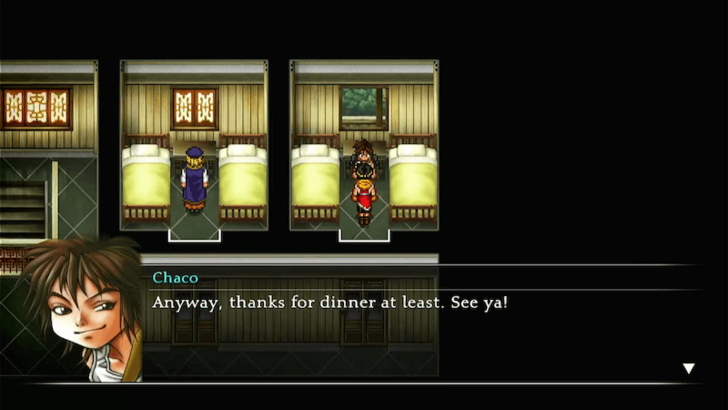 Once your conversation is over, head to the Green Leaf Inn, located just east of the Assembly Hall. When you reach your room on the second floor, you'll catch Chaco stealing your dinner before he quickly flies away again. |
| * | 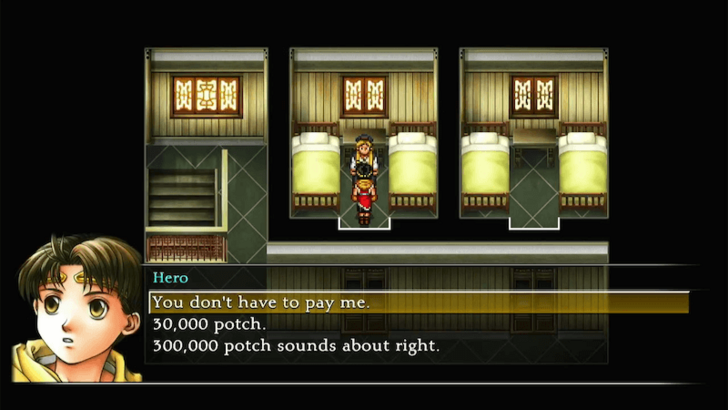 The next morning, talk to Hans in the neighboring room and recruit him. If you make him pay Potch to join, he will take much longer to join you. |
| 8 | 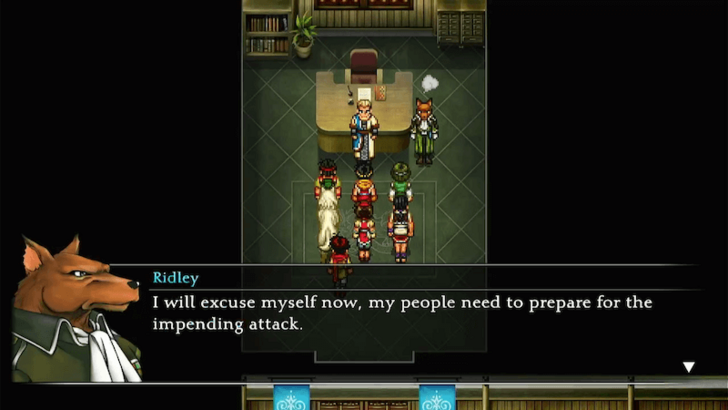 Head back to Makai's office in the Assembly Hall, where you'll find him and Ridley arguing before Ridley walks out. |
| 9 | 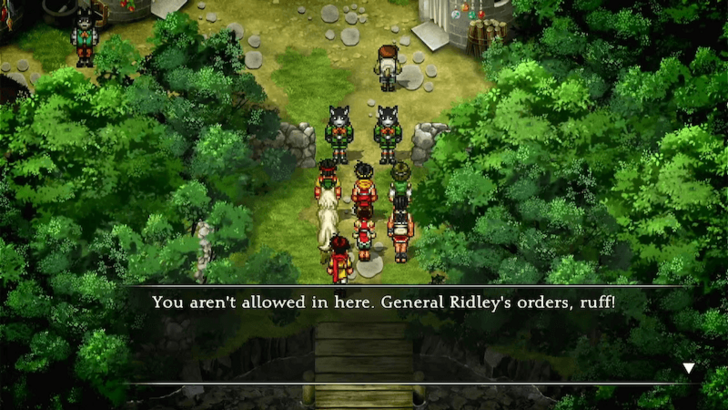 Make your way to the Winger's District and head northwest toward the Kobold District to find Ridley. However, the Kobold guards will block your entry. |
| 10 | 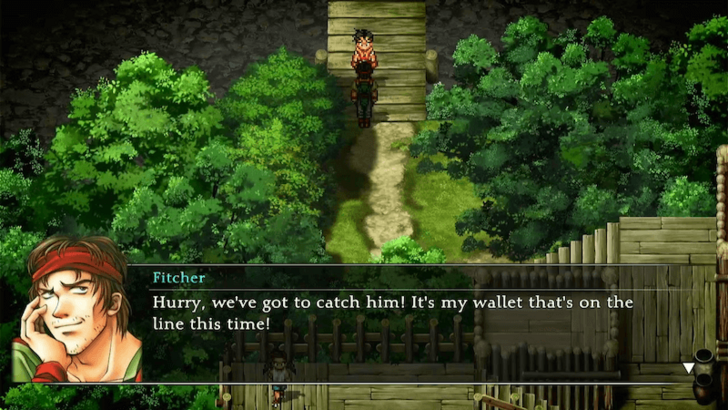 As you head back, Chaco strikes again, this time pickpocketing Fitcher. |
| 11 | 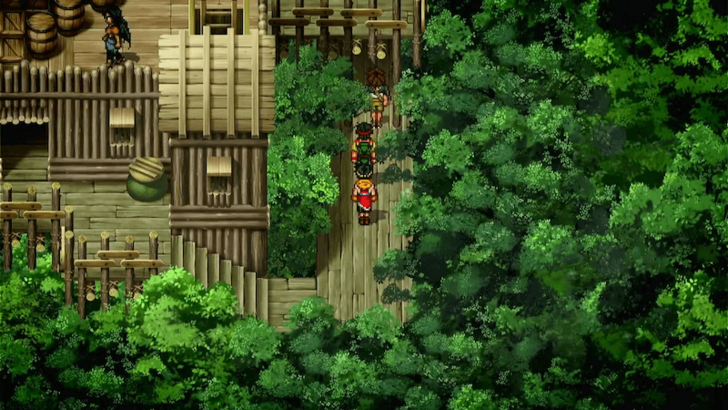 Chase Chaco once more, and he will lead you into the Two River Sewers, located northeast of the Winger's District. Before entering the Two River Sewers, make sure you're well-prepared and stocked up on heals, as the sewers is filled with enemies and end in a boss battle. |
| 1 | 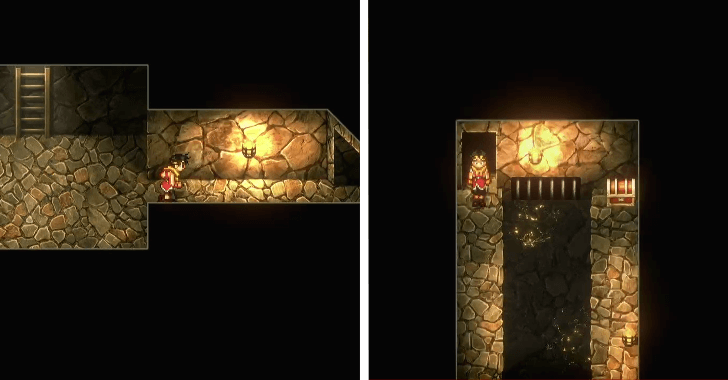 Enter the Two River Sewers and follow the tunnel until you reach the main sewer area. Once there, check the right side for a chest containing a Headgear. ▶︎ Two River Sewers Dungeon Guide |
|---|---|
| 2 | 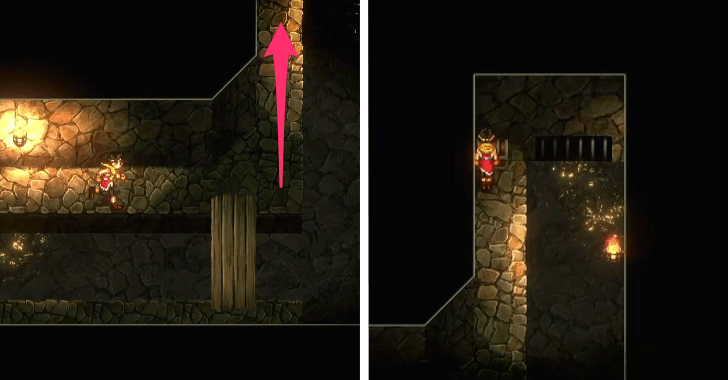 Head down and turn right. Just past the second plank, go north to find a chest with a Resurrection Orb. |
| 3 | 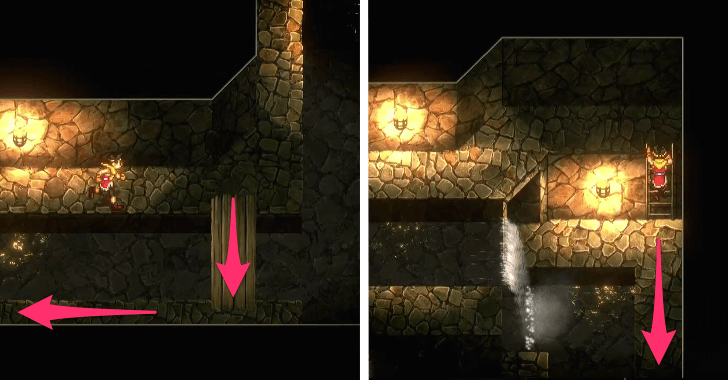 Return to the plank and continue south to the next area. Use the ladder on the right to climb down, then follow the path south. Sid can be found by taking the left path down the ladder, but he can't be recruited yet. Take note of his location for later. |
| 4 | 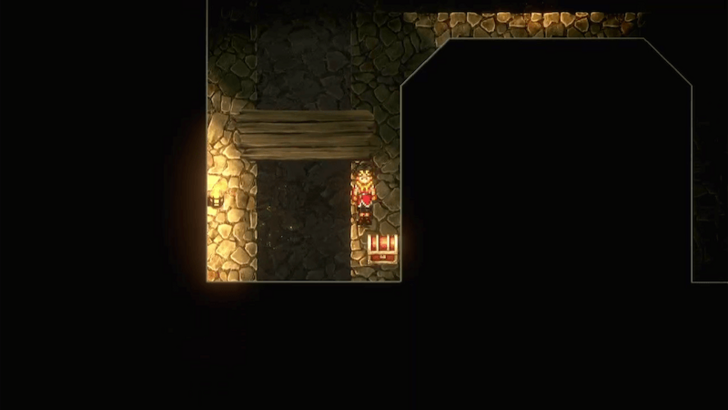 Continue along the sewer to find a chest containing a Healing Wind. |
| 5 | 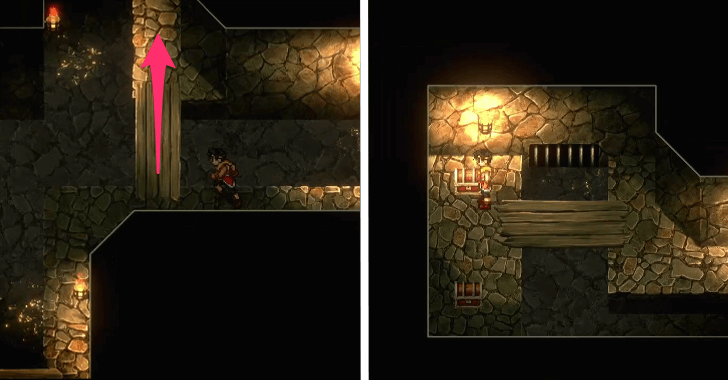 Keep moving until you reach a plank leading north. Cross it to obtain a Fire Emblem and a Stone of Protection from two chests. |
| 6 | 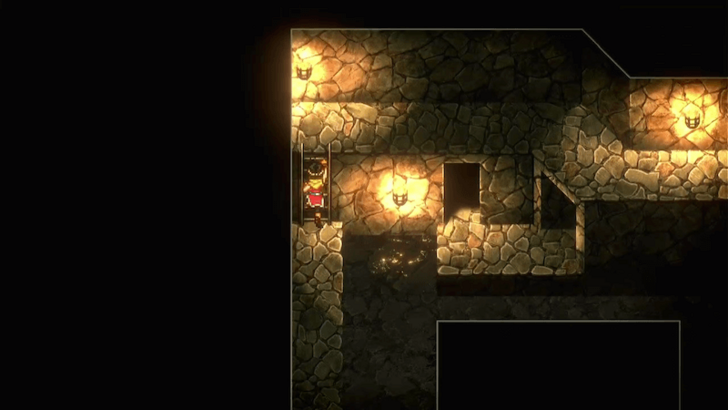 Return to the plank, then head south and follow the path until you reach a ladder that leads to the upper level. |
| 7 | 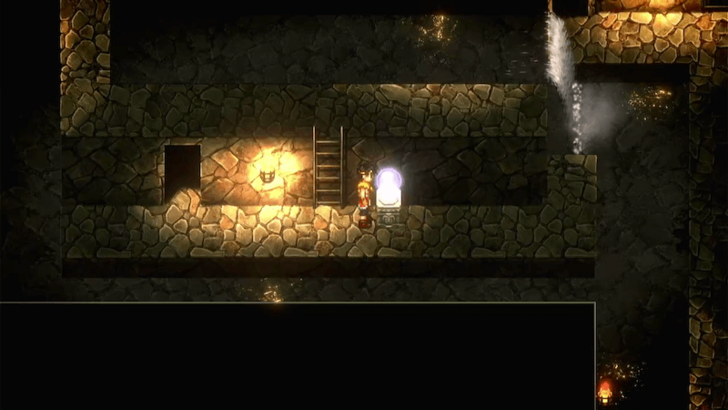 Climb up the ladder, proceed forward, then descend from another ladder. Prepare for an upcoming boss battle by making sure your party is fully healed and properly equipped. Save your game also using the Journeyman Orb nearby. ▶︎ How to Save Progress |
| 8 | 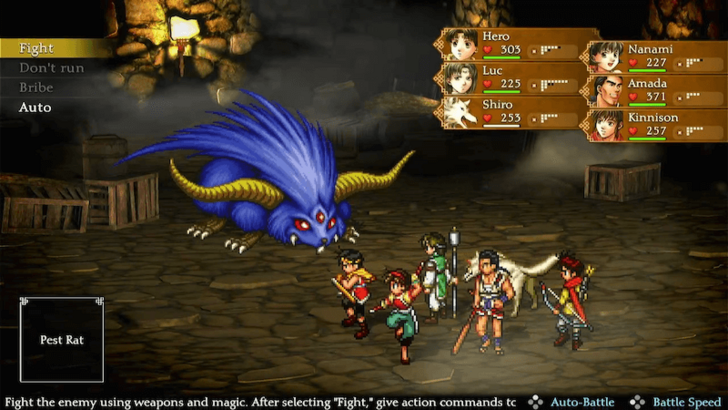 When you're ready, enter the door on the left to face Pest Rat! The boss has no weakness, so focus on unleashing your strongest attacks while maintaining your party's health with heals. ▶︎ Pest Rat Boss Guide |
| 9 | 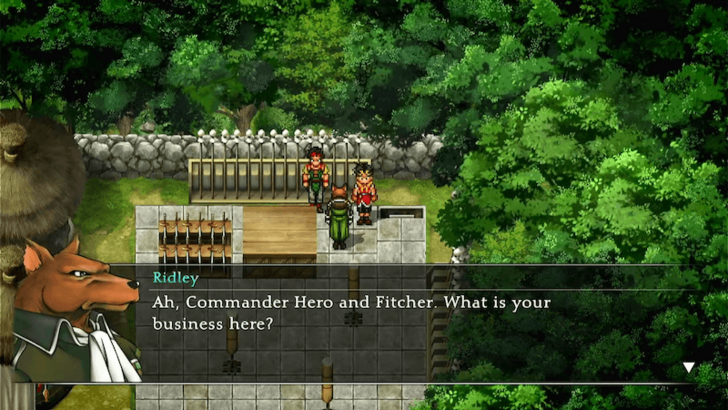 After defeating the Pest Rat, head forward through the hall and climb out, and you will find yourself back at the surface. Once outside, you will be confronted by Ridley. |
| 10 | 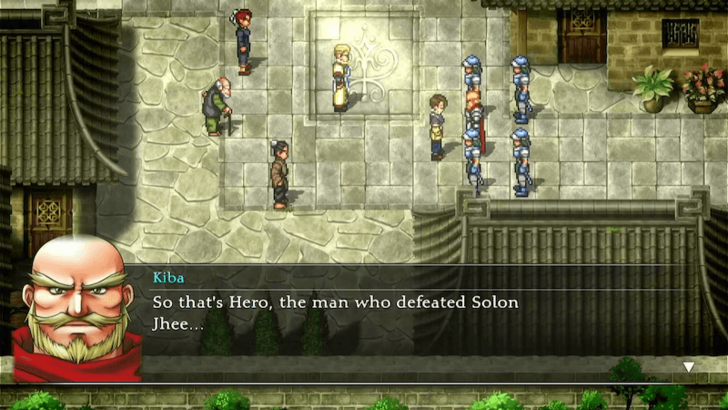 You'll then find yourself back outside the Kobold District. From there, head back to the Human District to trigger a cutscene. |
| 11 | 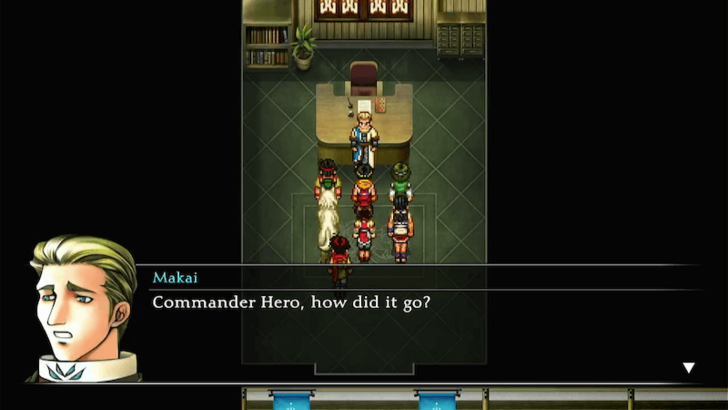 After the cutscene, make your way back to Makai's office in the Assembly Hall. |
| 12 | 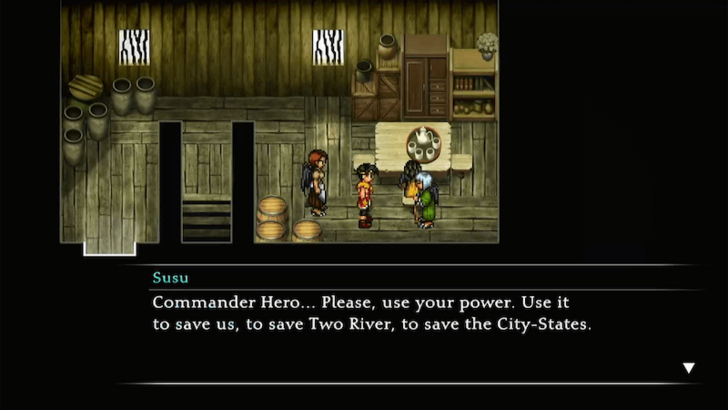 Once outside, Chaco will reappear and ask you to meet his grandmother. Follow him to his home in the Winger's District and speak with Susu, the leader of the Winged Horde. |
| 13 | 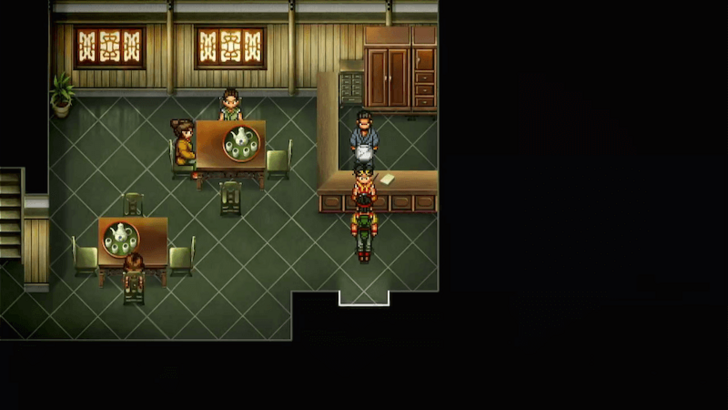 Following your conversation, return to the Green Leaf Inn and rest for the night. |
| 14 | 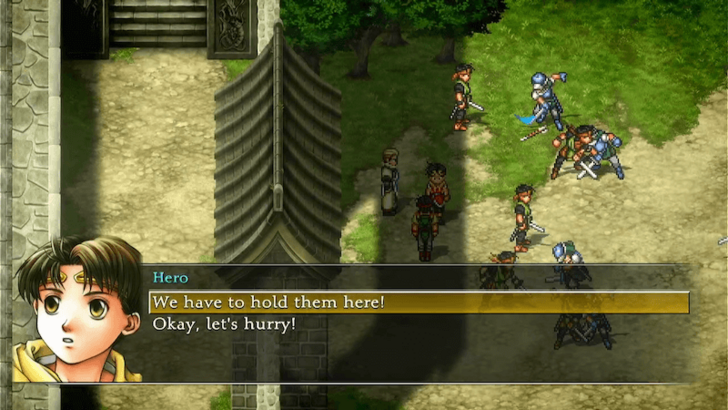 The next day, the Highland Army will launch an attack at Two River City. Defeat the soldiers in a series of battles, and make sure to select "We have to hold them here!" each time to get the best outcome. Eventually, Chaco and the Winged Horde, along with Ridley and the Kobolds, will join the fight by your side. |
| 15 | 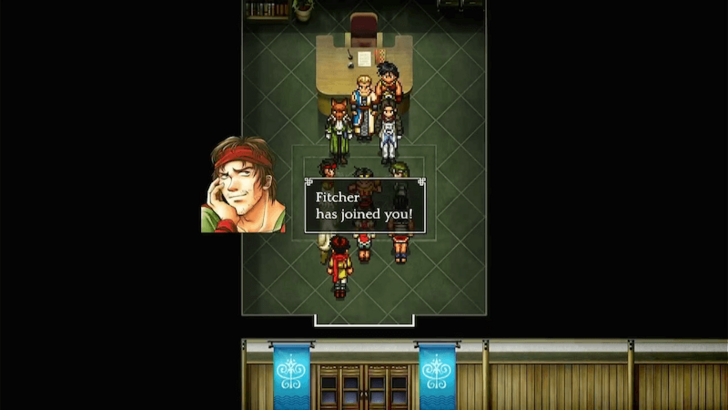 After stopping the invasion, head back to Makai's office in the Assembly Hall to meet with the leaders. While speaking with them, Fitcher officially joins the party. |
| 16 | 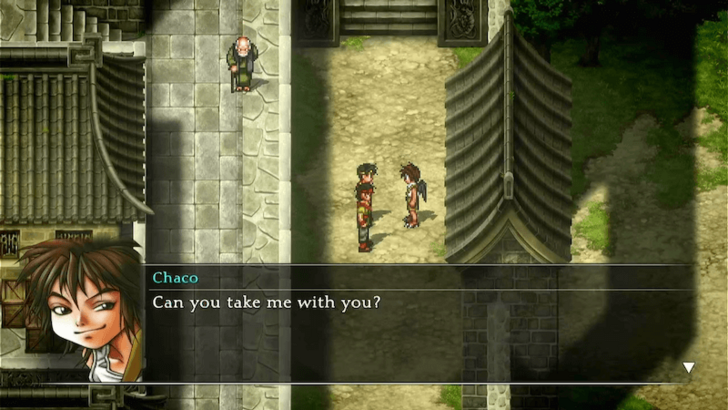 As you leave Two River City, Chaco will be waiting to join your cause. Recruit him, and he will return your stolen Potch. With this, the Kobold District becomes accessible. |
| * | 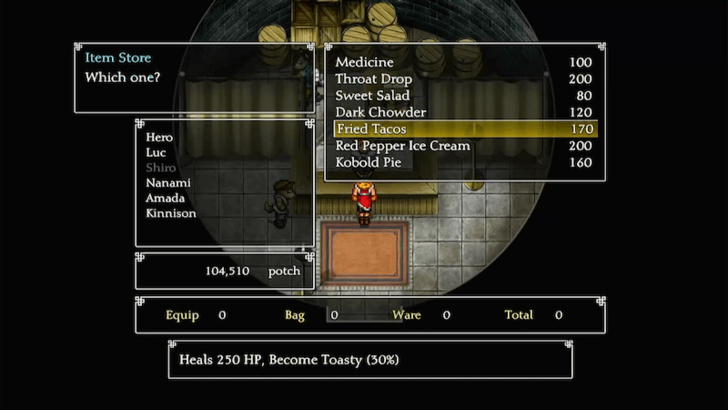 Before continuing the story, take the opportunity to recruit more characters on your way back to Headquarters. First, head to the Kobold District and purchase Fried Tacos from the Item Store. You need this to recruit Tetsu in Lakewest Town. |
| * | 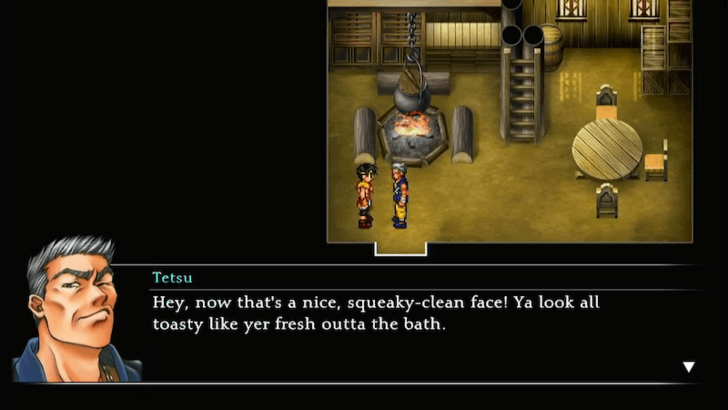 Travel west to Lakewest Town and enter the middle house in the north. Before speaking with Tetsu, eat all of the Fried Tacos to gain the Toasty effect. Once you have the effect active, talk to Tetsu, and he will join your party. ▶︎ Lakewest Town Guide |
| * | 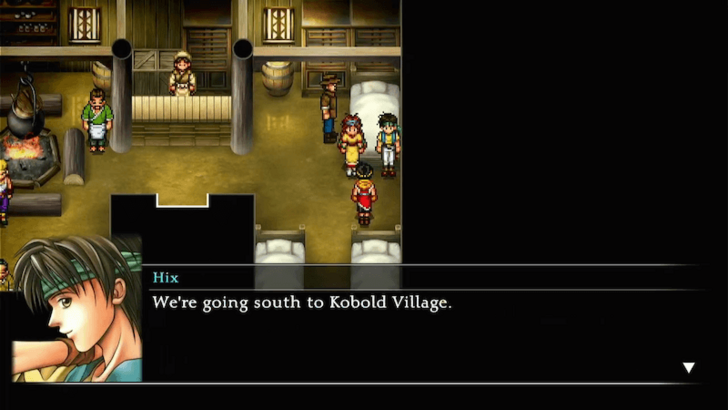 Hix and Tengaar's recruitment questline begins in the Lakewest Inn. Speak to them, and follow them to the Kobold Village and complete their side quest to recruit them. ▶︎ Hix and Tengaar Quest Walkthrough |
| * | 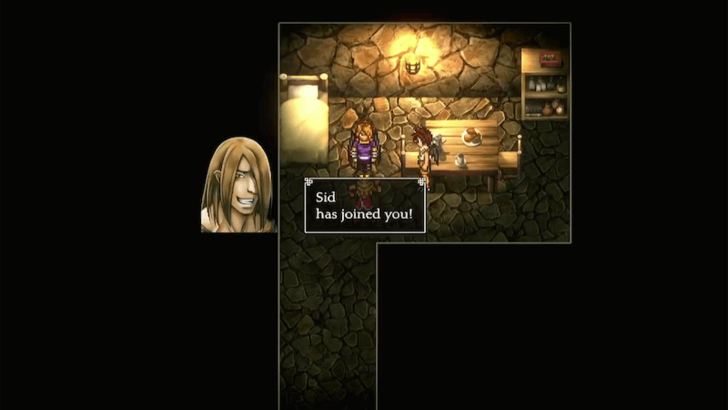 You can now also recruit Sid since Chaco has joined you. To do so, make sure Chaco is in your current party, then return to the Two River Sewers. Find Sid by taking the left path down the first ladder in the main sewer area. Enter the secret room, and after a cutscene, Sid will join your party. ▶︎ How to Change Party Members |
| 1 | 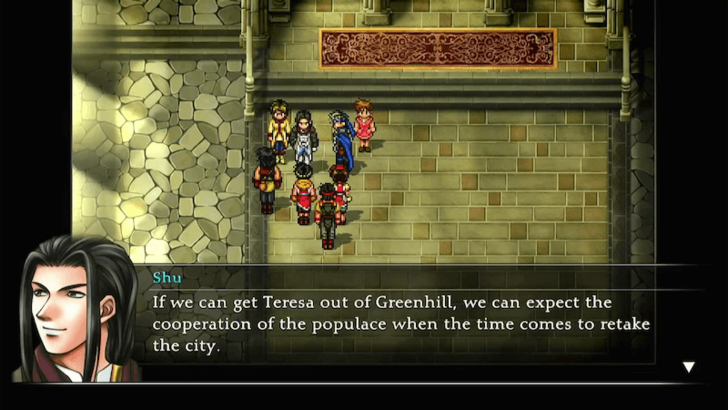 Return to Headquarters and report back to your team in the Great Hall. The next day, head back in the Great Hall to plan your infiltration of Greenhill City. After the discussion, Flik and Nanami will join your party. Note: Due to story reasons, party members you can select at this point will be limited, including characters you've recruited. |
|---|---|
| 2 | 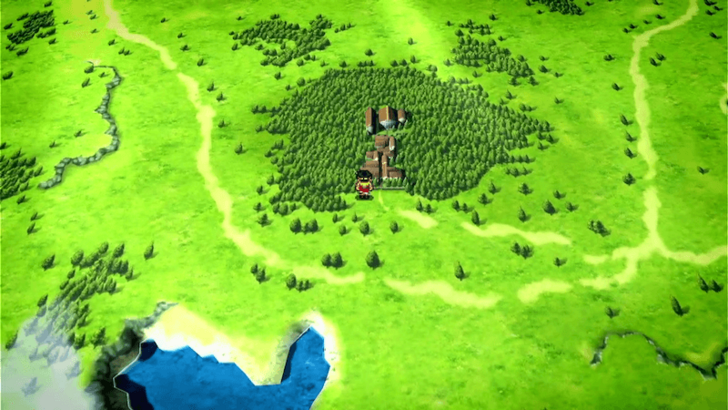 Use the boat at the docks to sail to Lakewest Town. From there, travel west to Two River City, exit through the Kobold District, and head northwest to reach Greenhill City. |
| 3 | 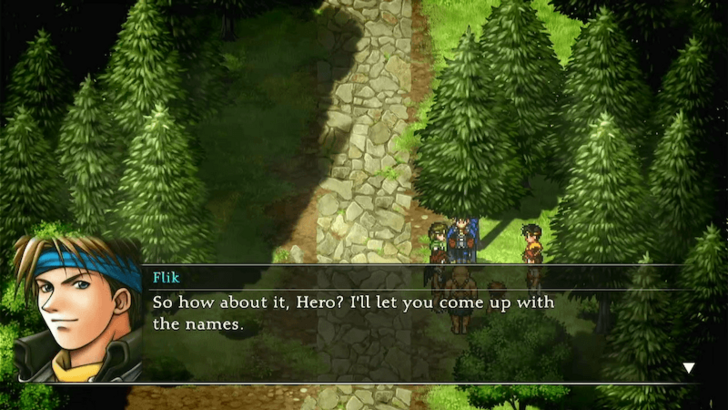 Upon arrival, you'll need to create fake names for yourself and Nanami. Choose any name you like, while Nanami will request to be called “Beth”. |
| 4 | 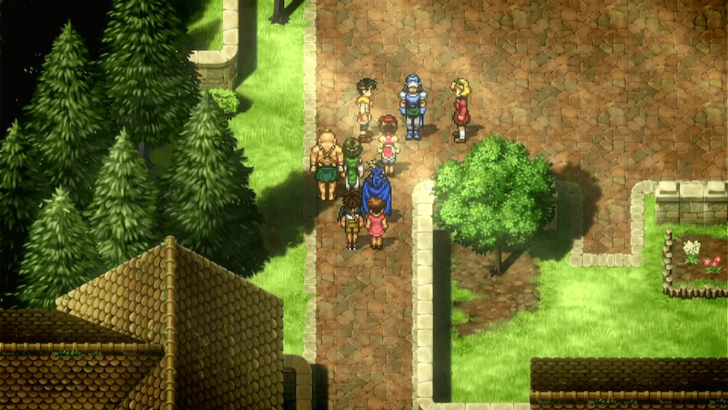 Enter Greenhill City and head north. As you reach the town center, a cutscene will trigger, showing an encounter between Nina and a Highland Soldier. ▶︎ Greenhill City Guide |
| 5 | 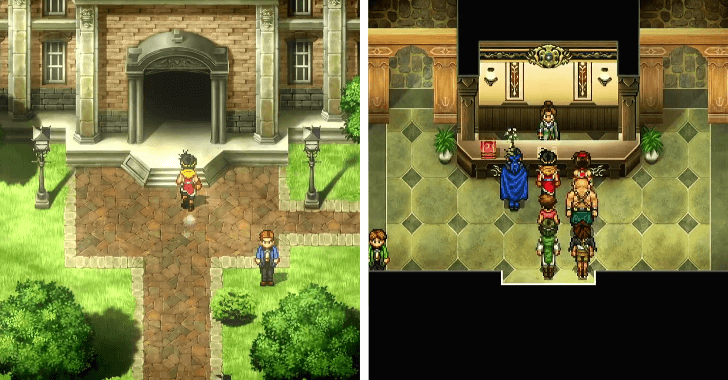 After the cutscene, continue north to Greenhill Academy and speak with Emilia at the reception desk. |
| 6 | 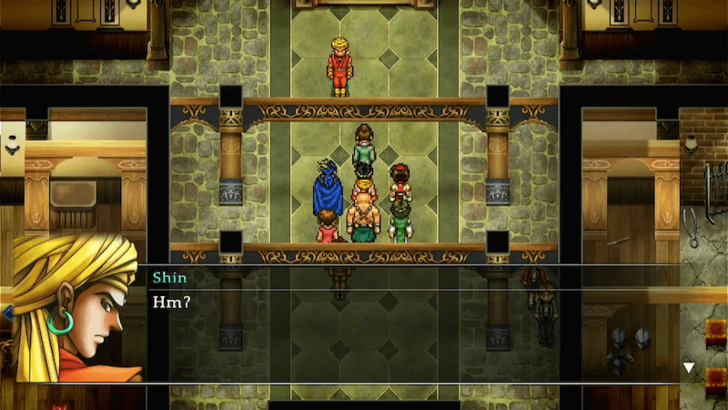 Follow Emilia on a guided tour of the academy, during which you'll briefly catch a glimpse of Shin. |
| 7 | 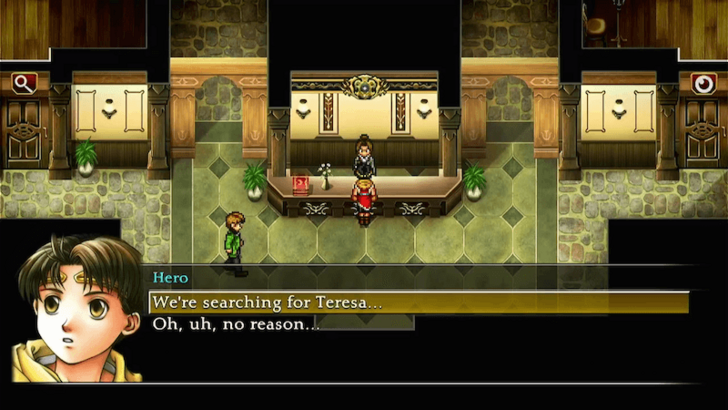 Once the tour is over, speak with Emilia again. When prompted, select “We're searching for Teresa...” and then tell the truth about your mission. Emilia will then agree to help. |
| 8 | 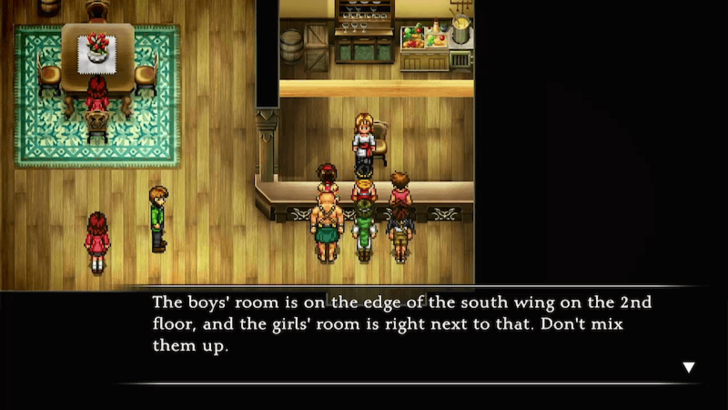 Exit the academy to trigger another cutscene with Nina. Afterward, head to the dormitories southwest of the campus and go upstairs to rest. |
| 9 | 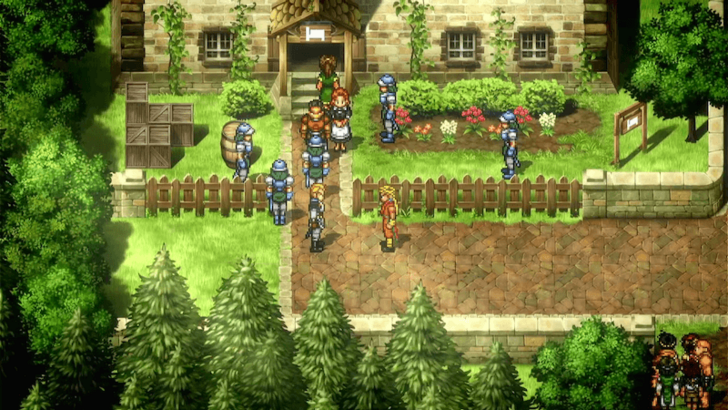 The next day, talk to Emilia outside the academy, then head to the Inn in the southwest part of the city to witness a commotion. |
| 10 | 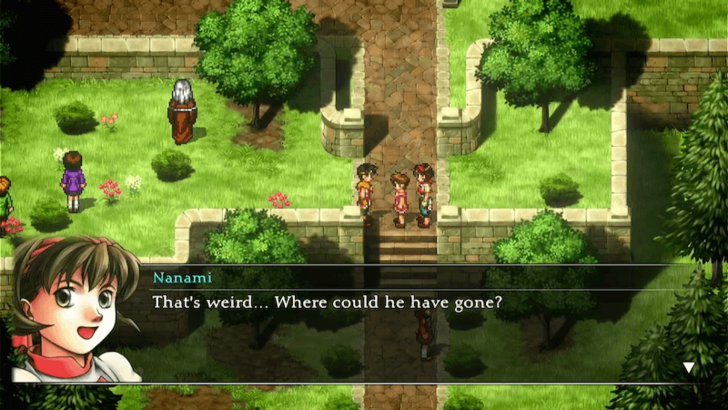 Follow Shin back to the campus, but you'll lose sight of him. With no other leads, return to the dorm and rest. |
| 11 | 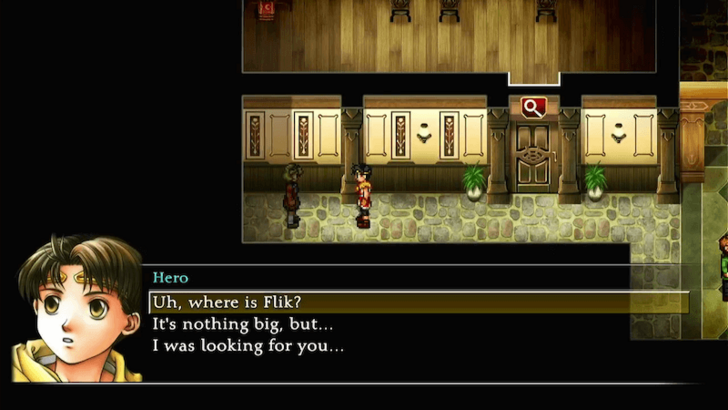 The following day, enter the academy and find Nina hiding in the dark corner outside of the Appraisal Class, located south of the building. |
| 12 | 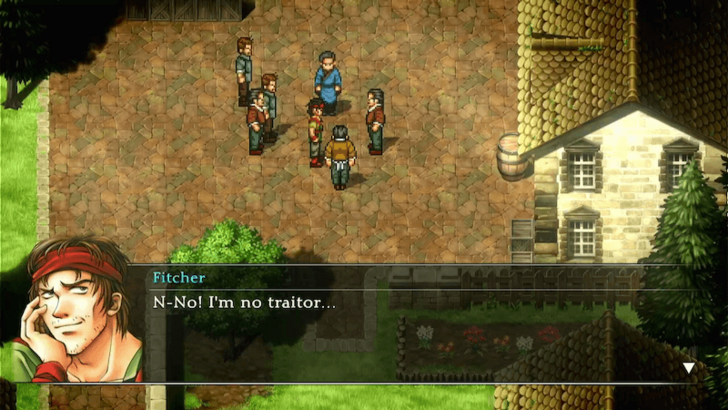 Leave the academy, where you'll run into Flik. Then, head to the town center to trigger a cutscene involving Fitcher. Return to the campus afterward and rest at the dormitories once again. |
| 13 | 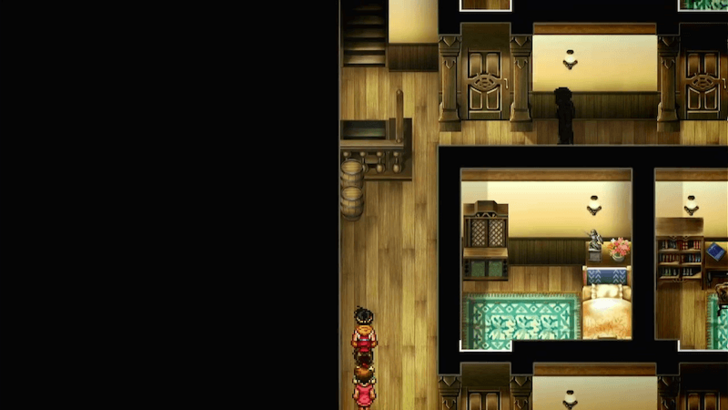 That night, your party wakes you up, alarmed by the presence of a ghost. Chase the shadowy figure through the dormitories until you reach the basement. |
| 14 | 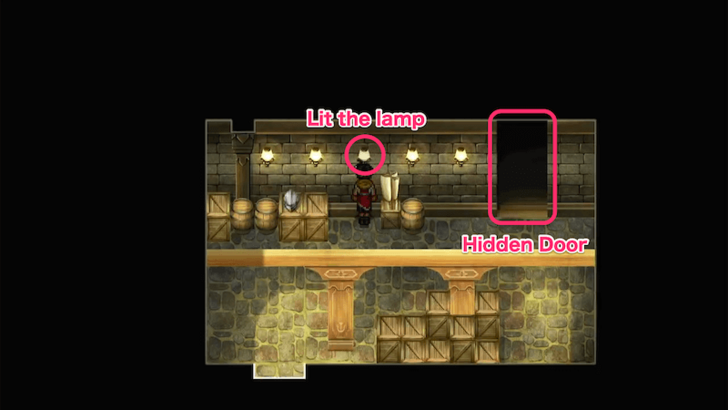 Interact with the unlit lamp in the middle to reveal a hidden door leading to a secret passage. |
| 15 | 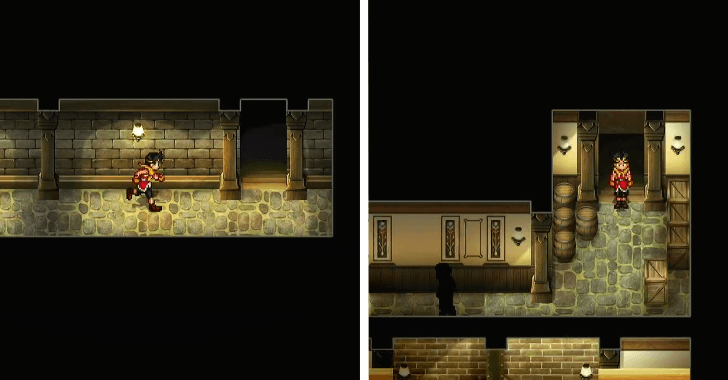 Enter the secret passage and follow it until it leads you inside the academy. |
| 16 | 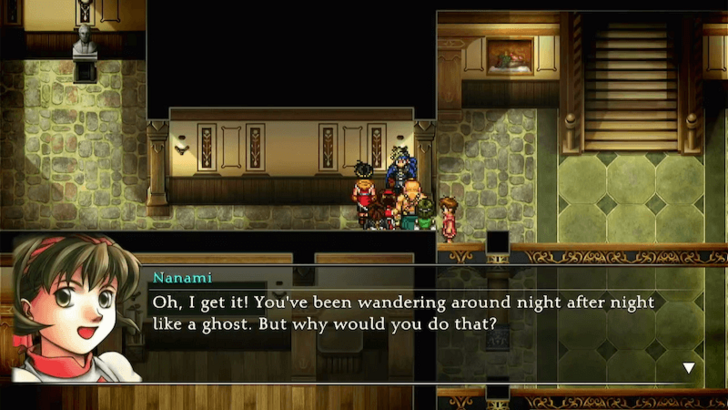 Head to the hall on the left and confront the ghost, only to discover it's actually Flik. |
| 17 | 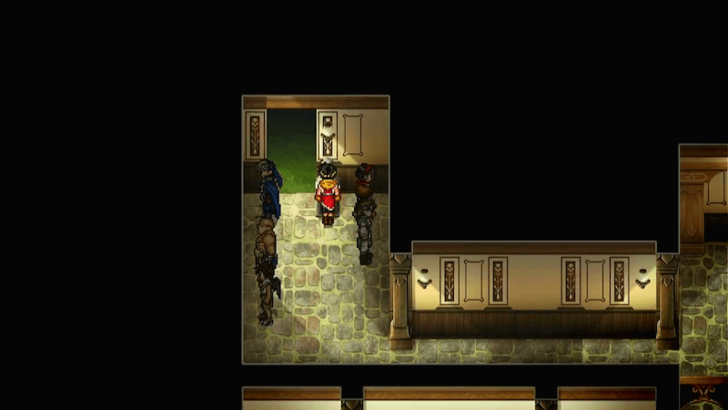 Further to the left, interact with the bust to reveal another hidden door. Enter the door to Greenhill Forest. |
| 1 | 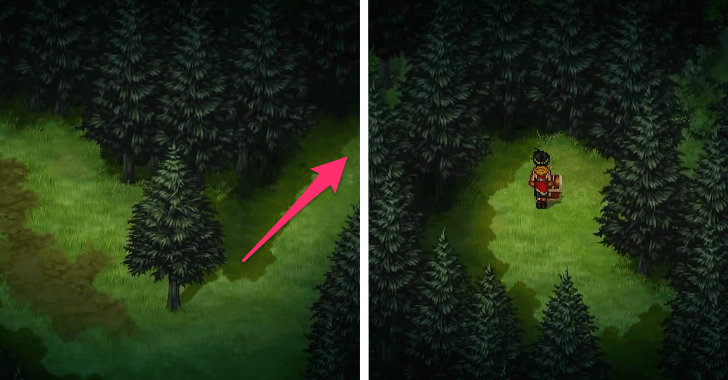 Head north through Greenhill Forest until you reach a fork in the path. Take the right path to find a chest containing a Protection Mist. Be ready to fight enemies along the way! ▶︎ Greenhill Forest Dungeon Guide |
|---|---|
| 2 | 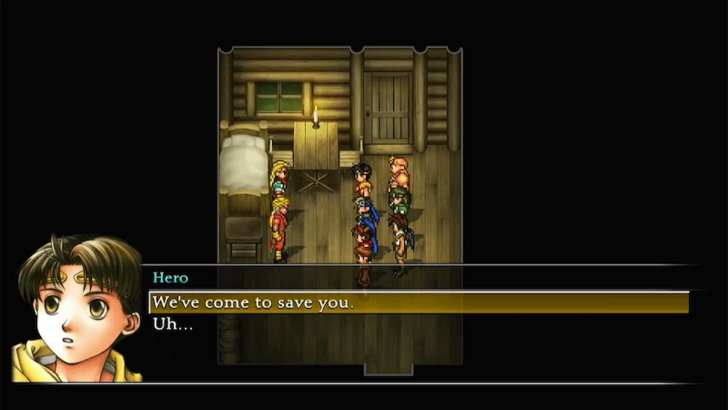 Return to the fork and take the left path, continuing forward until you reach Teresa's cabin. A cutscene will trigger, where you speak with Teresa and Shin. |
| 3 | 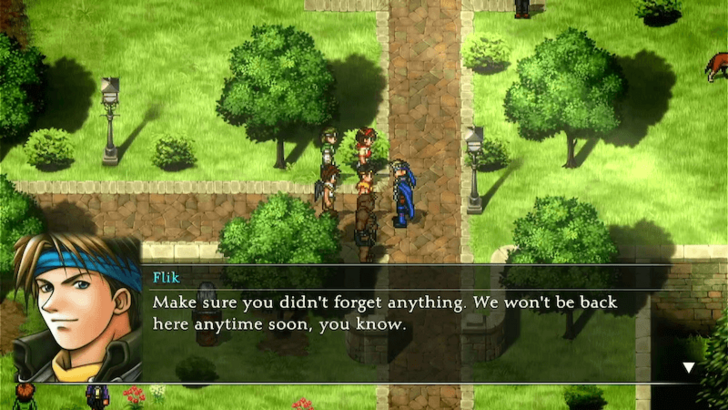 After the lengthy cutscene, you'll find yourself back in the dormitories. Step outside and speak with Flik. Prepare your party, as you'll be battling your way out of the city. ▶︎ How to Change Party Formation |
| 4 | 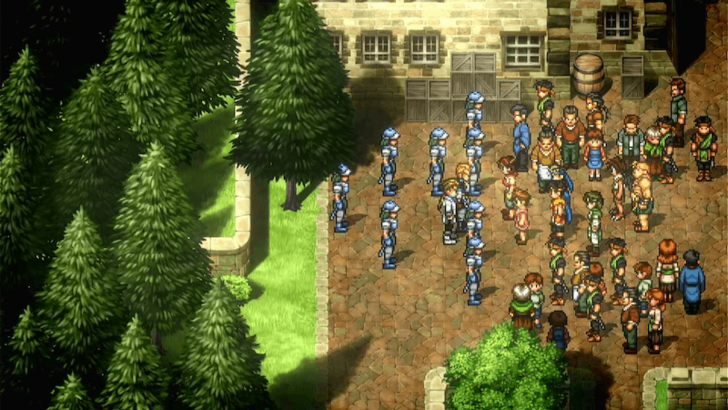 Once you're ready, head to the town center, where a cutscene shows that your cover has been blown, forcing you to escape. |
| 5 | 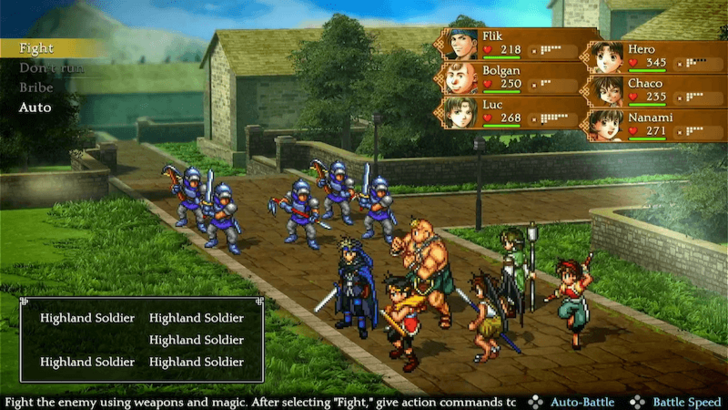 Make your way back to Greenhill Academy and enter the hidden door to Greenhill Forest while fighting Highland Soldiers along the way. |
| 6 | 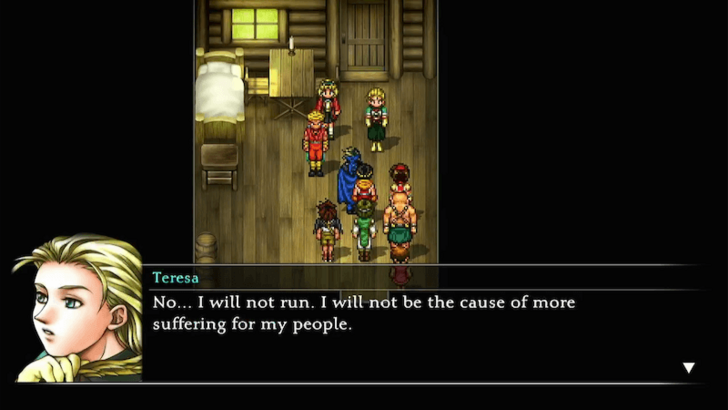 Run back to Teresa's cabin, where a cutscene will play. Teresa will then leave the cabin to surrender to the Highland Army. |
| 7 | 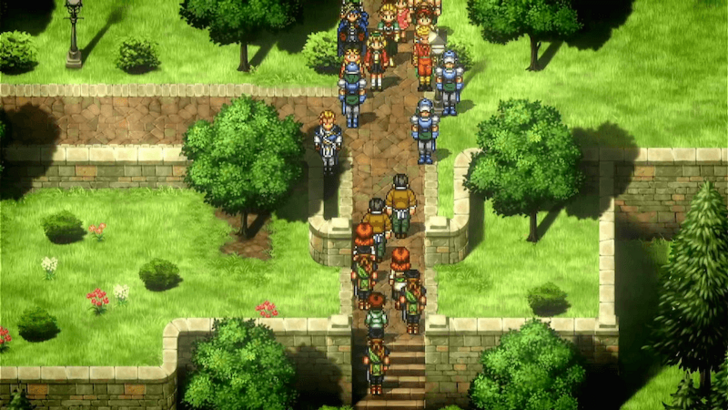 Follow Teresa back outside Greenhill Academy, where Rowd and his troops confront you, leading to another battle against Highland Soldiers. |
| 8 | 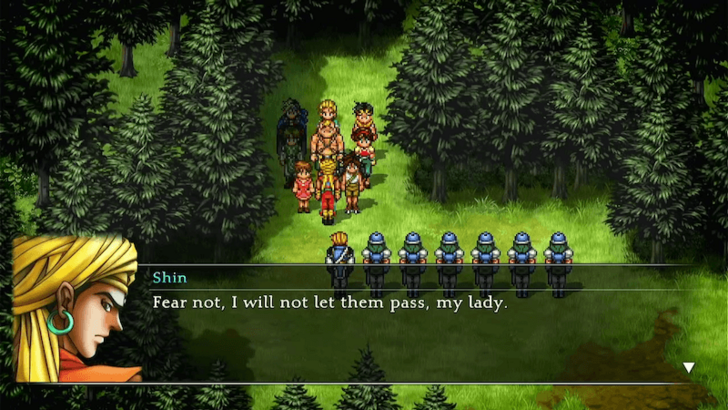 After defeating them and a brief cutscene, return to Teresa's cabin. There, Shin chooses to stay behind to hold off the pursuing soldiers, giving you time to escape. |
| 9 | 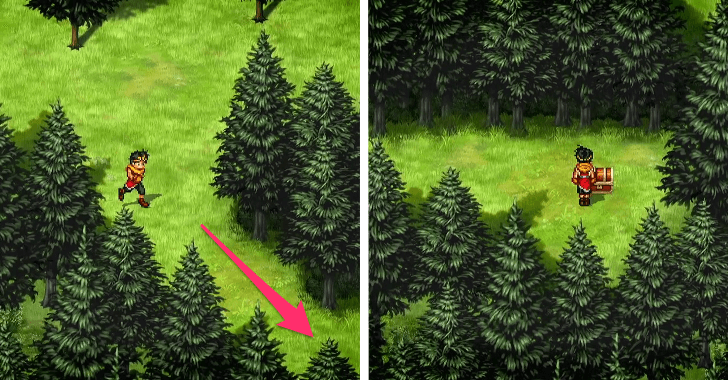 From Teresa's cabin, continue forward and take the south path at the first corner to find a chest containing Toe Shoes. You can also collect a Silver Hat in the north path. |
| 10 | 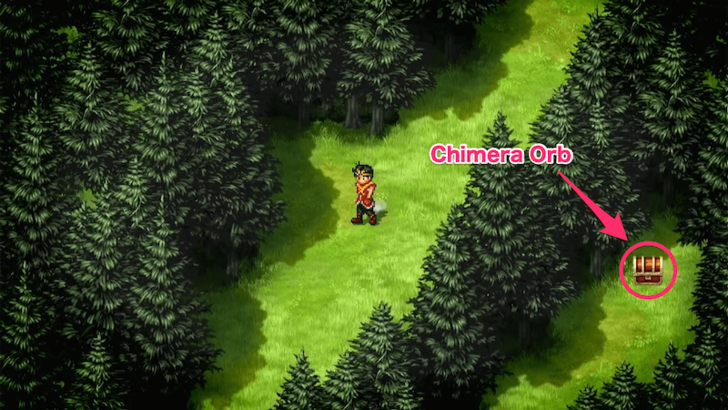 Press forward, and near the exit, you'll find a chest on the right containing a Chimera Orb. |
| 11 | 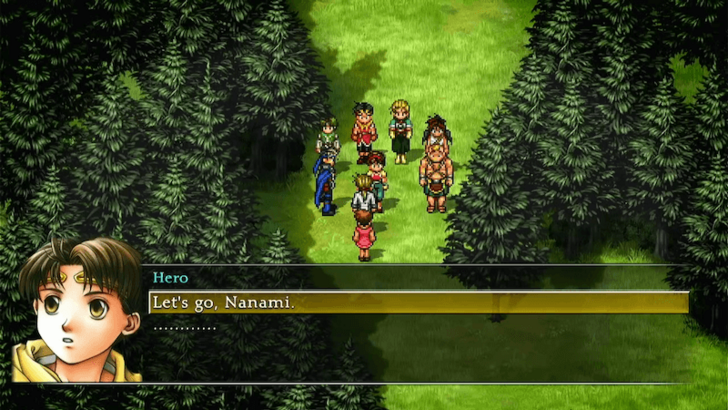 As you approach the forest's exit, Jowy appears to confront you. After the cutscene, take the south path to leave Greenhill Forest and return to the overworld. |
| 12 | 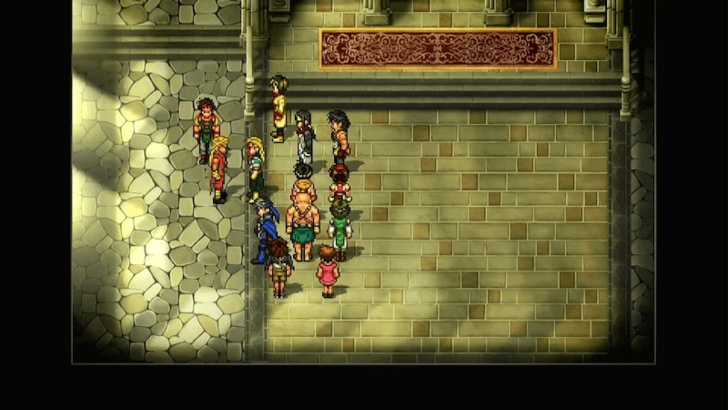 Make your way back to Headquarters and enter the Great Hall to regroup. Following the meeting, Teresa, Shin, and Nina will officially join your party. The next day, return to the Great Hall to discuss your next mission. ▶︎ Forest Village to Rockaxe Town |
| * | 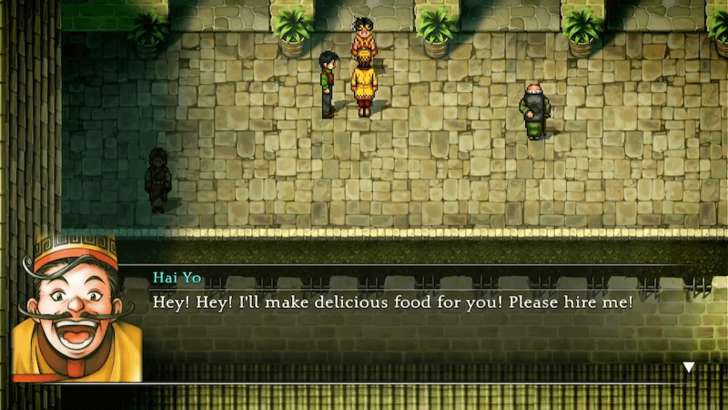 With this part of the story complete, new opportunities to recruit characters have become available. First, talk to Hai Yo in the upper balcony of Headquarters to recruit him. Recruiting him will unlock the Restaurant within Headquarters. ▶︎ Restaurant Guide and How to Unlock |
| * | 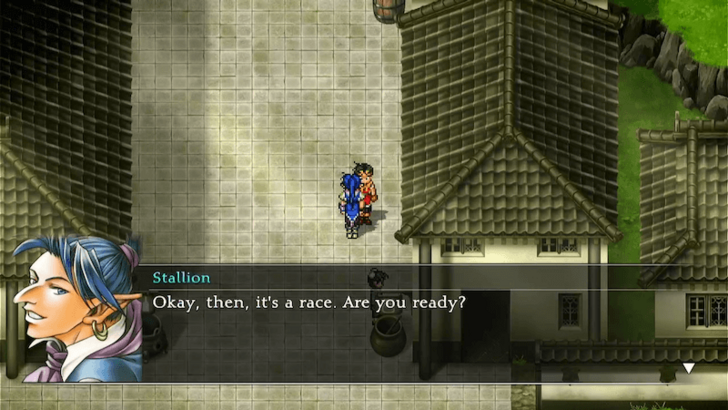 Travel to Radat Town and find Stallion running around the area. He will challenge you to a race, agreeing to join your party if you win. You must have fled from at least 50 battles for him to join you; otherwise, you will lose, and he won’t join. |
| * | 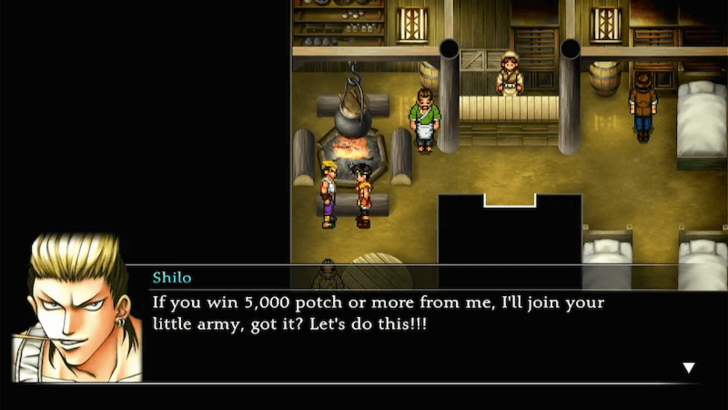 Make your way to Lakewest Town and enter the Inn, where you will find Shilo. To recruit him, win 5,000 Potch in a game of Chinchirorin, and he will agree to join your party. Be sure to save beforehand to avoid losing too much Potch. ▶︎ Chinchirorin Dice Minigame Guide |
| * | 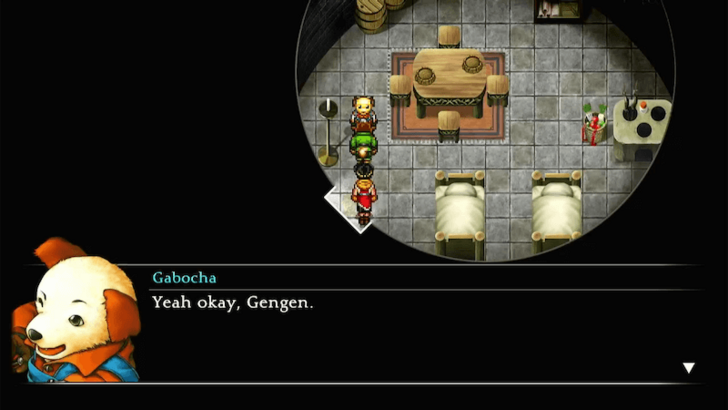 Head to the Kobold District of Two River City to recruit Gabocha. Enter the house to the right of the Item Store and speak with him. Make sure Gengen is in your party for Gabocha to join. |
| * | 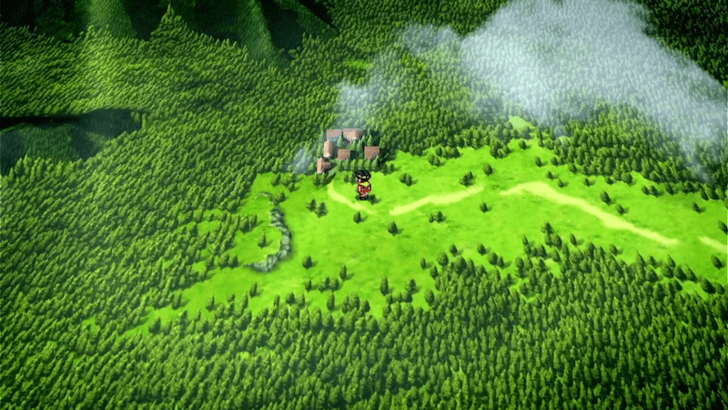 Before continuing with the story, take the opportunity to recruit more characters. First, travel northwest from Greenhill City to Forest Village to find Wakaba and Tony. |
|---|---|
| * | 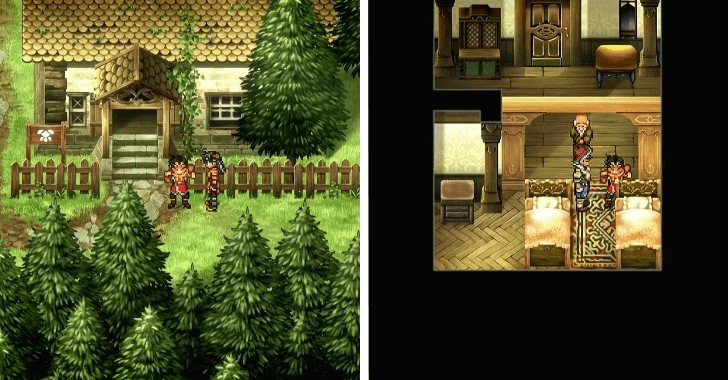 Wakaba can be found standing in front of the Armor Shop, while Tony is inside the house on the north side of the village. Talk to both of them to have them join your party. ▶︎ Forest Village Guide |
| * | 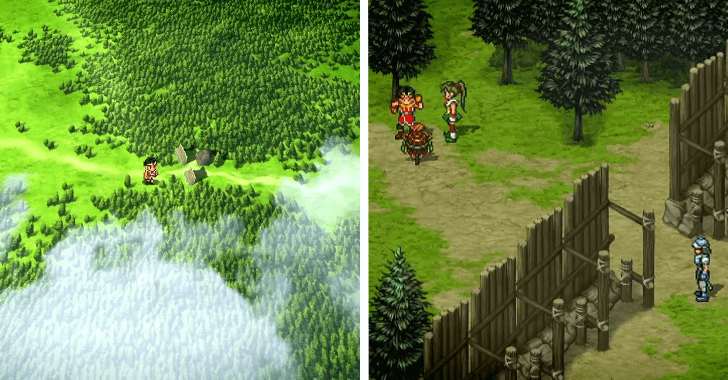 Next, from Greenhill City, head east to the Muse-Greenhill Checkpoint to recruit Meg and Gadget. |
| 1 | 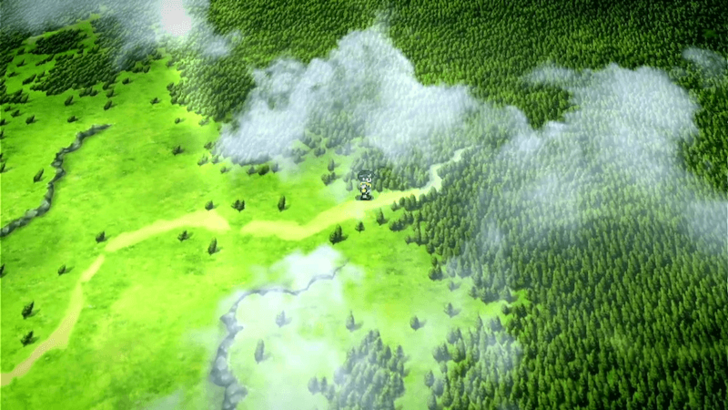 When you're ready, travel northeast from Greenhill City to reach the Path to Matilda. |
| 2 | 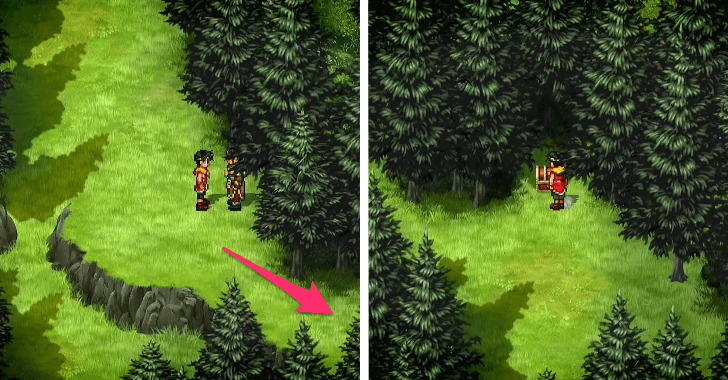 Upon arriving in the Path of Matilda, head north and take the path behind Badeaux to find a chest containing a Guard Ring. Be ready to fight enemies along the way! Note that you can only recruit Badeaux if you have an animal member in your party. ▶︎ Path to Matilda Dungeon Guide |
| 3 | 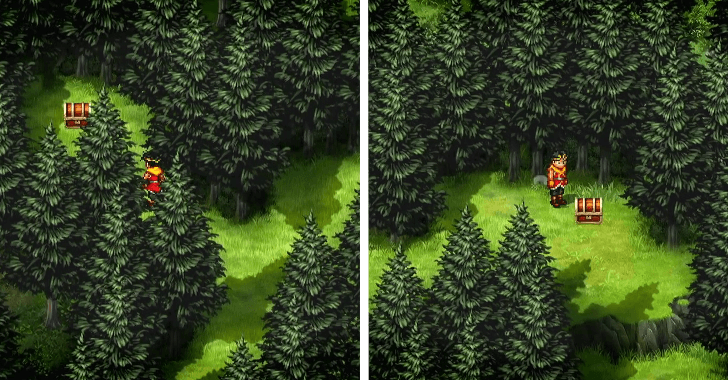 Continue forward into the next two areas. You'll find a chest with a Mega Medicine on the left, and if you take the northeast path, you can collect a Dragon Armor. |
| 4 | 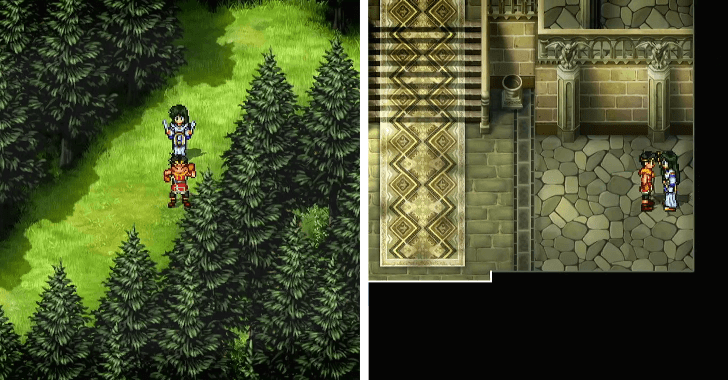 Keep moving east until you come across Viki. After speaking with her, she will join your party, unlocking the ability to teleport to previously visited locations from Headquarters. Viki will then teleport you back to Headquarters. Talk to her in the lower right section on the ground floor near the Tablet of Promise and test the fast travel feature by selecting Forest Path (Greenhill-Matilda) as your destination. ▶︎ Fast Travel Guide: How to Teleport |
| 5 | 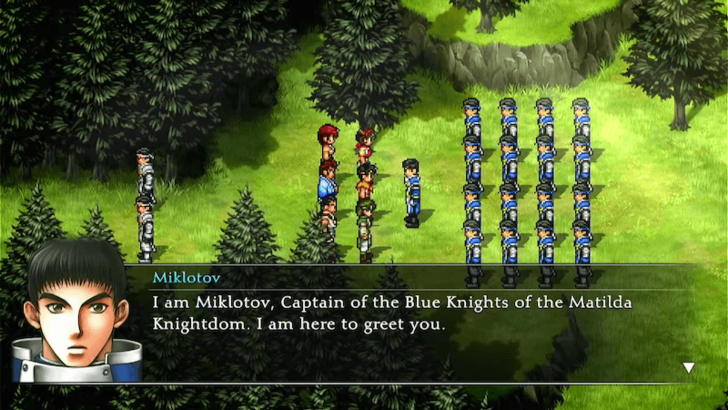 Once back in the Path to Matilda, head east from where you met Viki and you'll encounter Miklotov. A cutscene will trigger, and you will be brought to Rockaxe Castle. |
| 1 | 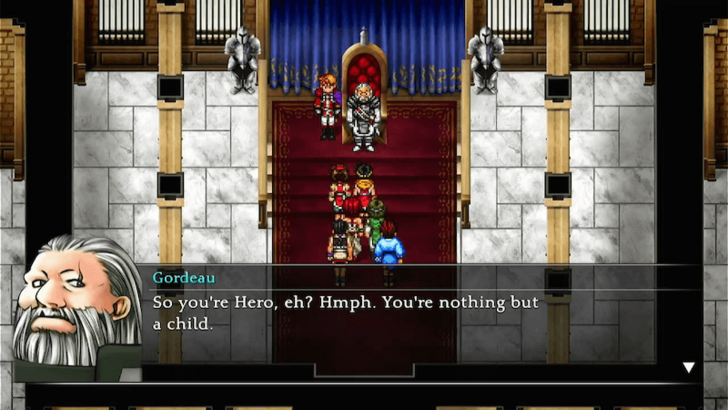 Enter Rockaxe Castle and head north to the throne room to speak with Gordeau. ▶︎ Rockaxe Castle Dungeon Guide |
|---|---|
| 2 | 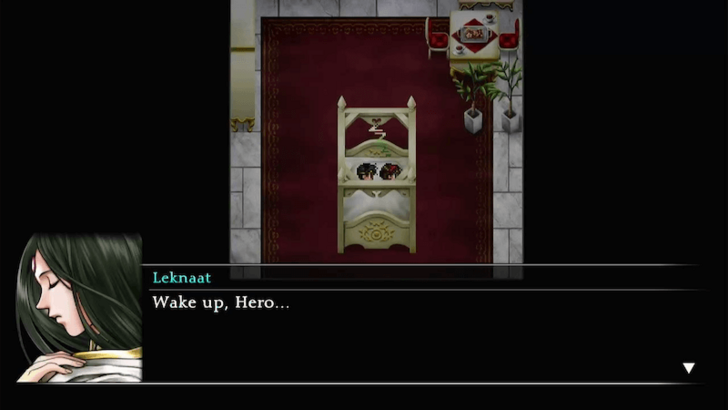 After a cutscene, you can explore the castle or rest for the night. If you decide to sleep, a cutscene will play in which Leknaat speaks to you. |
| 3 | 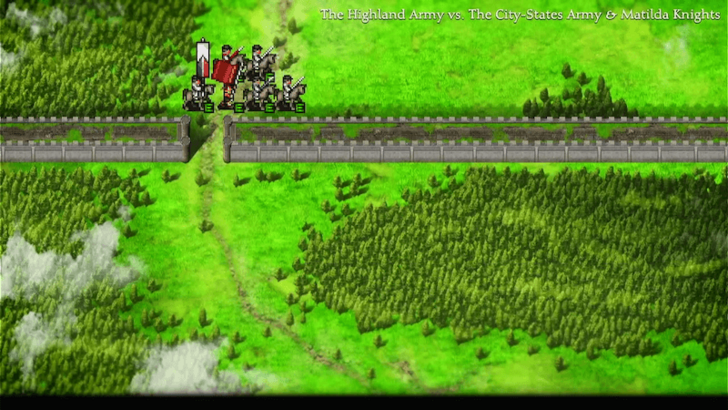 The next morning, return to the throne room, where the Knights of Matilda are preparing for an Army Battle. You may choose to participate, but regardless of your choice, you will lose the Army Battle. |
| * | 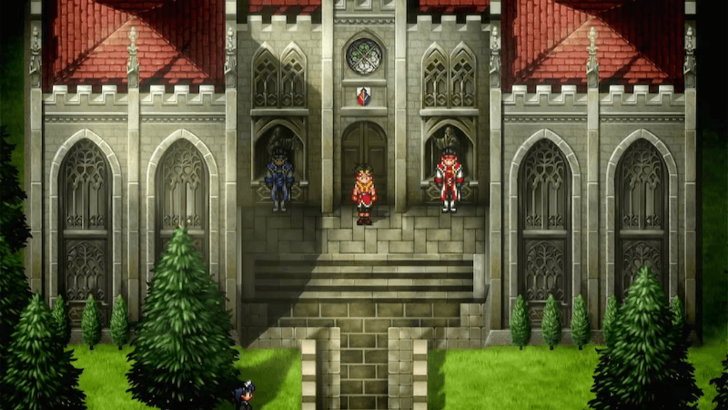 After the Army Battle, you will have the opportunity to do an optional questline to recruit Futch and Humphrey. If you wish to pursue this questline, follow the walkthrough linked below. Otherwise, follow the next steps instead. ▶︎ Humphrey and Futch Quest Walkthrough |
| 4 | 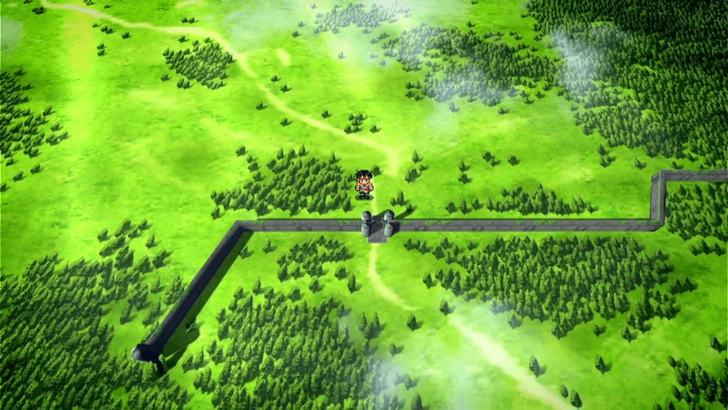 Leave Rockaxe Town and travel southeast toward Highway Village, then continue south to reach the Muse-Matilda Checkpoint. Upon arrival, Miklotov will approach you. |
| 1 | 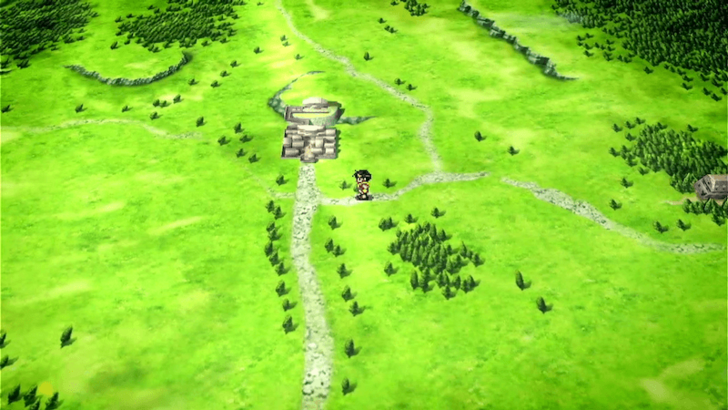 Head southeast to Muse City, where a cutscene will trigger as you approach. |
|---|---|
| 2 | 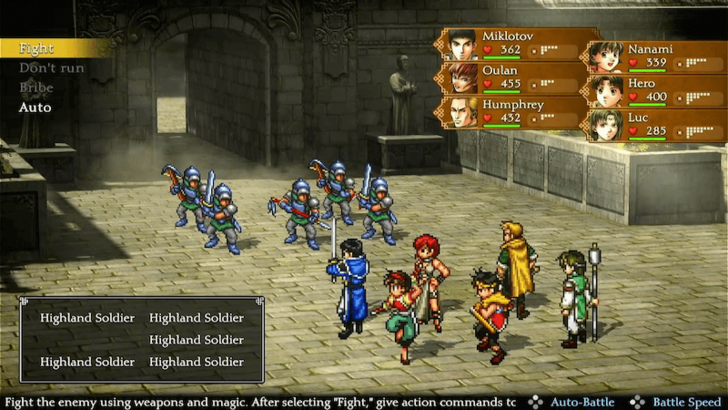 Enter the city and make your way northwest to Jowston Hill, where another cutscene will play, leading to a battle against Highland Soldiers. |
| 3 | 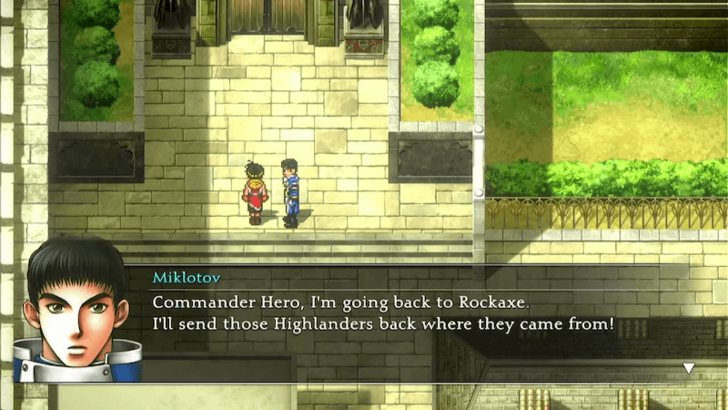 After defeating them, escape Muse City! Be prepared to fight more Highland Soldiers on your way out. |
| 4 | 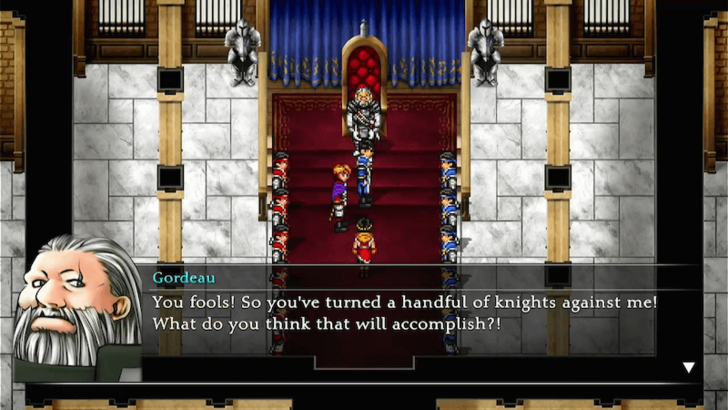 Return to Rockaxe Castle and report back to Gordeau in the throne room. |
| 5 | 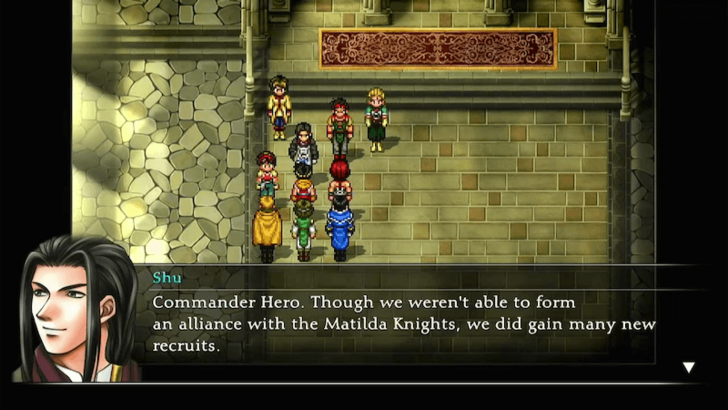 Following a lengthy cutscene, you will find yourself back at Headquarters. Head to the Great Hall to regroup with your party. |
| 6 | 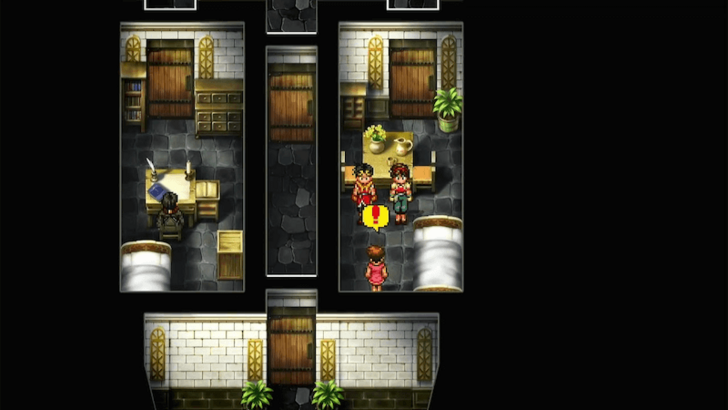 Afterward, go to the living quarters on the next floor and speak with Pilika to rest for the night. A cutscene will trigger, leading into the next morning. ▶︎ Radat Town to Rokkaku Hamlet |
| 1 | 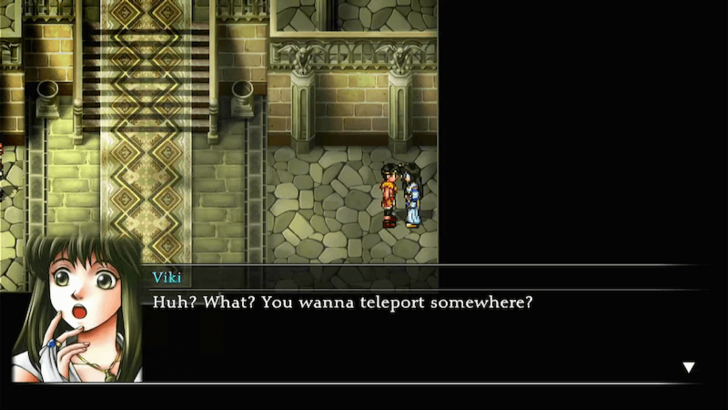 Head to the Great Hall in Headquarters and speak with your group to discuss the next mission. When you're ready, talk to Viki on the ground floor to teleport to Radat Town. |
|---|---|
| 2 | 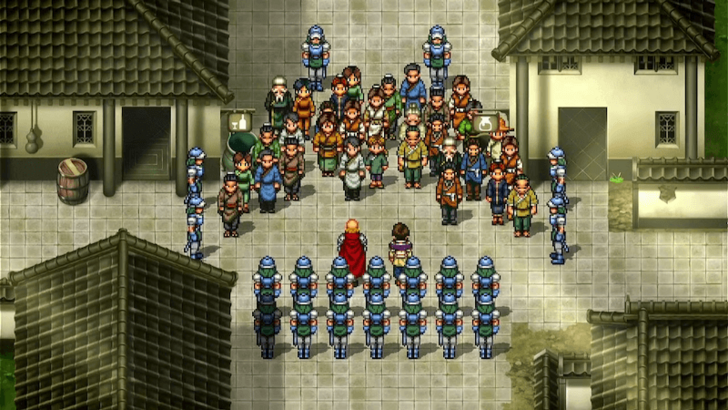 Upon arriving in Radat Town, a cutscene will trigger. |
| 3 | 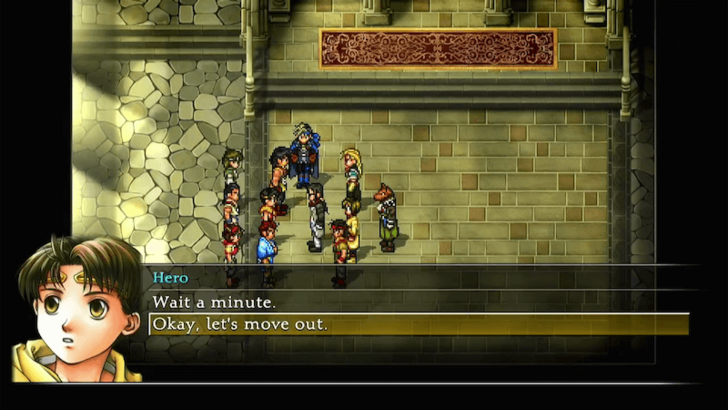 Return to Headquarters and enter the Great Hall again to talk to your group. |
| 4 | 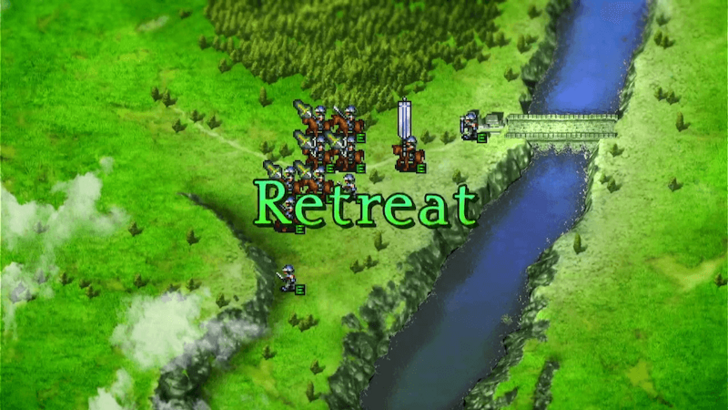 An unwinnable Army Battle against the Highland Army will follow. There's no need to put in much effort in this battle. Simply keep making moves until Ridley's unit withdraws. |
| 5 | 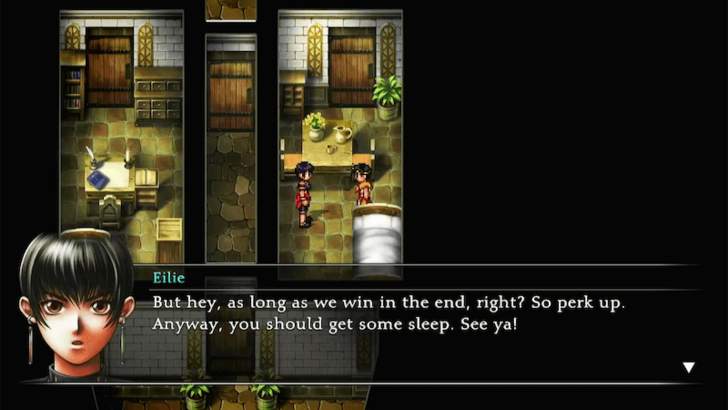 After the battle, rest in your bed for the night. The following day, head back to the Great Hall and speak with your group. |
| 6 | 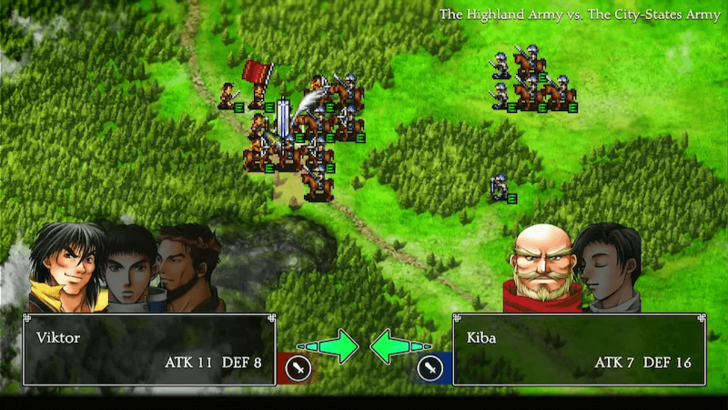 You will enter another Army Battle, but now, you must win! Initially, only Hero's unit will be in the battle. Keep making moves to attract enemy units until Ridley's unit joins in. Focus your attacks on Kiba's unit, then eliminate the remaining enemies to secure victory. ▶︎ Army Battle Guide |
| 7 | 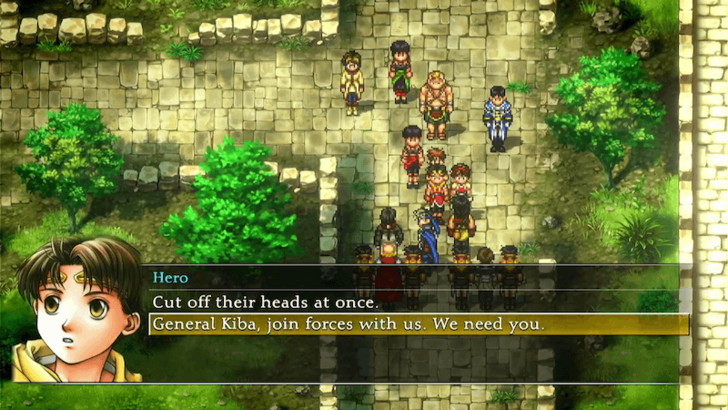 After the battle, Kiba and Klaus will be captured. To recruit them, repeatedly select the dialogue option, “General Kiba, join forces with us. We need you.” If you fail to convince them, they will be executed, permanently locking you out of collecting all 108 Stars of Destiny. |
| 8 | 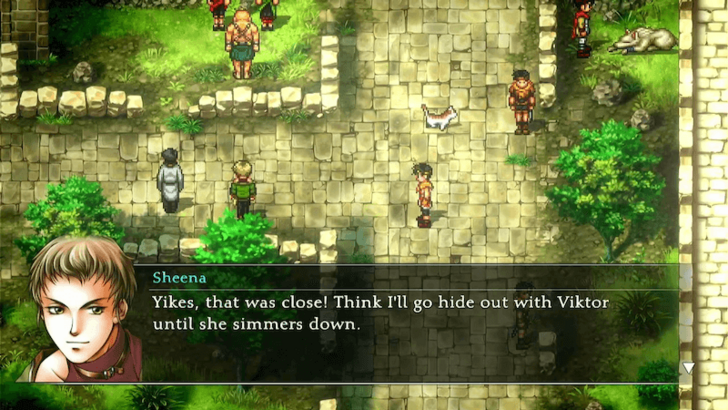 You'll wake up in your bed the following day. Head to the entrance of Headquarters, where you will meet Sheena. |
| 9 | 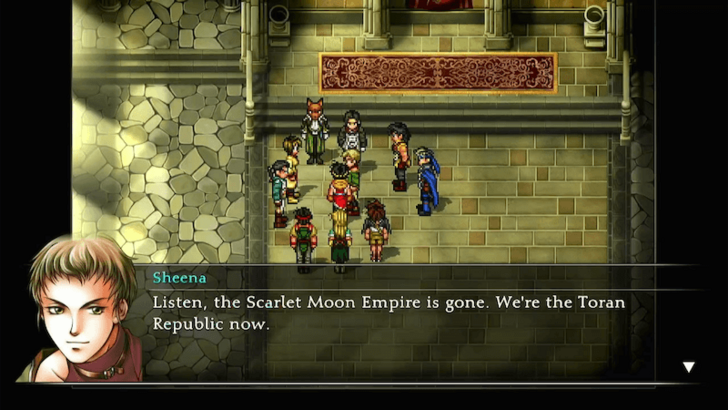 Return to the Great Hall to watch a cutscene in which you form an alliance with the Toran Republic. Sheena and Freed Y. will then join your party. |
| 10 | 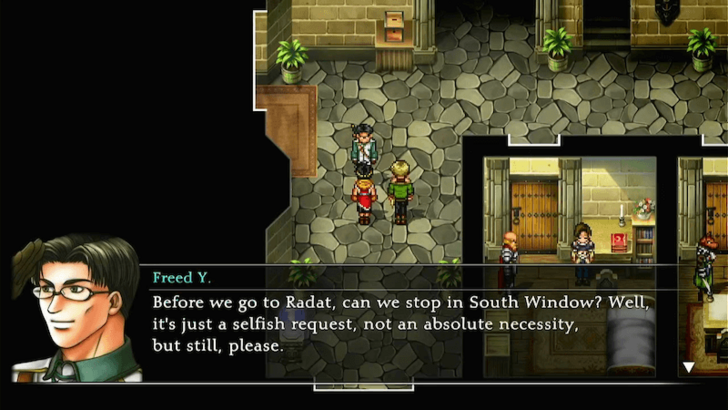 As you leave the Great Hall, Freed Y. will speak with you and request that you stop by South Window City. |
| 1 | 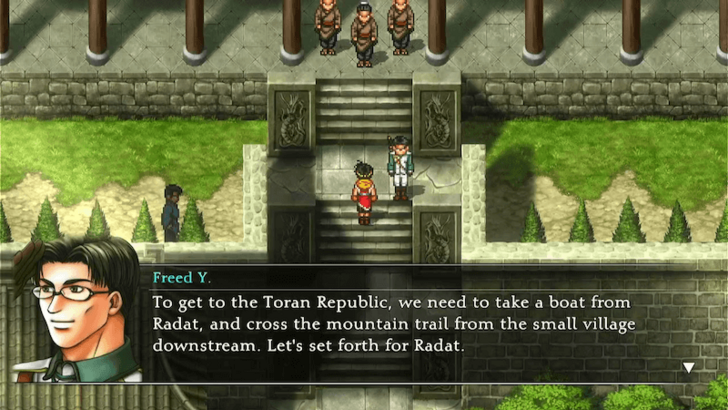 Assemble your party for your next journey. Once ready, travel to South Window City and head in front of City Hall to trigger a cutscene with Freed Y. ▶︎ How to Change Your Party Members |
|---|---|
| 2 | 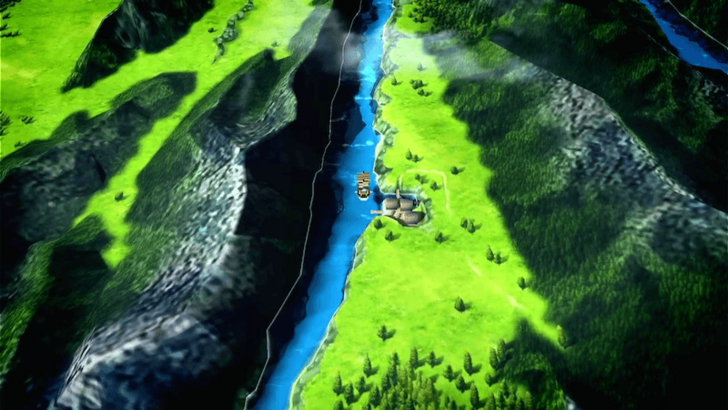 From South Window City, head northeast to Radat Town and use the boat at the docks below the bridge to sail southwest to Banner Village. |
| 3 | 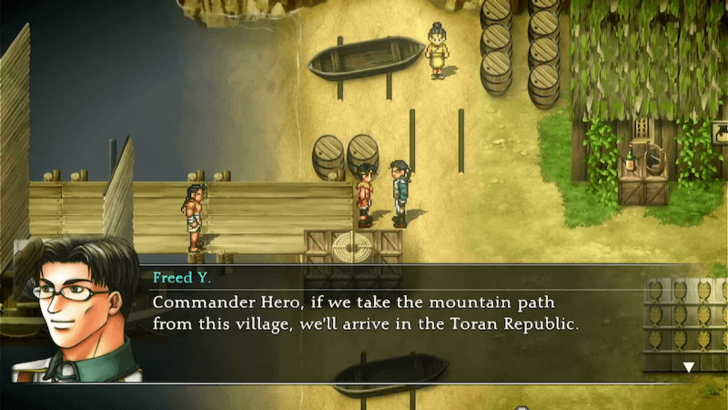 Upon arriving in Banner Village, head north to enter Banner Pass. ▶︎ Banner Village Guide |
| 4 | 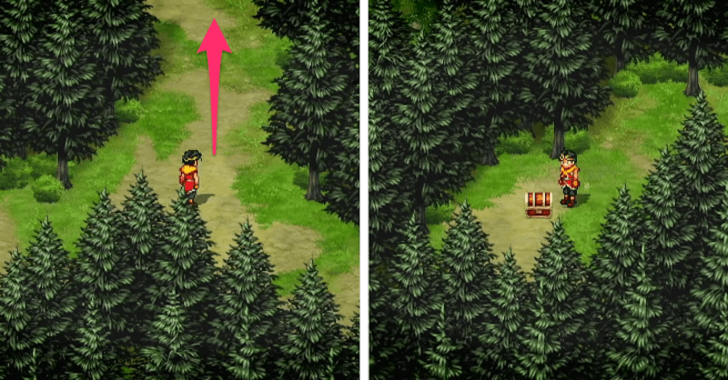 Proceed forward through Banner Pass, and when you reach a fork, take the northern path to find a Mega Medicine in a chest. Return to the fork afterward and continue to the next area. Be ready to fight enemies along the way! ▶︎ Banner Pass Dungeon Guide |
| 5 | 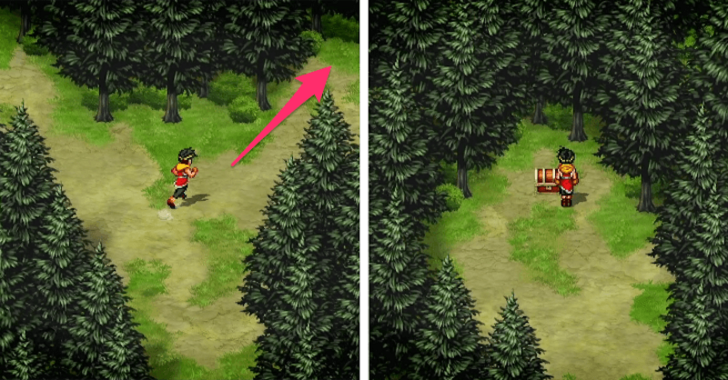 At the next fork, take the right path to obtain a Full Helmet from a chest, then continue south to proceed. |
| 6 | 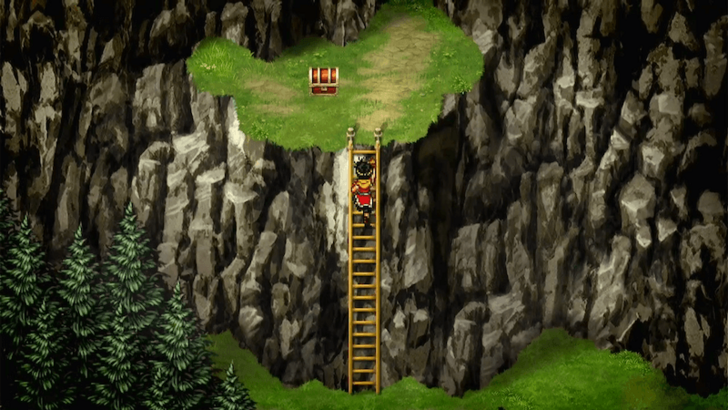 In the next area, you'll find several ladders to climb. Start by climbing the left ladder to obtain a Stone of Luck from a chest. |
| 7 | 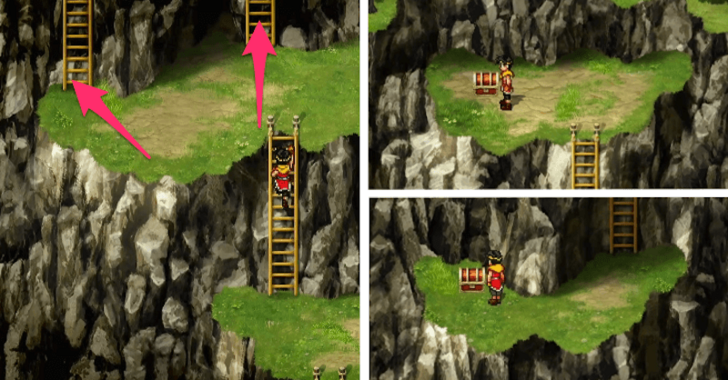 Take the right ladder followed by the left one. If you continue climbing north, you can obtain a Wing Ornament from a chest, while a Magic Ring can be found west of the second ladder |
| 8 | 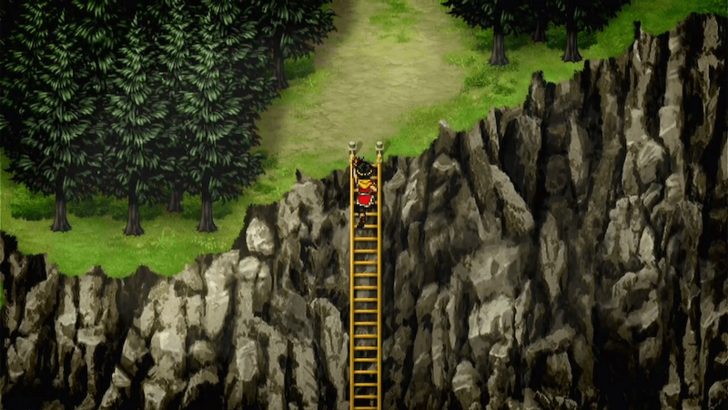 To move forward, climb the rightmost ladder all the way to the top and proceed to the next area. |
| 9 | 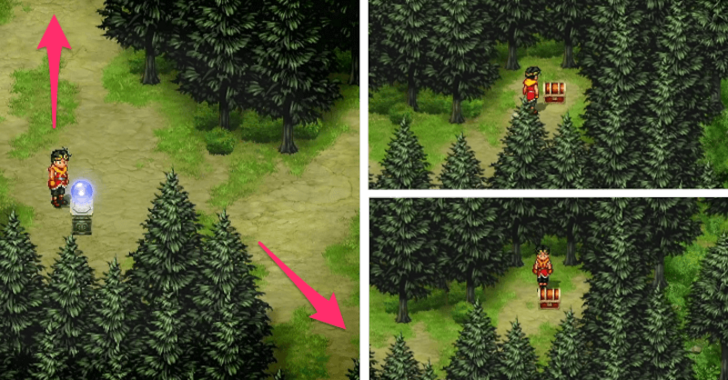 Continue ahead until you reach a Journeyman Orb. Take time to save your game and prepare for an upcoming boss battle by making sure your party is fully healed. The upper path leads to a chest containing a Silver Shield, while the lower path has a Silverlet. ▶︎ How to Save Progress |
| 10 | 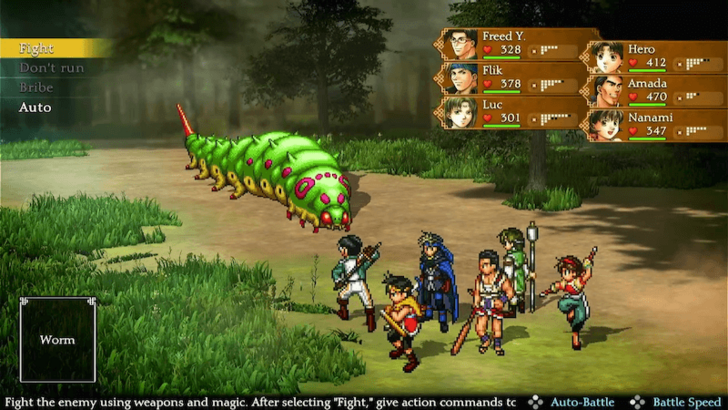 When you're ready, head right and face the Worm! The boss has no weakness, so focus on unleashing your strongest Magic attacks while maintaining your party's health with heals. ▶︎ Worm Boss Guide |
| 11 | 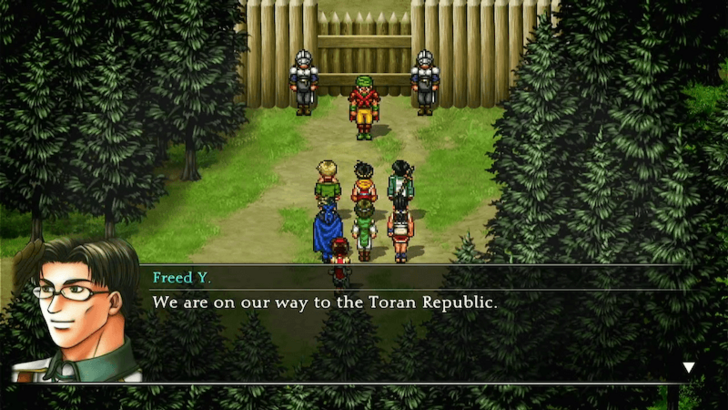 After defeating the Worm, continue through Banner Pass until you finally arrive at Gregminster. |
| 1 | 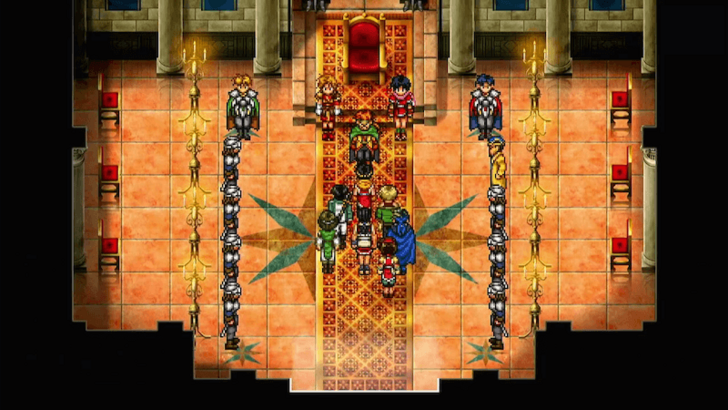 After a cutscene, speak with Lepant in the throne room. You’ll then have the option to recruit either Valeria or Kasumi. ▶︎ Should You Choose Kasumi or Valeria? |
|---|---|
| 2 | 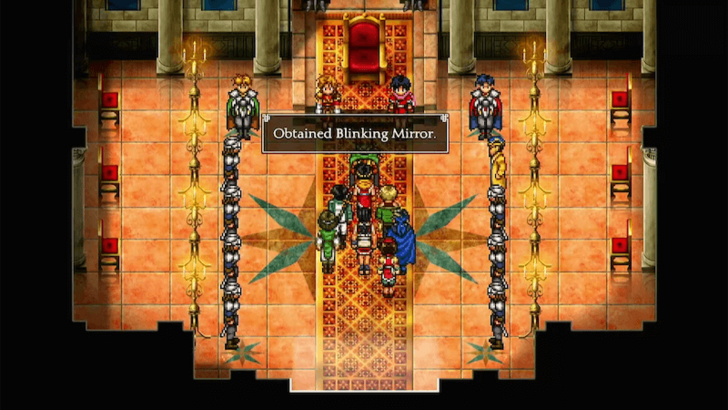 After making your decision, you’ll receive the Blinking Mirror, an item that lets you instantly teleport back to Headquarters. You will then find yourself outside Gregminster and back in Banner Pass. ▶︎ Fast Travel Guide: How to Teleport |
| * | 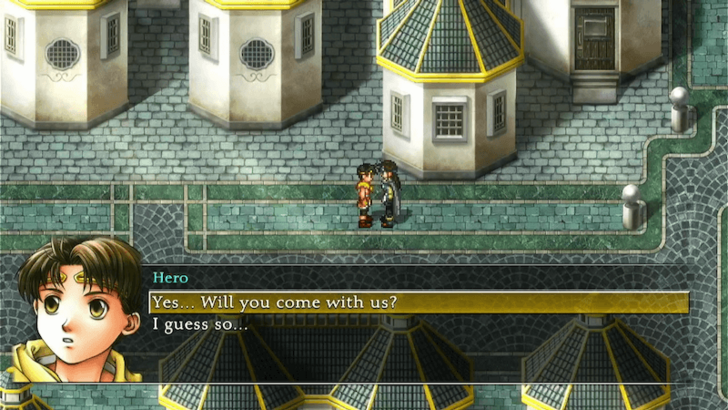 While in Gregminster, you have the opportunity to recruit additional characters. Look for Lorelai in the northwest part of the city. You must either have Killey in your party (who can be recruited later) or have reached Castle Level 3 to recruit her. If you don't meet either of these requirements, take note of Lorelai’s location for now and return once you do. ▶︎ Gregminster Guide |
| * | 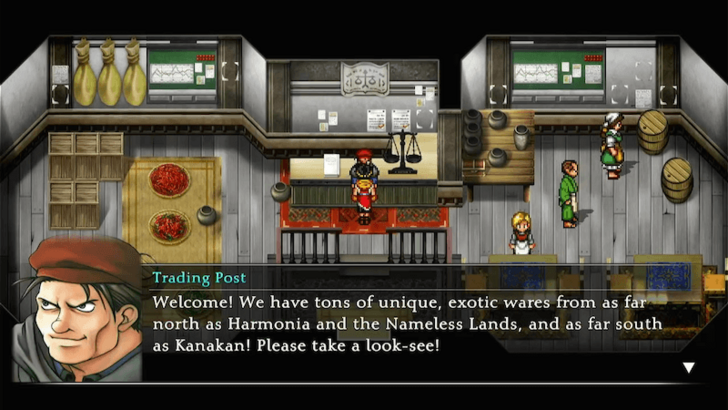 You can also recruit Gordon at the Trade Shop, located southwest of the city. To recruit him, you’ll need to earn 50,000 Potch through trading. ▶︎ List of All Trade Items |
| * | 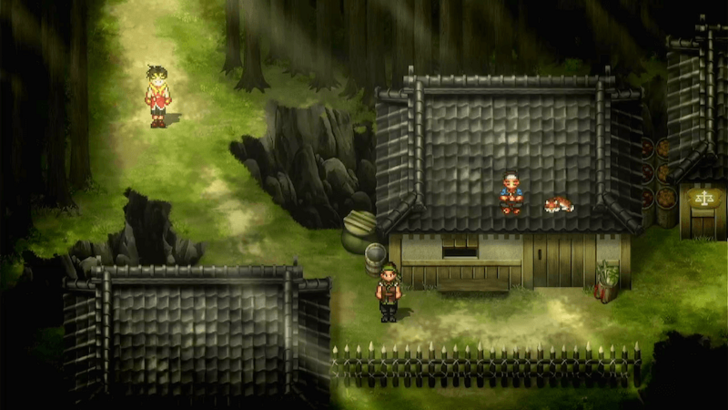 Head back through Banner Pass. Make your way to the area between the ladders and the Journeyman Orb. In the middle, there is a hidden passage that leads to Rokkaku Hamlet. If you chose Kasumi earlier, you can recruit Sasuke and Mondo here. If you chose Valeria, you’ll need to wait until your Castle reaches Level 4 before they can join. ▶︎ Rokkaku Hamlet Guide |
| 1 | 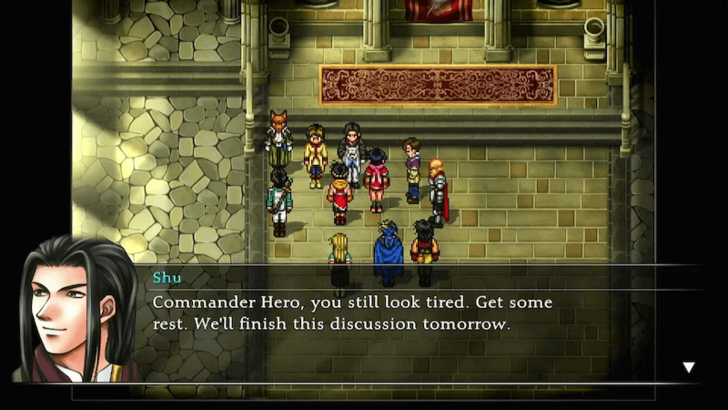 Return to Headquarters and head to the Great Hall to regroup. If you want to return instantly, use your newly obtained Blinking Mirror while on the overworld to teleport back. After the meeting, take some time to explore the castle and interact with your allies. Notably, you can go to the rooftop to listen in on a conversation between Nina and Flik. |
|---|---|
| 2 | 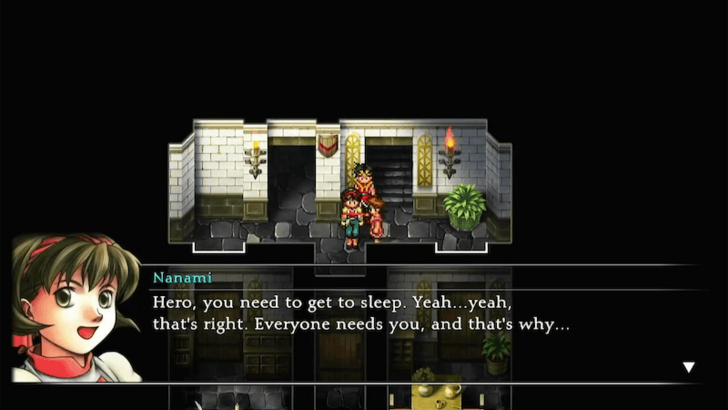 Head to your room to rest for the night. The following day, head back to the Great Hall to talk to your group again. |
| 3 | 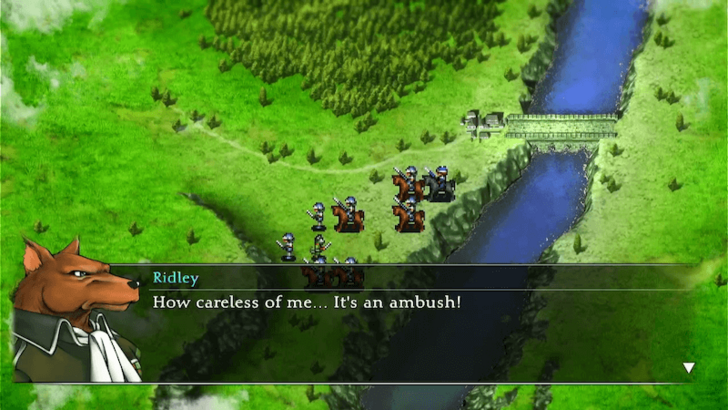 An Army Battle will follow. At the start, only Ridley’s unit will be deployed. Avoid engaging enemy units until reinforcements arrive. Once backup arrives, focus on defeating the enemy units around him while healing Ridley as needed to ensure his survival. If Ridley's unit is defeated, he will be captured by the Highland Army, temporarily removing him from your party. |
| 4 | 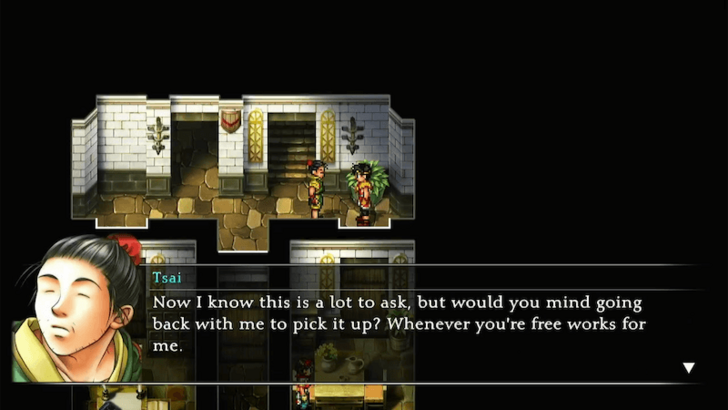 After the battle, head to the sleeping quarters to rest again. As you enter your room, Tsai will approach you and ask that you accompany him to his house in Ryube Forest. |
| * | 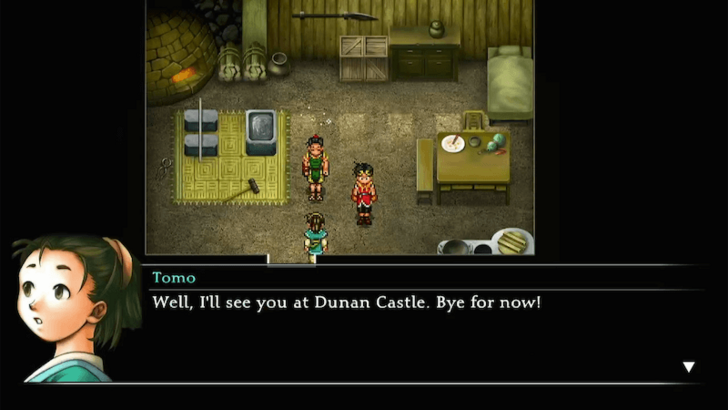 Before setting out, make that Tsai is in your party. Talk to Viki to teleport to Ryube Village, then head northeast into Ryube Forest. Follow the left path and continue northeast until you reach Tsai’s house. Once inside, Tomo will join your party. ▶︎ Ryube Forest Dungeon Guide |
| 5 | 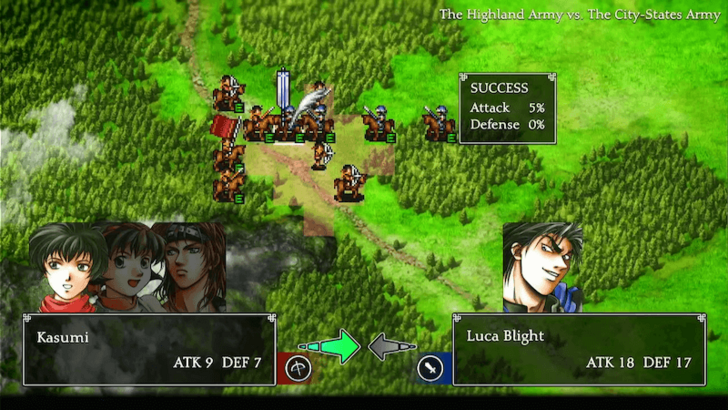 Rest in your bed, then head to the Great Hall to meet with your party. This will lead to an Army Battle against Luca’s army. Focus on attacking Luca’s unit while keeping your allied units alive with heals. Be careful, as any characters who die in this battle will be permanently removed from your party, locking you out of collecting all 108 characters. |
| 6 | 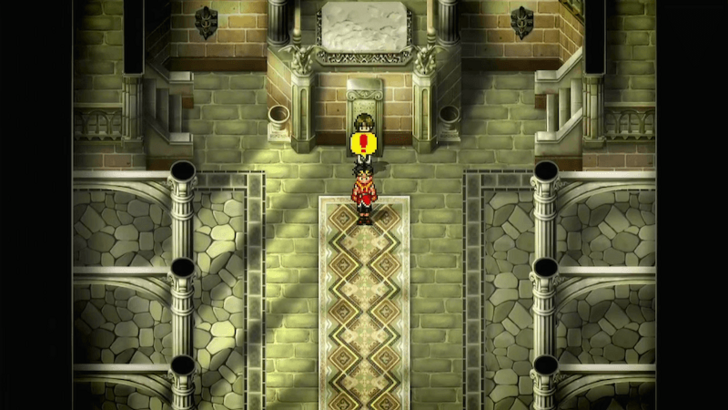 Head to the ground floor of Headquarters, where Leon will give you a letter to deliver to Shu. Note that if Ridley was captured in one of the recent battles, he will personally deliver the letter to Shu in the Great Hall instead. ▶︎ How to Get Leon's Letter |
| * | Before facing Luca in a boss battle, make thorough preparations, as he is one of the toughest bosses in the game. The battle requires 18 characters, so make sure they are leveled up and equipped with the best gear and Runes. ▶︎ Best Runes |
| * | It’s recommended to include animals in your party for this battle. You can recruit Badeaux on the Path to Matilda, Feather and Ayda in Forest Village, and Sigfried deep in Kobold Forest. For Rulodia, head to the Tinto Mines with Abizboah in your party. However, you’ll need a Listening Orb to recruit Rulodia. Without the crystal, you won’t be able to recruit her or collect all 108 characters. These animals will reduce the effort of having to train other characters for this battle. |
| 7 | 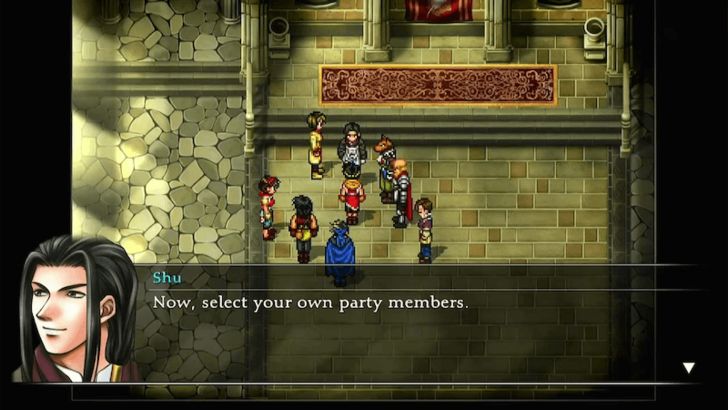 When you're ready, return to Headquarters and speak with Shu in the Great Hall. You will need to prepare three units to face Luca in battle. Check out our recommended setup for the best strategy. |
| 8 | 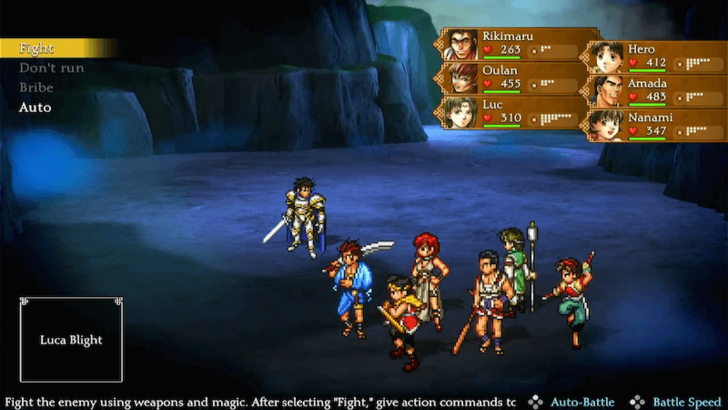 Once you're done preparing, a cutscene will trigger, leading to a boss fight against Luca. You will face him three times, with the third and final battle being fought by the Hero's unit. Luca has no weakness, so go all out by using your strongest attacks, reinforcing your defenses, and making your party stays healed throughout the fight. ▶︎ Luca Blight Boss Guide |
| 9 | 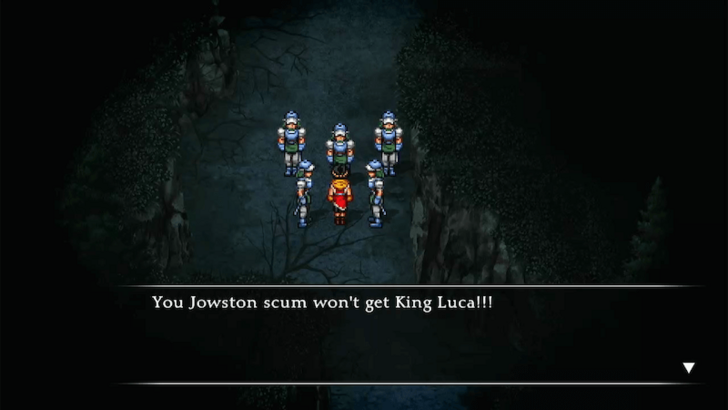 After defeating Luca in the boss fight, he will run off into the forest. Chase him while battling enemies along the way. Be sure to heal your party regularly in preparation for the upcoming duel. |
| 10 | 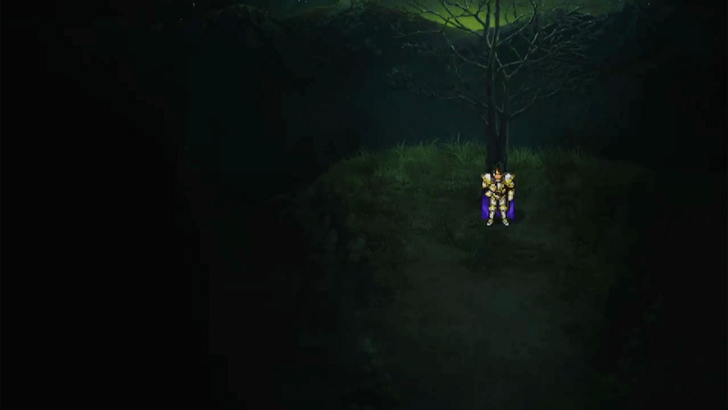 When you reach Luca at the forest’s cliffside, a cutscene will trigger, leading to a duel against him. |
| 11 | 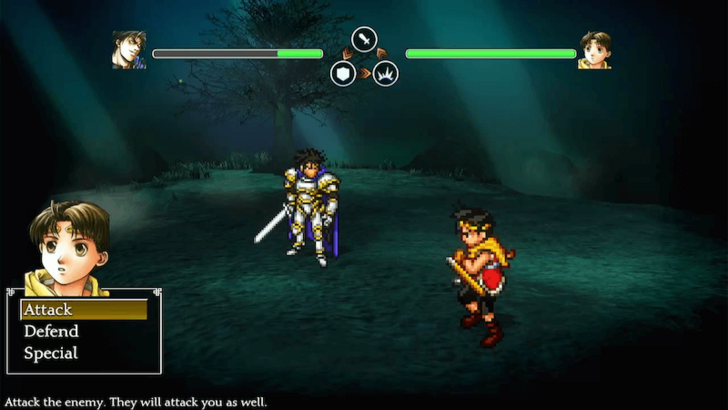 Defeat Luca in the duel! His reduced HP from the earlier battle gives you a significant advantage. ▶︎ Luca Blight Duel Guide |
| 12 | 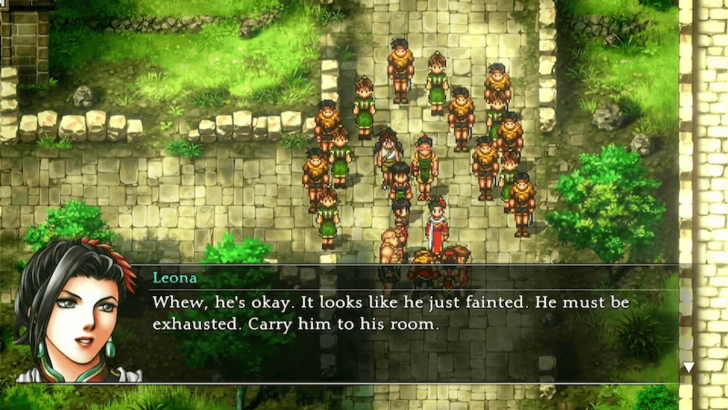 After finally defeating Luca, a lengthy cutscene will follow, and the next day, you will wake up in your bed. ▶︎ Coronet Town to Tigermouth Village |
| 1 | 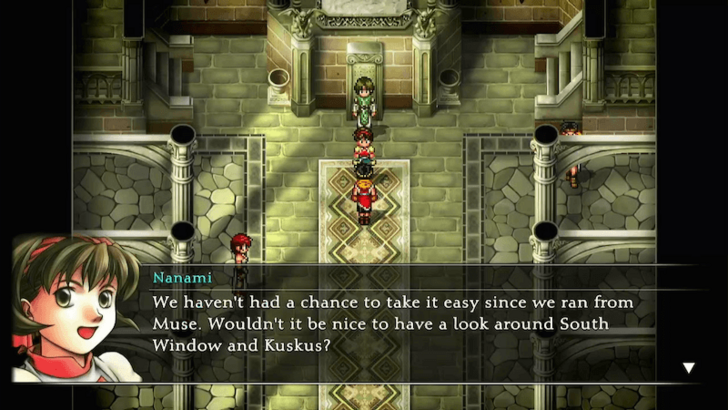 Head to the ground floor of Headquarters, where Nanami will suggest revisiting previously explored locations. This serves as a breather before the late game, giving you an opportunity to recruit more characters. Use Viki’s teleportation and the Blinking Mirror to travel efficiently to and from Headquarters. |
|---|---|
| * | 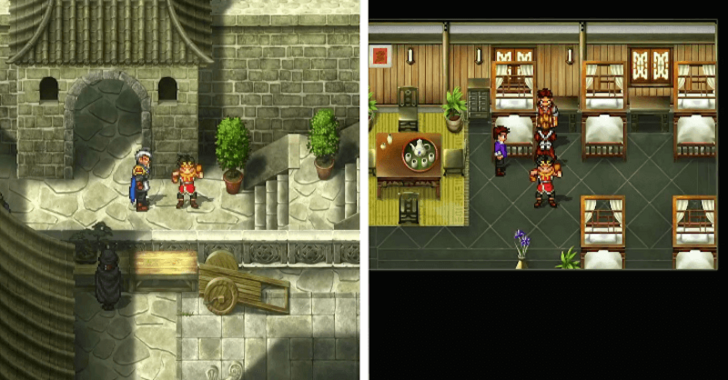 In South Window City, you can recruit Maximillian as soon as you arrive. Additionally, Alex and Hilda can be recruited on the upper floor of the Inn. ▶︎ South Window City Guide |
| * | 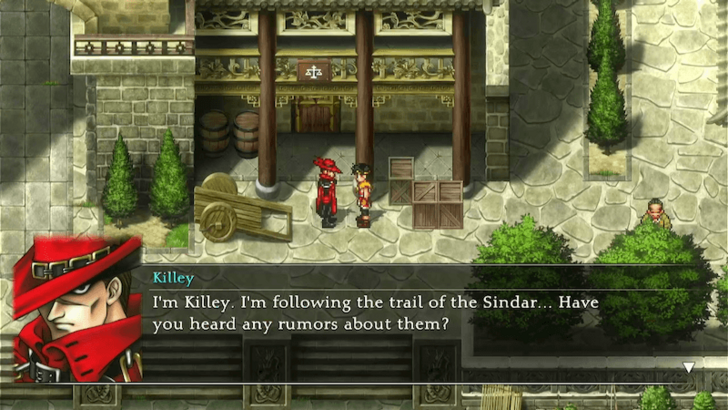 You can also find Killey in front of the Trade Shop. If this is your first time meeting him, you must send him back to Headquarters first and witness a cutscene with Alex. After that, return to South Window City, and talk to Killey repeatedly to convince him to join. |
| * | 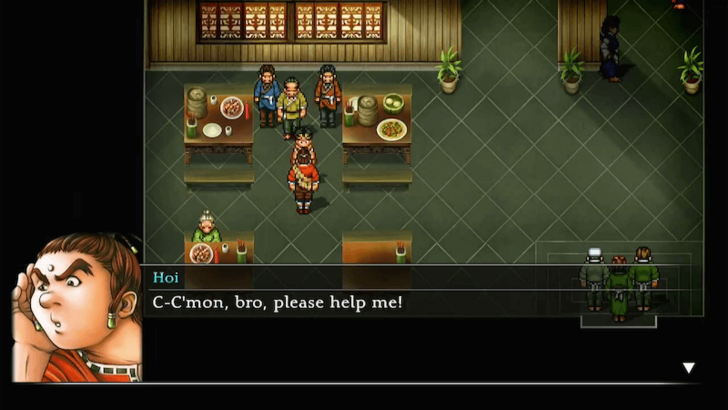 Head to Radat Town and find Hoi in the Tavern. He will join you after helping him from being attacked by locals. ▶︎ Radat Town Guide |
| * | 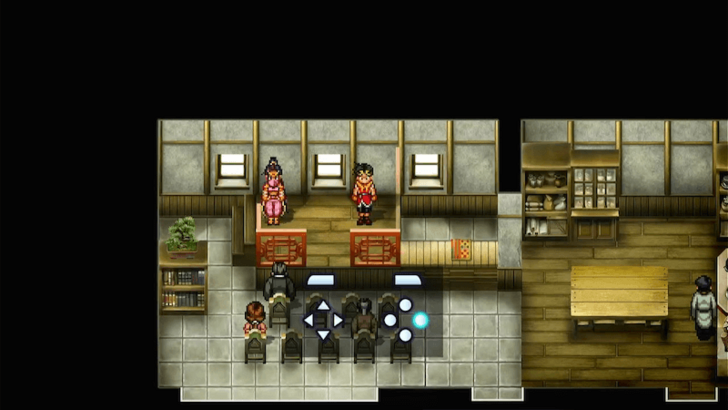 Travel to Kuskus Town, and enter the Inn. Speak with Karen by the stage, and she will join you only if you can pass her dance trial. You must match her movements with the face buttons. ▶︎ Kuskus Town Guide |
| * | Depending on the console that you're playing on, the correct button sequence to match Karen's dance moves follows. PS: Xbox: Switch: PC:
|
| 2 | 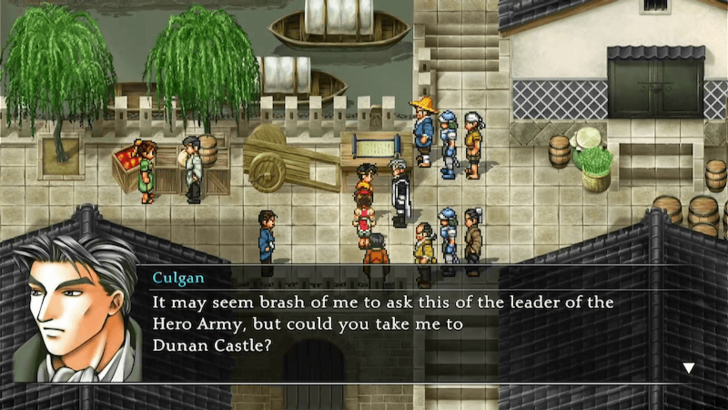 Once you're done, head to the Blacksmith in Kuskus Town, where a cutscene will play. Follow the blacksmiths east of town and you'll come across Culgan. After the scene, he will join your convoy. |
| 3 | 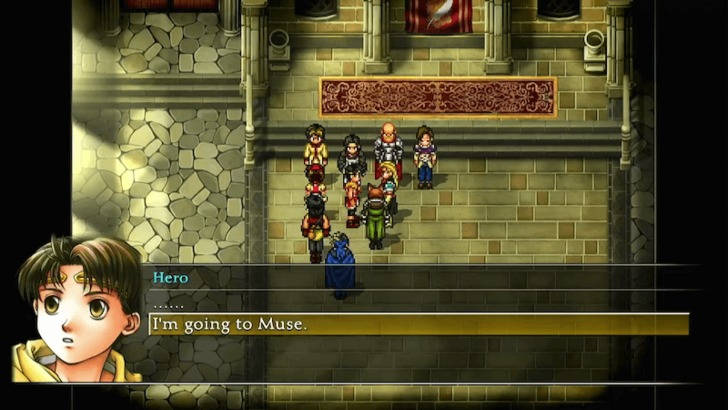 Return to Headquarters and have a meeting in the Great Hall with your group. When prompted, choose "I'm going to Muse". Nanami and Chaco will be in your party, as well as three other characters of your choice. ▶︎ Best Party and Team Composition |
| 4 | 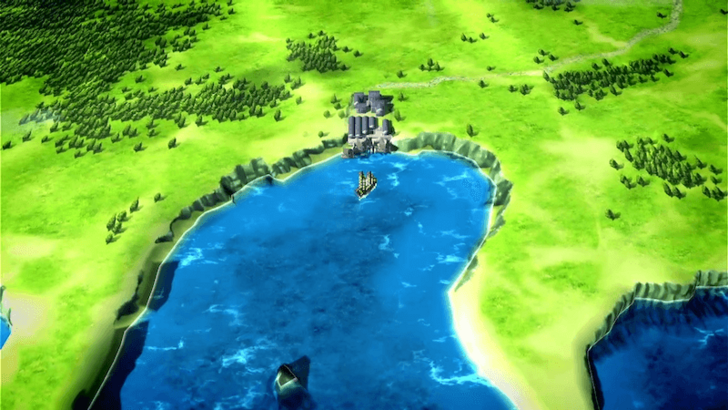 Take the boat northeast to Coronet Town. From there, leave the town and travel northeast to Muse City. |
| * | 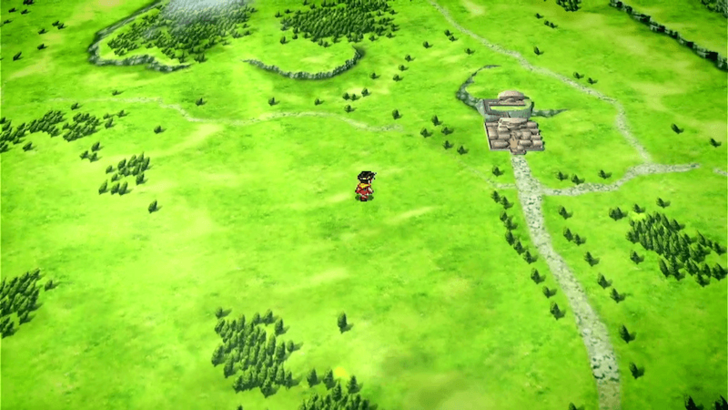 In the area between Coronet Town and Muse City you can find and fight White Tigers. They drop the rare Double-Beat Rune. This is the last time White Tigers will be available in this area, in case you do not have the Rune yet or need more. |
| 1 | 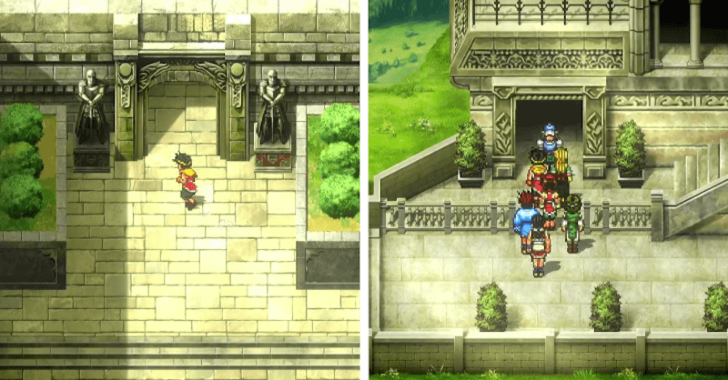 Once you're in Muse City, make your way northwest to Jowston Hill and then enter the Assembly Hall. ▶︎ Muse City Guide |
|---|---|
| 2 | 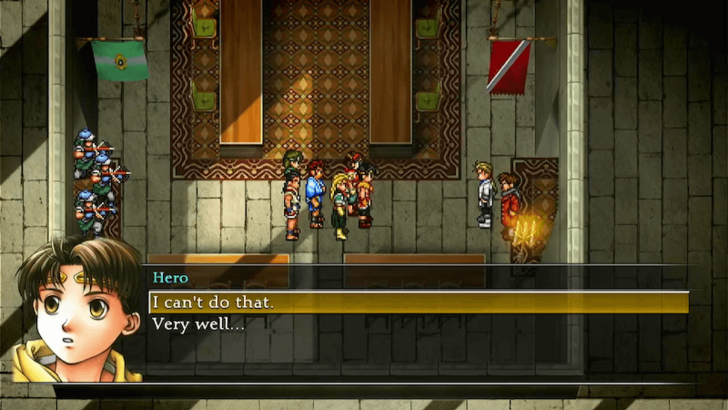 When Jowy asks you to surrender during the cutscene, you can choose “I understand” to shorten the cutscene, or choose “I can’t do that” three times. It will lead to the same result. |
| 3 | 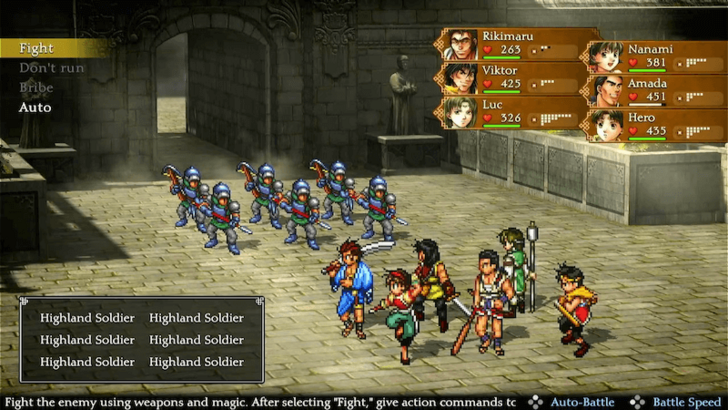 After the cutscene, Viktor will join the party as you try to escape Muse City, battling waves of Highland Soldiers on your way out. |
| 4 | 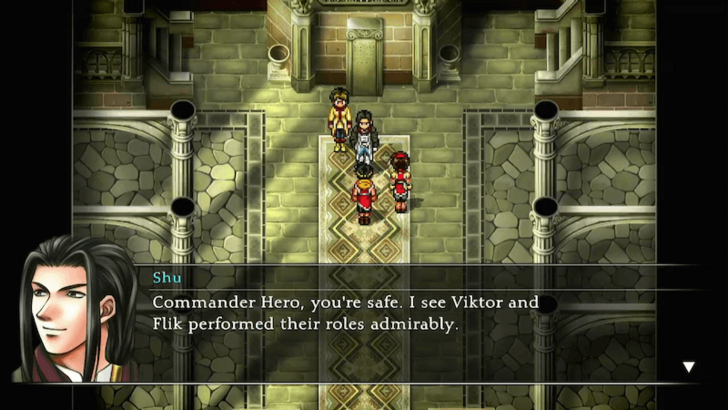 You will be brought back to Headquarters. Talk to Shu on the ground floor of the castle. |
| 5 | 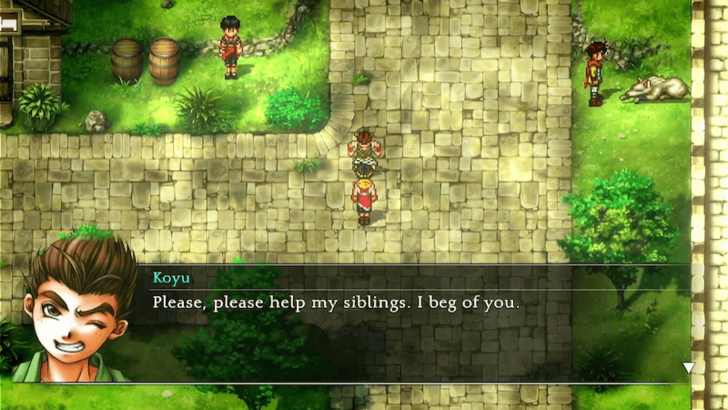 Meet Koyu near the Headquarter's entrance and agree to help him. After speaking with your group in the Great Hall, you will depart with Viktor, Nanami, and three other members. |
| 1 | 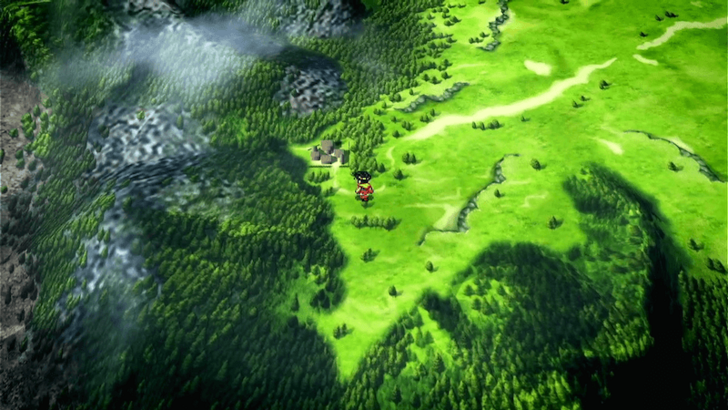 Travel to Drakemouth Village by teleporting to the Kobold Village and heading southwest on the overworld. |
|---|---|
| * | 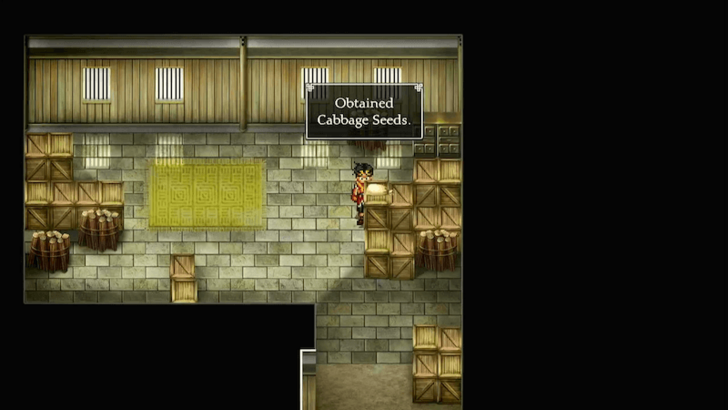 Once you're in Drakemouth Village, talk to the farmer near the barn on the right to purchase a calf for 6,000 Potch. The calf can be put in the ranch in Headquarters. You can also enter the barn to obtain Cabbage Seeds. ▶︎ Ranch Guide: How to Unlock and Use |
| 2 | 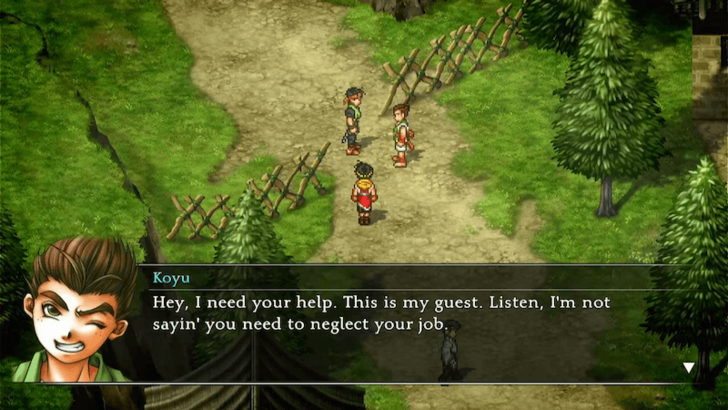 Have Koyu speak with the guard northwest of the village to grant you passage. ▶︎ Drakemouth Village Guide |
| 3 | 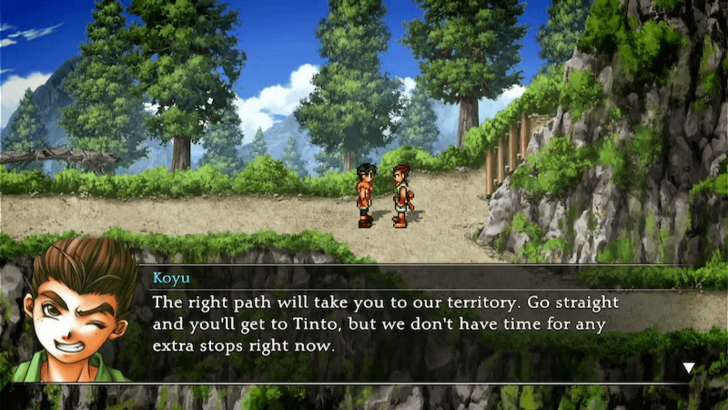 Follow the path forward until you reach a fork, where Koyu will tell you that his territory is on the path on the right. |
| 4 | 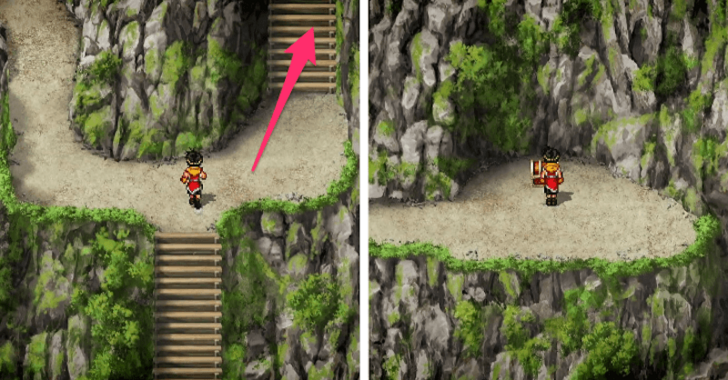 Continue straight until you reach another split in the path. Turn right to find a chest containing a Master’s Robe. |
| 5 | 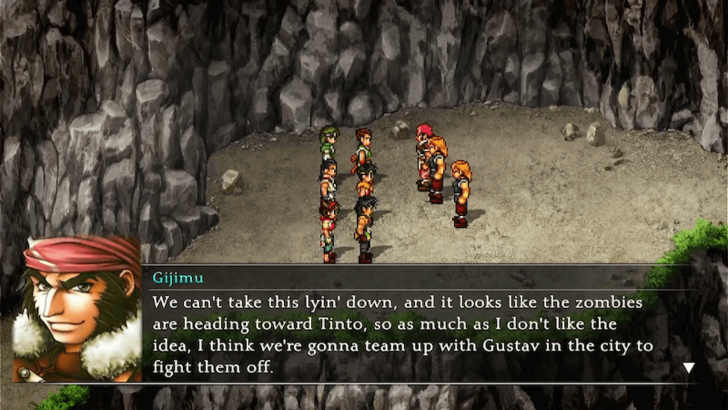 Take the left path and proceed forward, where you'll encounter Gijimu. |
| 6 | 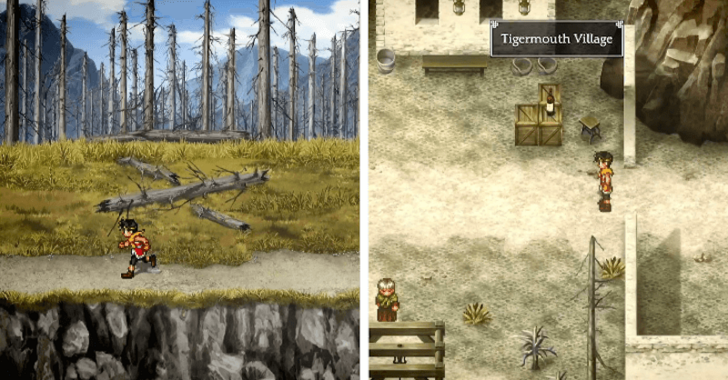 After talking to Gijimu, head back down and proceed west until you reach Tigermouth Village. |
| * | 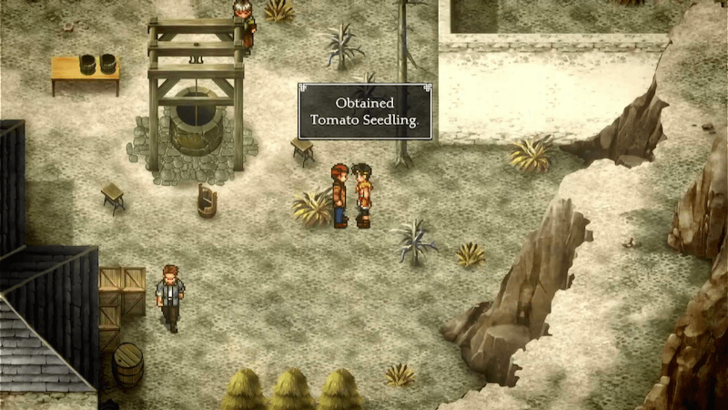 Near the well, you can pick up a chick, which you can place in the Headquarters' ranch to raise. Additionally, talk to the man in a brown coat nearby to obtain a Tomato Seedling. ▶︎ Tigermouth Village Guide |
|---|---|
| * | 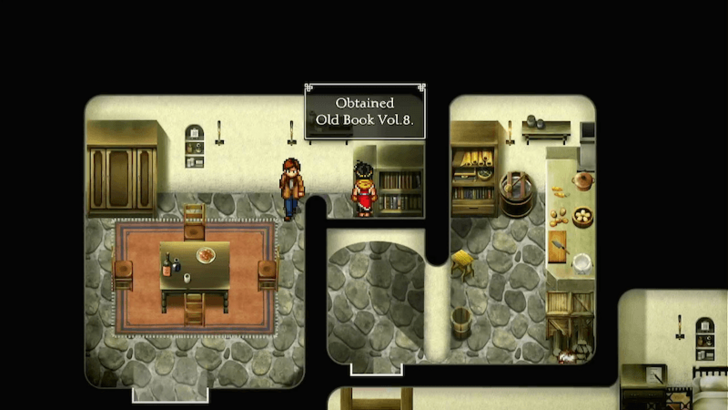 In the house south of the village, check the bookshelf to find Old Book Vol. 8. ▶︎ List of All Old Books and How to Use Them |
| 1 | 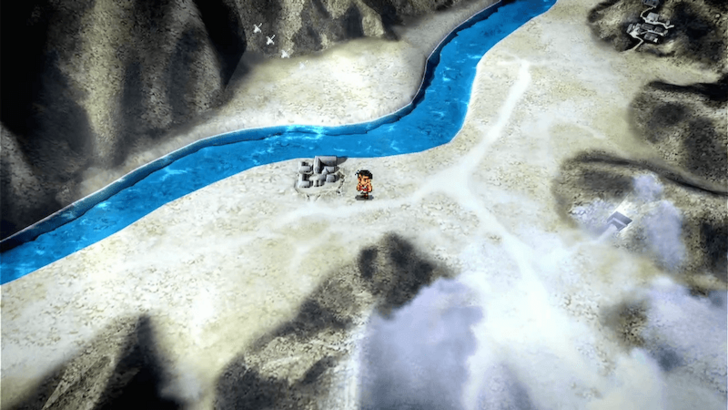 Once you're done, leave the village and head northwest to Crom Village. |
| * | 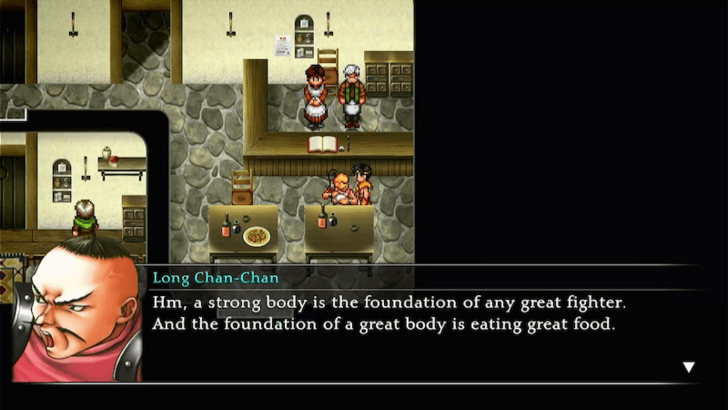 Head to the Tavern and speak with Long Chan-Chan, who is eating at a table. To recruit him, you must have Wakaba in your party. After your conversation, Long Chan-Chan will run off. You can find him behind the house to the right of the Inn. Talk to Long Chan-Chan again and he will agree to join your party. ▶︎ Crom Village Guide |
|---|---|
| * | 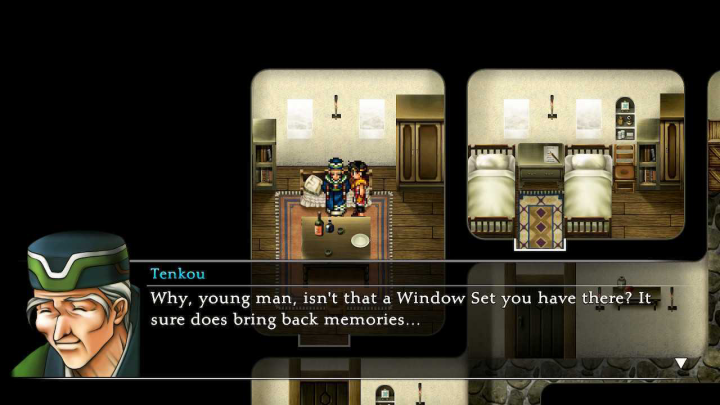 Enter the house on the east of the village to find Tenkou. To recruit him, you must have a Window Set in your bag. When he asks to buy it from you, recruit him instead, and he will join your party. ▶︎ Window Maker Guide |
| 1 | 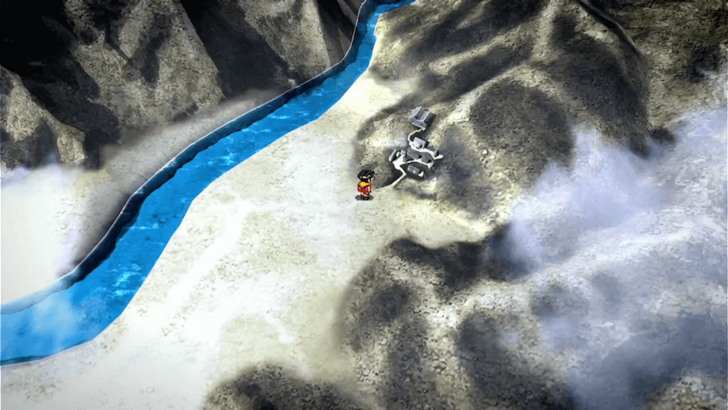 Exit Crom Village and travel northeast to Tinto City. |
|---|---|
| 2 | 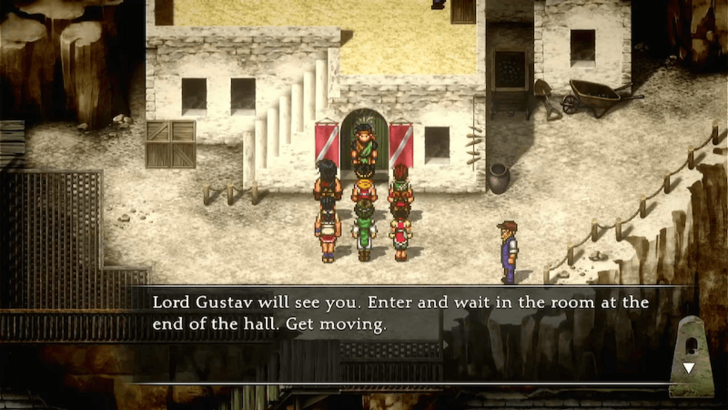 Head north to Gustav’s house, located just above the Blacksmith. Speak to the guard at the entrance, and he will open the door for you. ▶︎ Tinto City Guide |
| * | 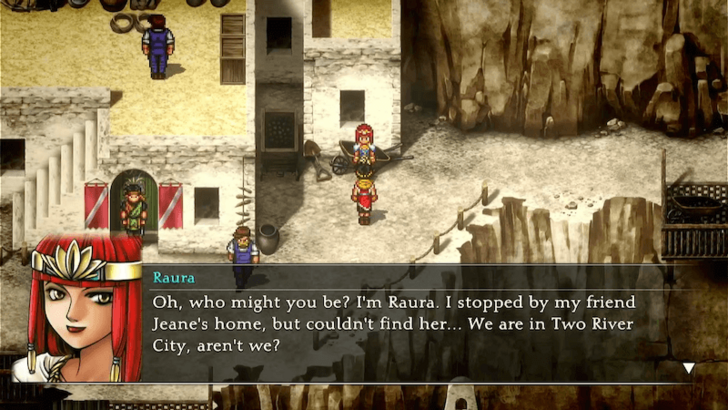 Before entering, look for Raura, who is standing next to Gustav's house. If you have already recruited Jeane, Raura will agree to join your party. |
| 3 | 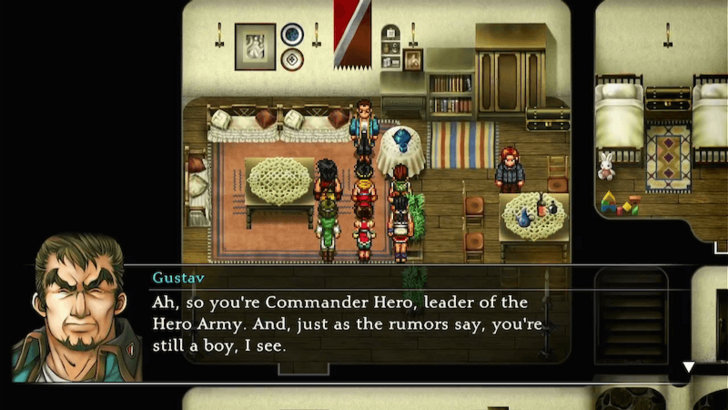 Enter Gustav’s house and speak with him in his office. After agreeing to assist Tinto City, you will be brought to the guest rooms to rest. You can choose to explore the city or sleep for the night when you're ready. |
| 4 | 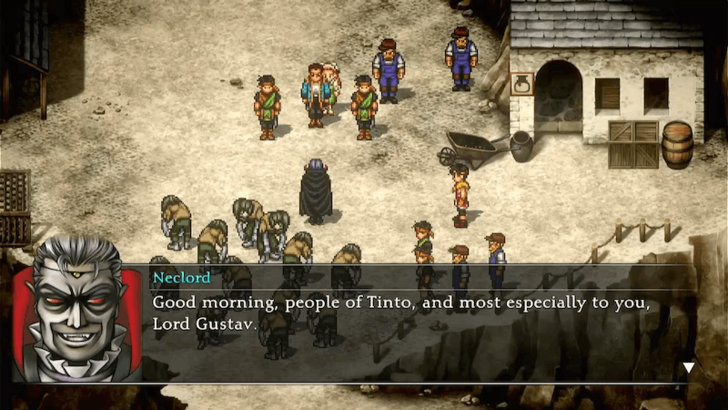 The next morning, regroup in Gustav’s office, then step outside to the city center, where a cutscene will trigger, showing Neclord's arrival in Tinto City. |
| 5 | 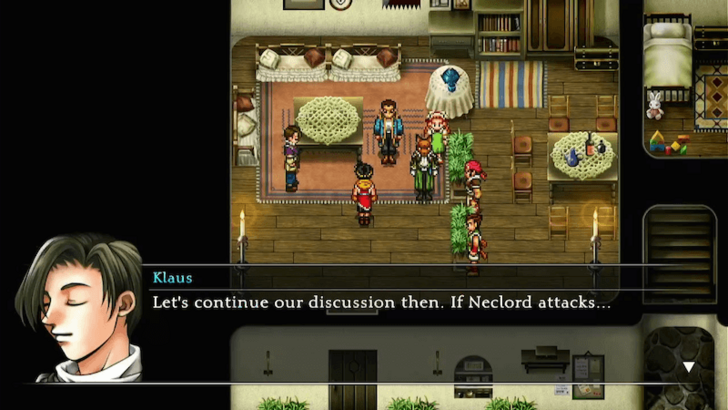 Return to Gustav's office to trigger a cutscene. After Jess and Hauser storm out, speak to Gustav again to discuss plans. |
| 6 | 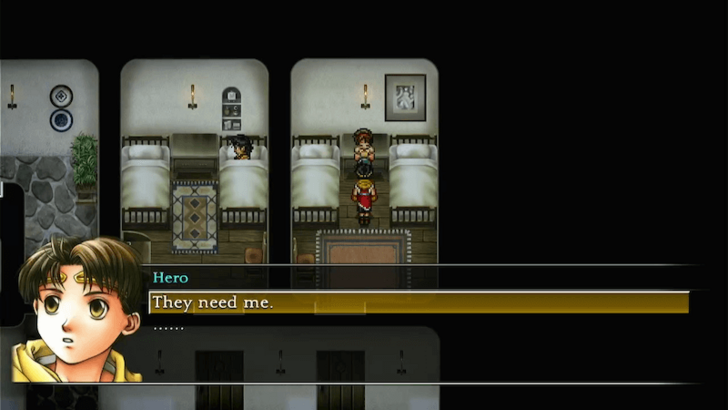 Head back to your room to rest for the night. Later that evening, you will wake up. Talk to Nanami in the rightmost room. She will ask you to stop fighting. Choose "I'm needed," to continue the story's main path, then follow up with "I'm sorry." ▶︎ What Happens If You Run Away With Nanami? |
| * | You can choose to branch the story by choosing the other options and running away with Nanami. If you run away together, you will: ・Go back to Crom Village, then Tigermouth Vilalge, and finally Drakemouth Village, going back the way you came. ・Ridley dies, and the Tengou Star will be replaced by Boris. ・At Drakemouth, you have the final choice to return to Crom to continue the story, or leave for the bad ending. ▶︎ All Branching Endings and Conditions |
| 7 | 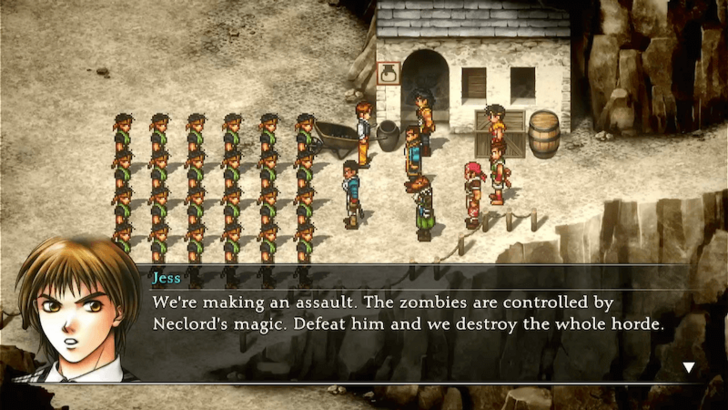 The next morning, return to Gustav's office, then head to the city center to witness Jess and his army marching off in a preemptive strike against Neclord. |
| 8 | 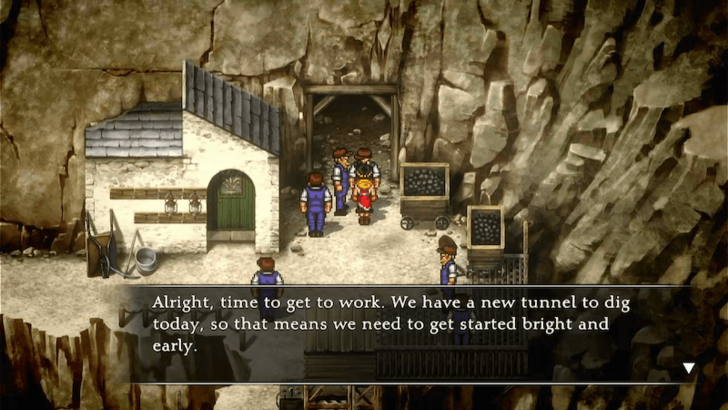 After the cutscene, you'll find yourself back in Gustav's house. From there, head east and enter the Tinto Mines, just past the workers. |
| 9 | 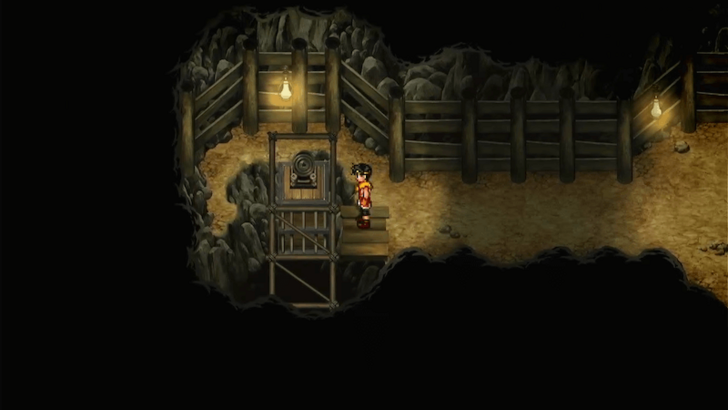 Proceed through the Tinto Mines and take the elevator to descend deeper. Be ready to fight enemies along the way! ▶︎ Tinto Mines Dungeon Guide |
| 10 | 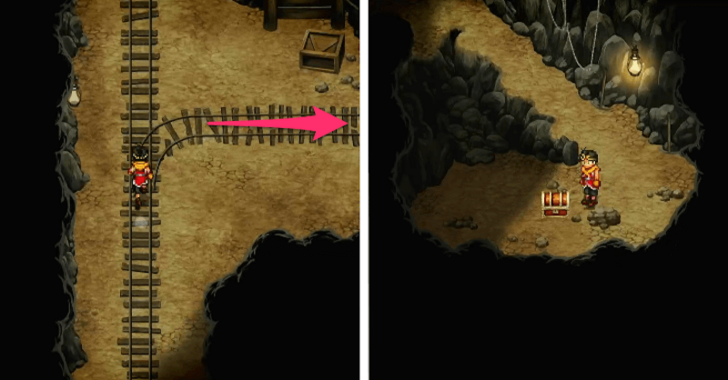 Continue forward until you reach a split in the path. Turn right to find a Cape of Darkness from a chest. |
| 11 | 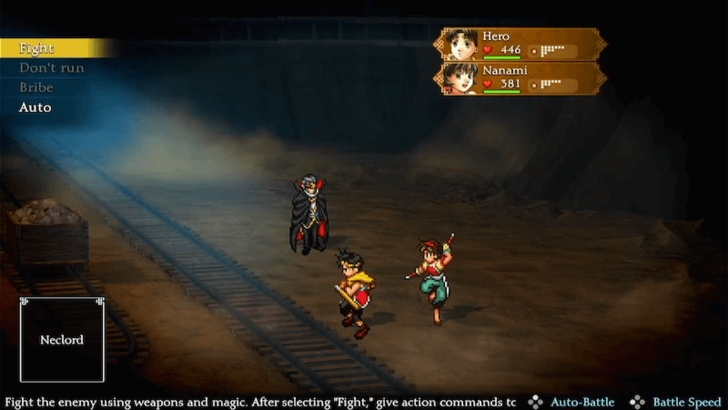 Head north to confront Neclord, leading to an unwinnable boss fight. There's no need to put in much effort in this battle. Just simply endure until he defeats you both. |
| 12 | 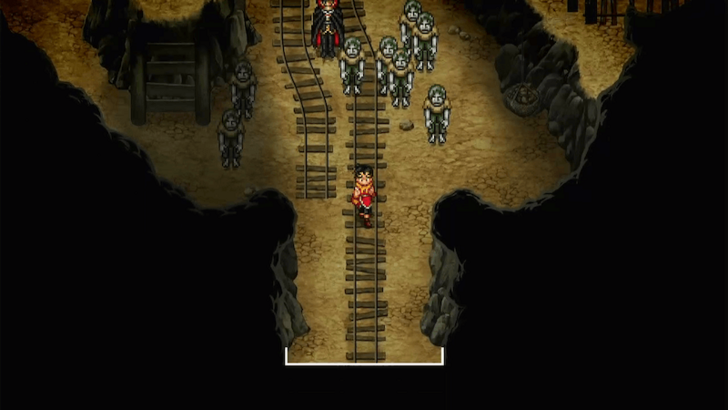 Once the battle ends, escape from the Tinto Mines the way you came, fighting off zombies on your way out. |
| 13 | 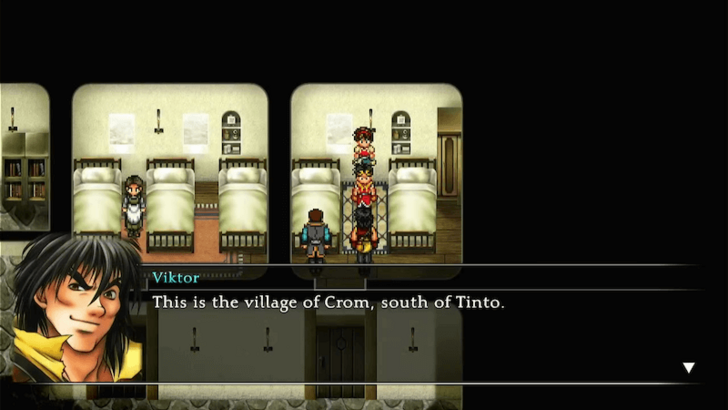 After successfully escaping, you will wake up at the Crom Village Inn. |
| * | 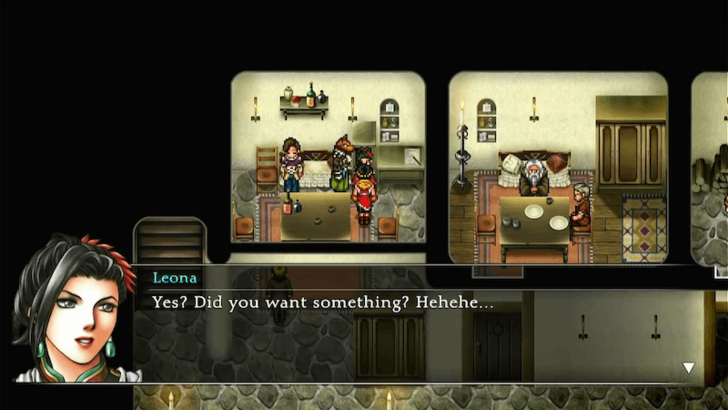 Leona will be downstairs, so you can speak to her to form your party. From this point, tt's recommended to bring characters who can deal high single-target damage and Anti-Undead magic like Lightning Rune and Resurrection Rune. ▶︎ How to Change Party and Formation Strategy |
| 14 | 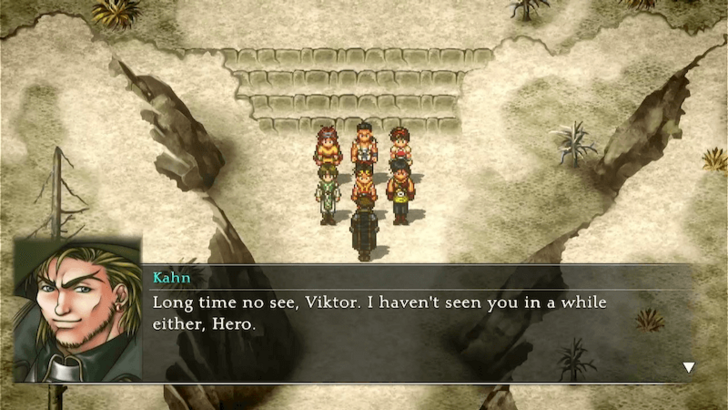 As you leave the village, you’ll encounter Kahn, who offers to join your party or convoy. |
| 1 | 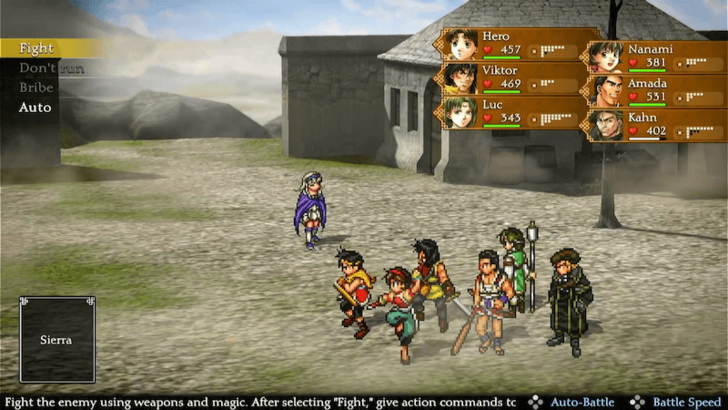 Travel east back to Tigermouth Village, where you will encounter Sierra. You must defeat her in a boss battle before she joins your party. The battle is fairly manageable, so focus on your strongest attacks and healing as needed. |
|---|---|
| 2 | After defeating Sierra, she joins your party! Head back towards Crom Village for the next part of the journey!
▶︎ Tinto Mine to Greenhill City |
| 1 | 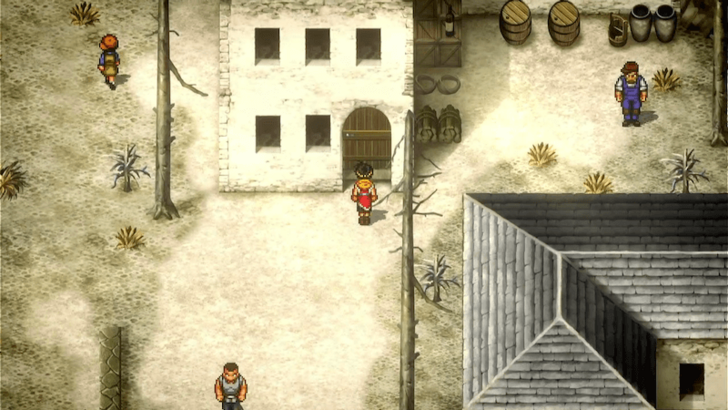 Head to Crom Village and enter the house north of the village. ▶︎ Crom Village Guide |
|---|---|
| 2 | 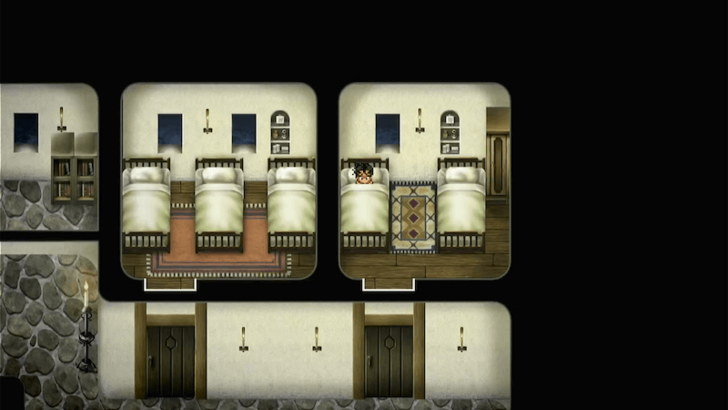 Upon entering, a cutscene will trigger. Go to your bed afterward and rest for the night. |
| 3 | 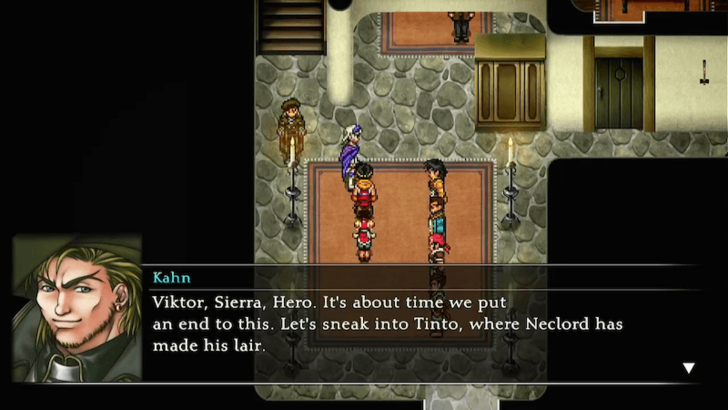 The following day, head downstairs to speak with your group. Viktor, Sierra, Nanami, and Kahn will be required to join your party, leaving you with one open slot to choose a character of your preference. ▶︎ How to Change Party and Formation Strategy |
| 4 | 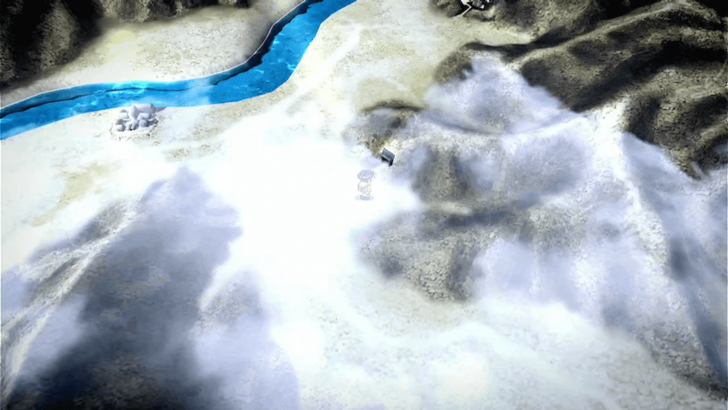 Once you're ready, leave Crom Village and travel east to the Tinto Mines. |
| 5 | 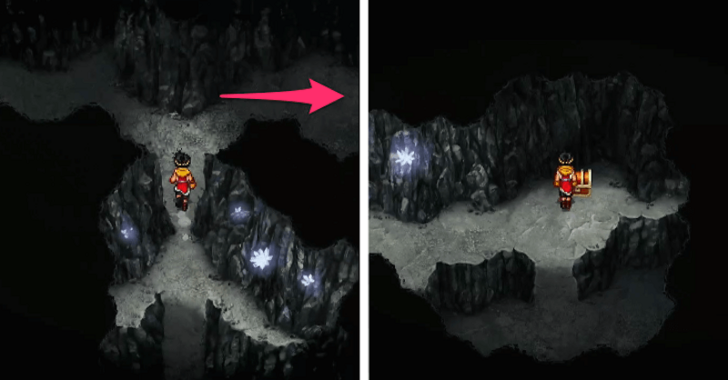 Head north through the Tinto Mines and turn right, continuing forward until you reach a split in the path. Take the left path to find a Dancing Flames in a chest. Be prepared to fight enemies along the way! ▶︎ Tinto Mines Dungeon Guide |
| 6 | 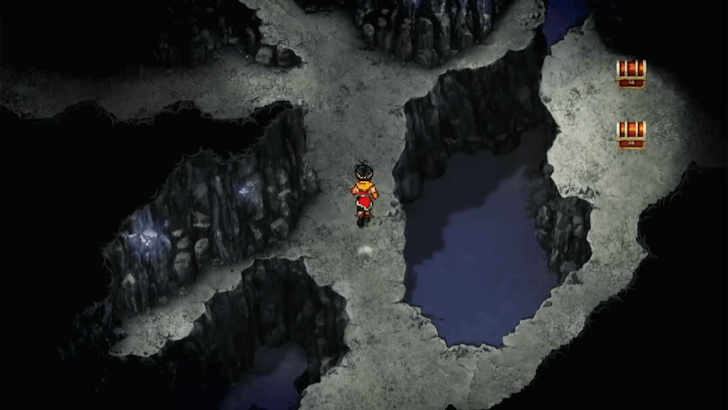 Keep pushing through the mines until you come across two chests on the right, containing a Full Helmet and a Stone of Magic Protection. |
| 7 | 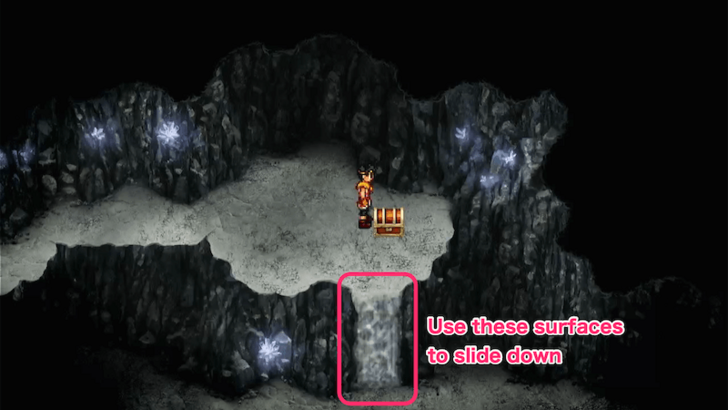 Turn left and keep going until you reach a chest above containing a Master's Garb. Use the sloped gray surface to slide down and continue east to the next area. |
| 8 | 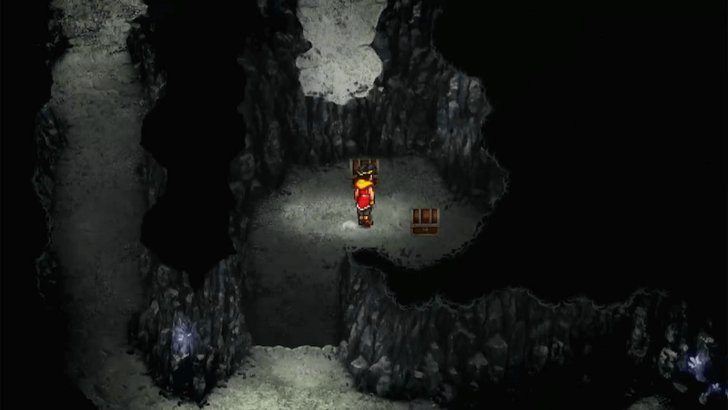 Push forward until you cross a stone bridge. Underneath the second stone bridge, you'll find Old Book Vol. 9 and Window Set #5 in two chests. After looting them, take the stone bridge and continue through the mines. |
| 9 | 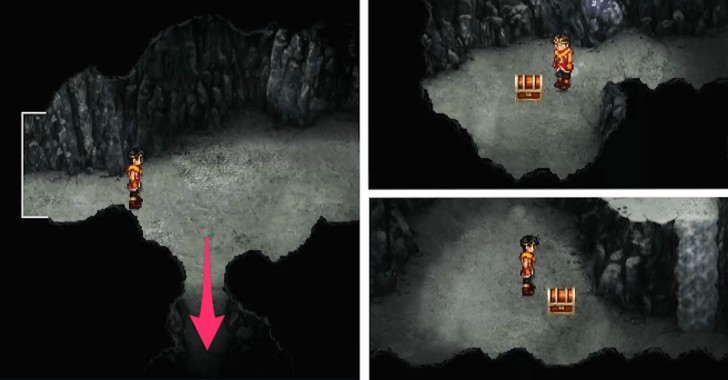 This next area is larger than usual, and you can use the slides to backtrack when needed. Just south from where you entered, you can obtain a Silver Collar and Mega Medicine. from two chests. |
| 10 | 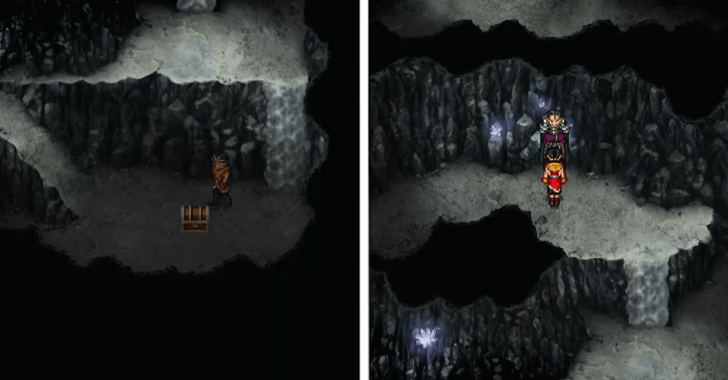 Use the rightmost slide, then slide down to the right again. From there, head southwest to find a Double-Strike Rune in a chest. You will also come across Mazus, but you cannot recruit him yet at this moment. |
| 11 | 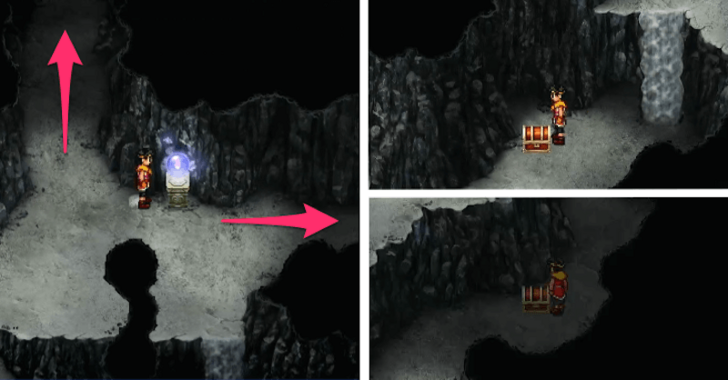 Head north, and you'll find a Journeyman Orb to save your game. Just above it, you can obtain Star Earrings in a chest, while the slide to the right of the orb will lead you to a Wind Hat in another chest. ▶︎ How to Save Progress |
| 12 | 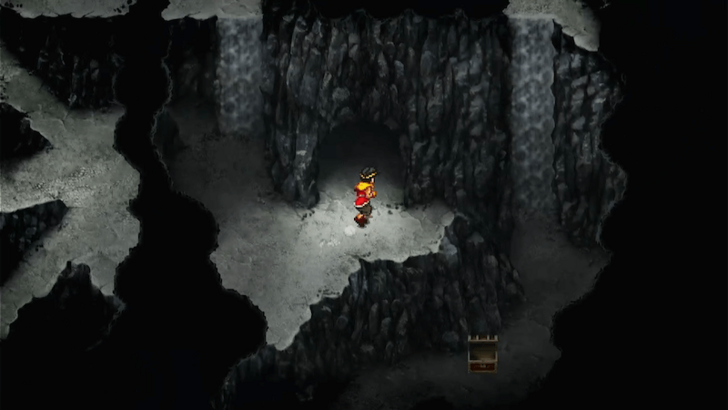 From the Journeyman Orb, take the slide directly below and enter the passage to the next area. |
| 13 | 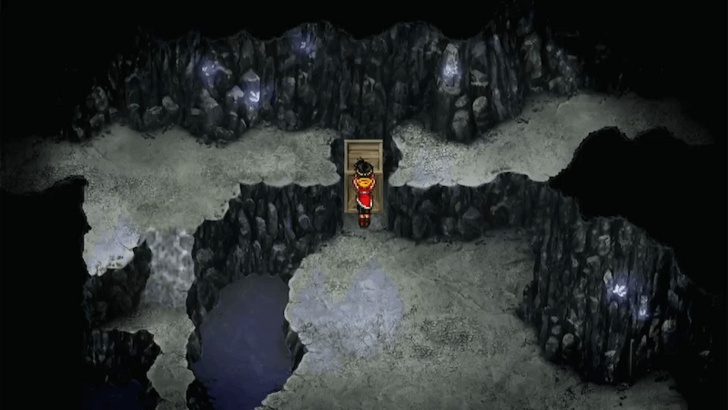 Push the Wooden Crate to fill the gap in the path up north. Once the Wooden Crate is in place, head southwest and cross the gap using the crate. |
| 14 | 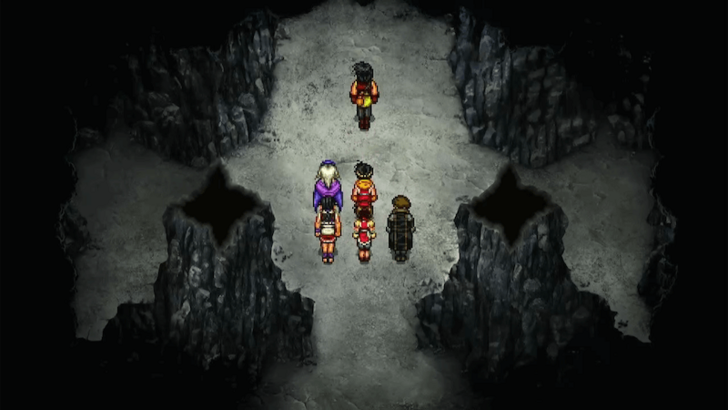 Prepare for an upcoming boss battle by making sure your party is fully healed and properly equipped. When you're ready, proceed north to face the Stone Golem. |
| 15 | 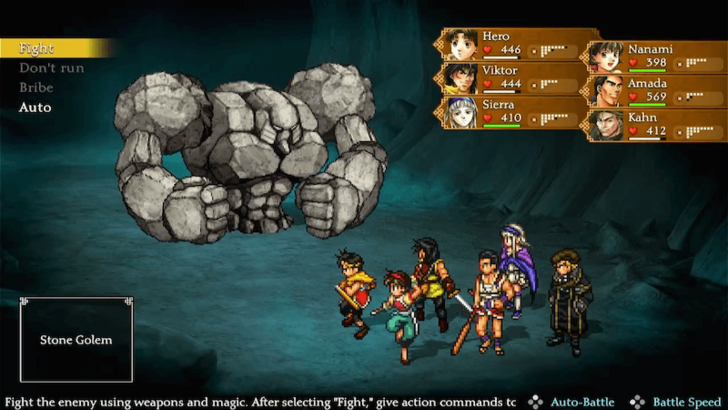 Defeat the Stone Golem! The boss is weak to lightning, so use lightning-based attacks and spells to take it down while maintaining your party's health with heals. ▶︎ Stone Golem Boss Guide |
| 16 | 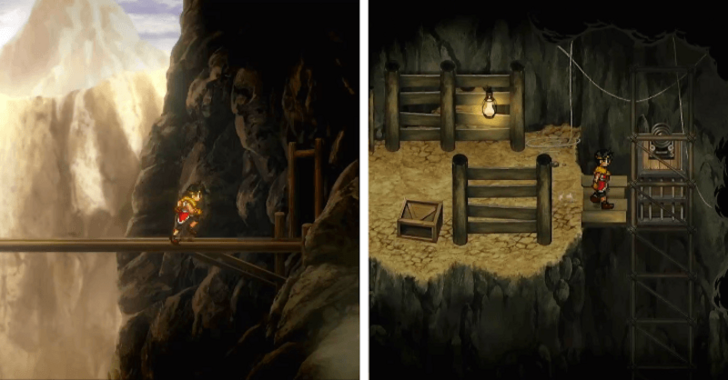 After defeating the Stone Golem, continue into the mines until you reach the mine shaft. Head east and use the elevator to descend to the lower level. |
| 17 | 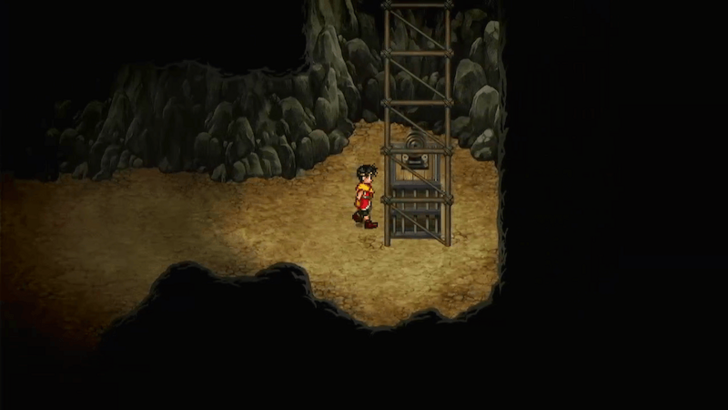 From there, move southeast until you find another elevator. Take it up to return to the mine’s entrance in Tinto City. |
| 1 | 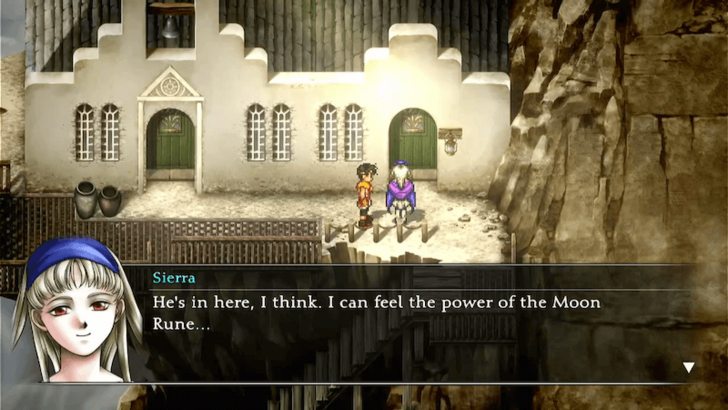 Upon returning Tinto City, make your way northwest toward the church. Be careful, as you will be fighting Zombies along the way. |
|---|---|
| 2 | 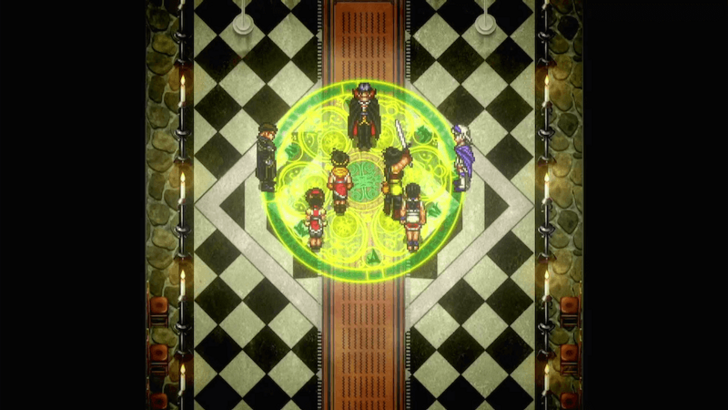 Before continuing, make sure your party is fully prepared for a boss battle. Once ready, enter the church and take the door on the left into the chapel to confront Neclord. |
| 3 | 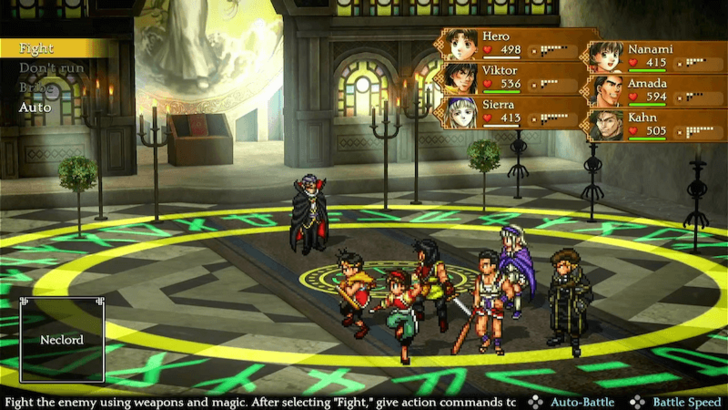 Defeat Neclord once and for all! The boss is weak to Holy magic, but have Viktor attack first before using Holy spells to take him down. ▶︎ Neclord Boss Guide |
| 4 | 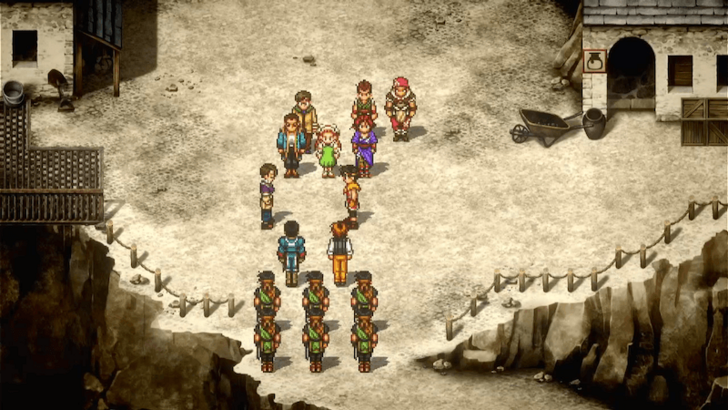 After defeating Neclord, Tinto City returns to normal. Head to the city center to watch a cutscene. |
| 5 | 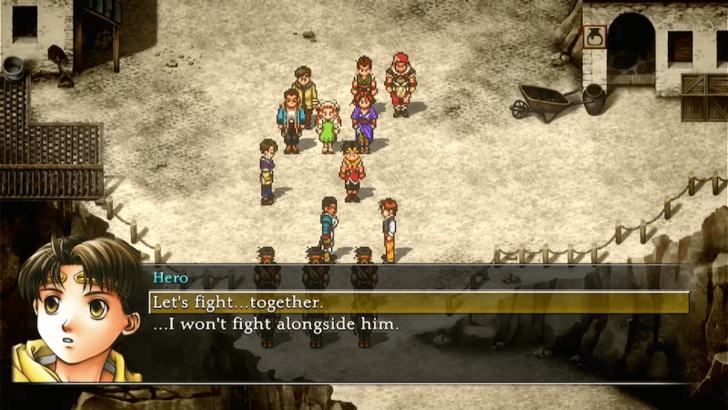 During your conversation with Jess, choose "Let's fight... together" to have him join your party. Refusing his help will lock you out from recruiting all 108 characters, so it's best to accept. |
| * | At this point, Gijimu, Lo Wen, Koyu, Marlowe Cody, and Hauser will also join your party. Additionally, you can obtain a Mother Earth Rune from Gustav and a Sunbeam Rune from the northern house in Crom Village. |
| * | 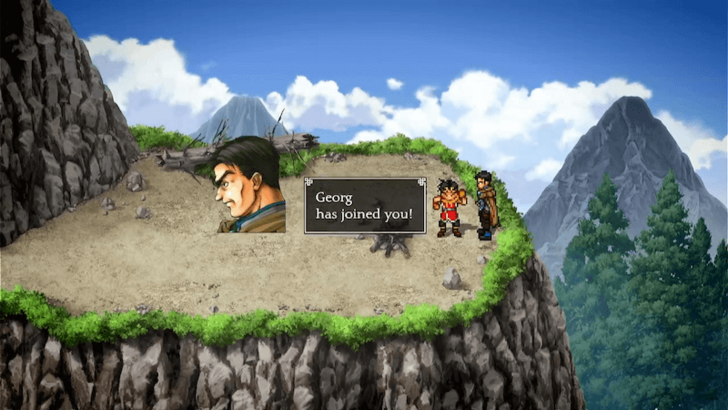 Before returning to Headquarters, you can recruit Georg. Head to Tinto Pass and take the lower path to find a campfire. Speak with Georg to have him join your party. Georg is Level 60 when he joins your party, making him a powerful asset for the rest of the game. |
| 1 | 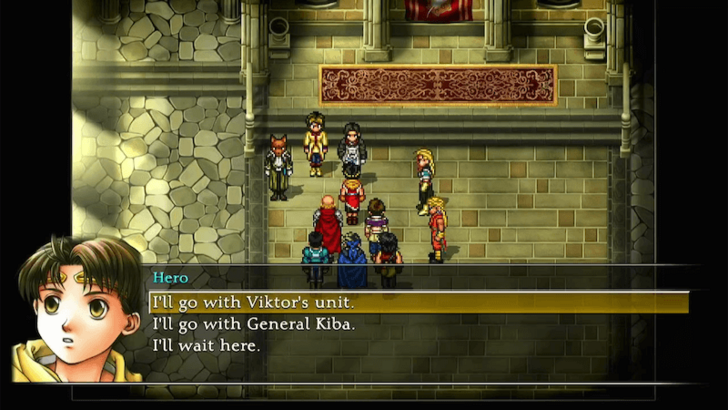 Head back to Headquarters and report back to your group in the Great Hall. |
|---|---|
| 2 |  After the cutscene, go to your room, now located three levels above, and rest for the night. When you wake up, take some time to explore the castle and interact with your recruits to learn more about their personal stories. |
| 3 | 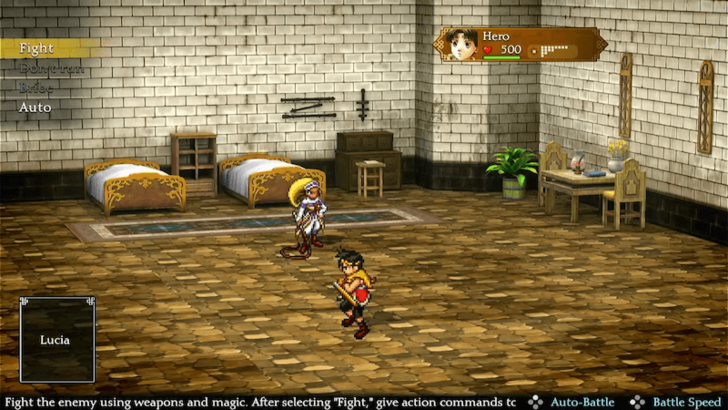 When you return to your room, you will be ambushed by Lucia in a boss battle. The fight will end after a few turns, but if you manage to defeat her before then, you'll receive 20,000 Potch as a reward. ▶︎ Lucia Boss Guide |
| 4 | 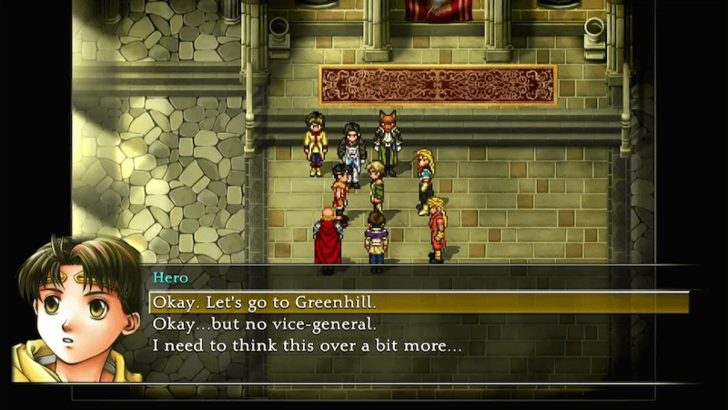 After the battle with Lucia, return to the Great Hall. Shu will then give you the option to participate in the upcoming Army Battle or skip it entirely by waiting at Headquarters. Your choice does not impact the story. However, if you're rushing to move forward, you can select "I'll wait here." instead. |
| * | 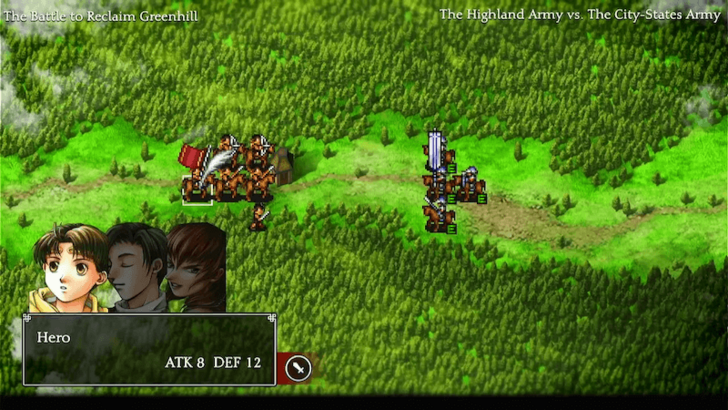 If you choose to take part in the Army Battle, join any army and proceed as usual. It’s a fairly manageable Army Battle to win. ▶︎ Army Battle Guide |
| * | If you decide to wait in the Great Hall, a messenger will constantly bring you updates from the battlefield. You can choose to make a decision yourself or leave it to Apple. Either way, the outcome remains the same. |
| 5 | 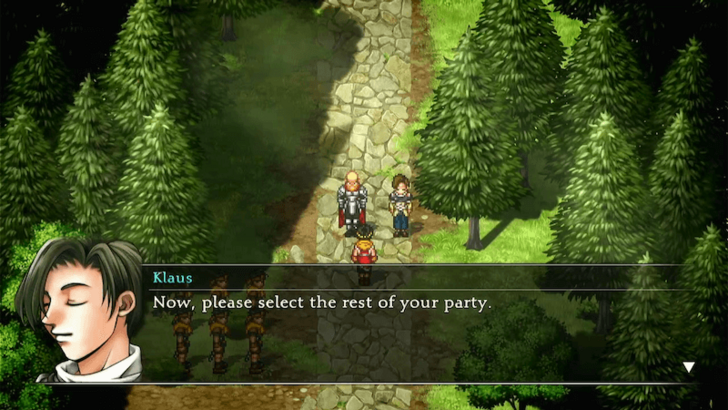 Once the Army Battle is over, you'll arrive at the entrance of Greenhill City. Shin will automatically join your party, while the rest of your lineup is up to you. However, it's recommended to bring Luc and Kahn for your next journey. |
| 1 | 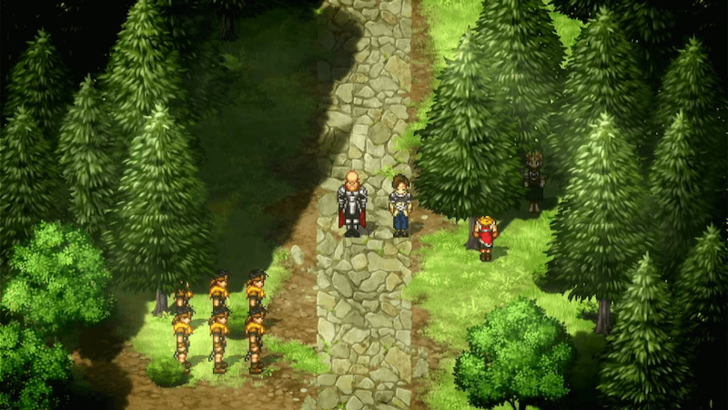 When you're ready, head to the narrow passage on the right to enter Greenhill Forest. |
|---|---|
| 2 | 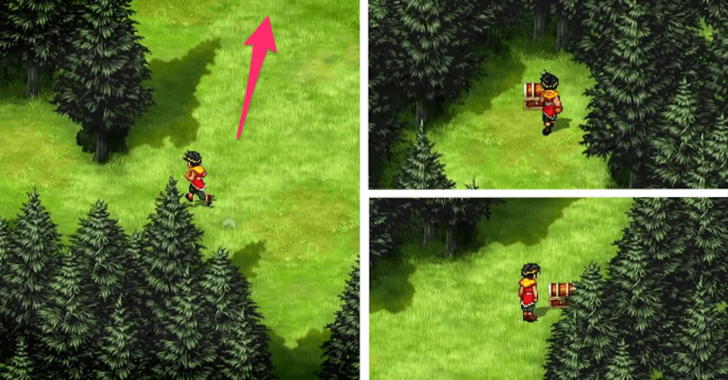 Move forward through Greenhill Forest and take the right path to find chests containing Winged Boots and a Dream Robe. Be ready to fight enemies along the way! ▶︎ Greenhill Forest Dungeon Guide |
| 3 | 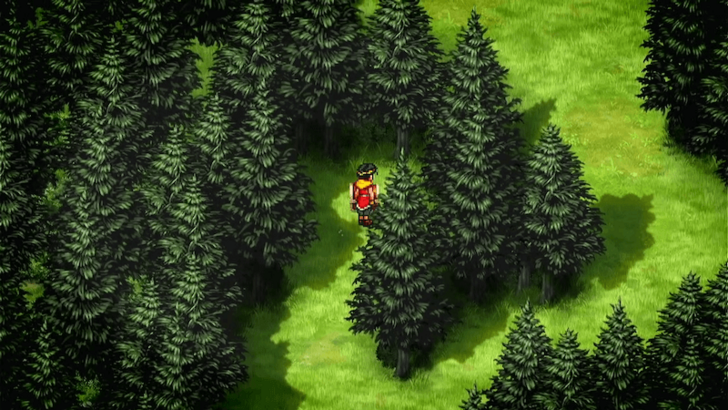 Return to the main path and continue left. Take another left turn to obtain a Stone of Skill from a chest. |
| 4 | 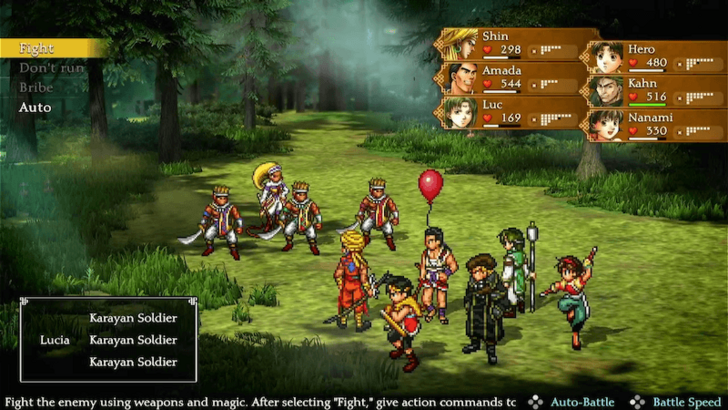 Proceed northeast until you encounter Lucia once again. This time, she will be accompanied by Karayans, leading to another boss battle. |
| 5 | 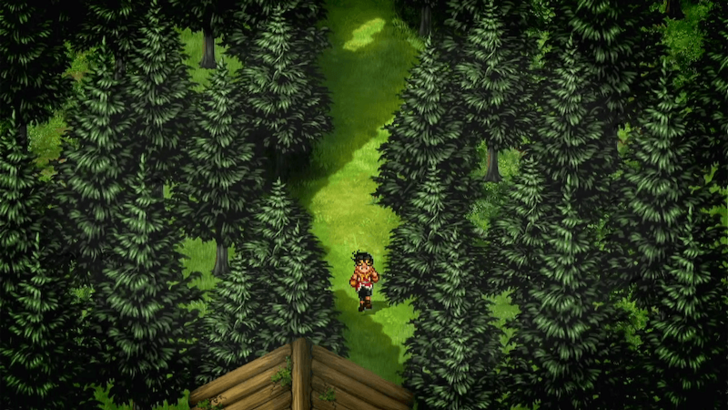 After defeating Lucia, proceed southwest. Keep pressing forward until you arrive at Teresa's cabin. |
| 1 | 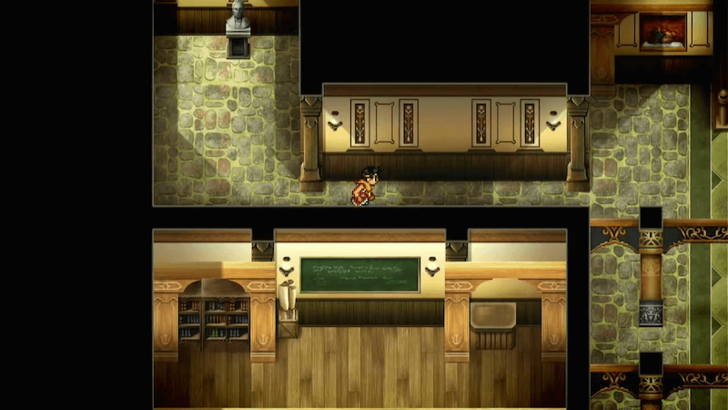 From there, head south until you reach the back entrance of Green Hill Academy. |
|---|---|
| 2 | 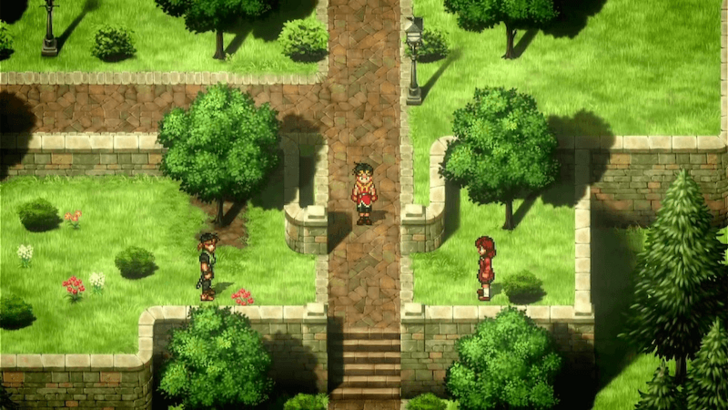 Exit the academy through the front door. Just outside, you’ll find a woman who can help you rest and a man on the opposite side who allows you to save your game. Make sure to check their services to heal up and prepare for an upcoming boss battle. ▶︎ Greenhill City Guide |
| 3 | 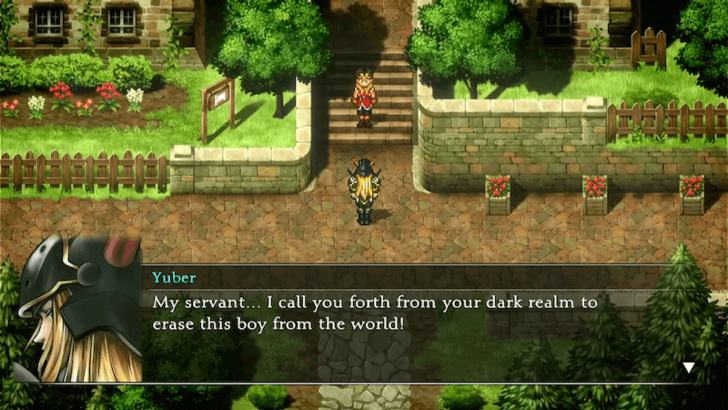 Once you're ready, make your way south through Greenhill City. Keep moving until you come across Yuber in the streets. |
| 4 | 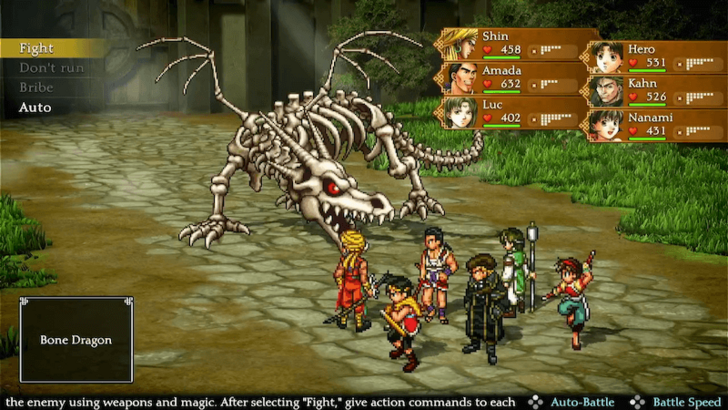 Defeat the Bone Dragon! The boss is weak to wind, Holy, and shield attacks, so use spells to take it down. ▶︎ Bone Dragon Boss Guide |
| 5 | 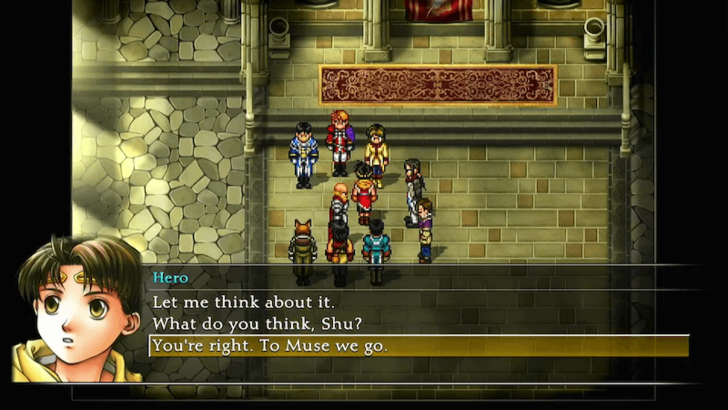 After defeating the Bone Dragon, a cutscene will play, and you'll return to Headquarters speaking with your group. Decide to go to Muse City during your conversation with Apple. |
| * | Before moving forward, it's a good idea to recruit more members into your party. In Radat Town, you can recruit Lebrante if you have a Celadon Urn in your inventory. At the docks, Simone will join you if you give him a Rose Brooch, which can be purchased from the Item Store in Banner Village. |
| * | In South Window City, Gantetsu will agree to join if your full party has a combined STR of at least 320. |
| * | If you already have over 80 characters in your party, you can also recruit Bob in the Kobold District of Two River City. |
| * | In Kuskus Town, talk to Tessai with Viktor in your party. You need at least 101 characters before he agrees to join. Once recruited, Tessai will serve as your Blacksmith at Headquarters. |
| * | In Greenhill City, speak to Jude in the Forge Classroom at Greenhill Academy, and he will ask you to bring him Clay. You can find Clay by talking to a man in Forest Village. Once you bring it back, Jude will join your party. You can also recruit Emilia at the academy's reception and Pico at the city's Inn. ▶︎ How to Get Clay |
| * | In Tinto City, visit the Armor Shop to recruit Alberto, but only if you have already recruited Annallee and Pico. |
| 6 | 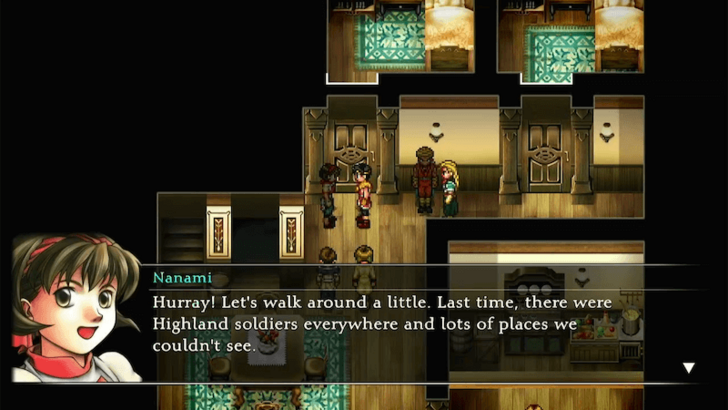 After speaking with your party at Headquarters, another cutscene will trigger, and you’ll find yourself back at the dormitories of Greenhill Academy. |
| 7 | 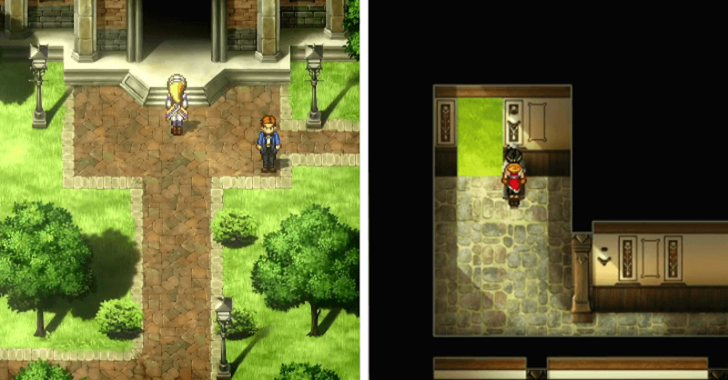 Leave the dormitory, and you’ll see Lucia entering the academy. Follow her inside and head toward the back entrance, the same one you used to enter. Interact with the bust there to open the hidden door. |
| 8 | 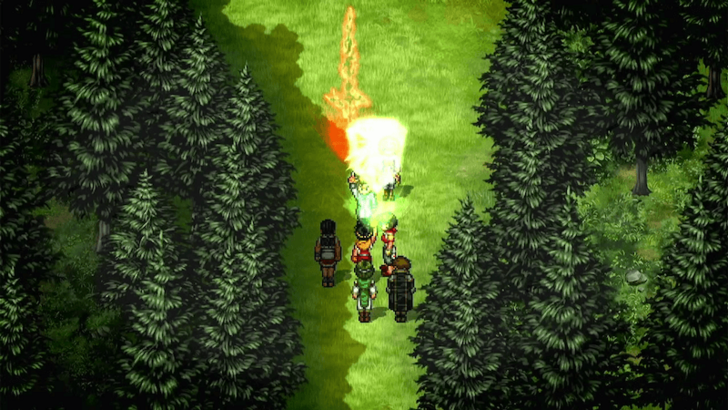 Go outside and head north where you'll encounter Jowy, leading to a cutscene. |
| 9 | 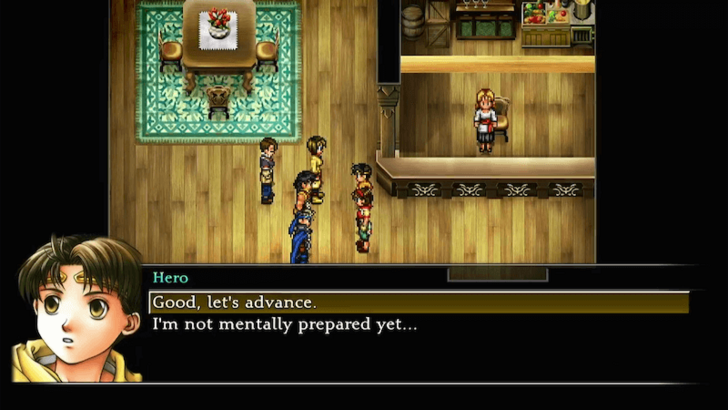 Return to the dormitory and talk to Apple. Tell her that you’re ready to liberate Muse City, leading to an Army Battle. |
| 10 | 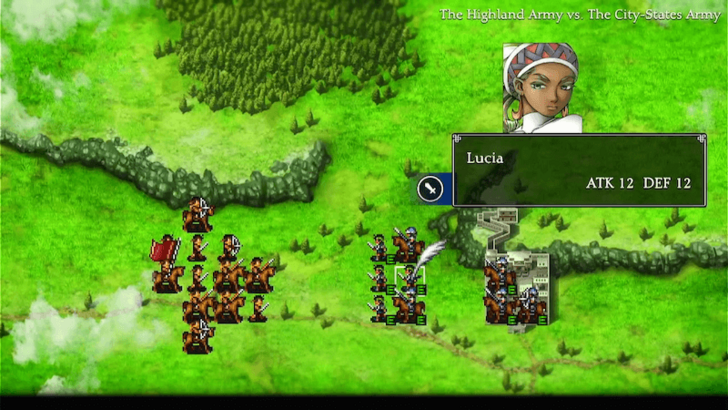 During the Army Battle, focus your attacks on Lucia’s units while ignoring the Highland Army, as they will retreat after a few turns. |
| 1 | 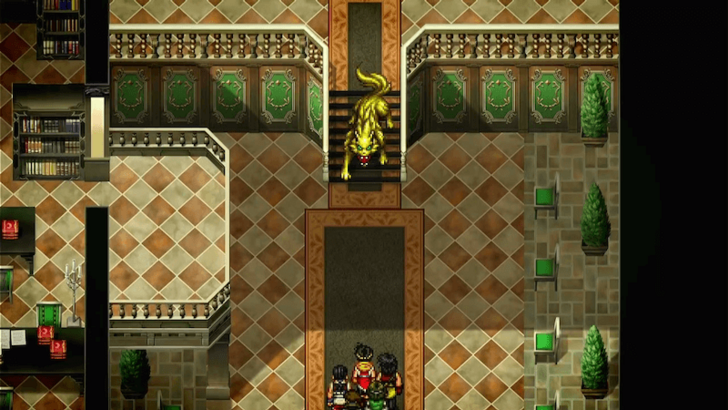 Once the battle ends, a cutscene will play and you will arrive in Muse City. Head north and enter City Hall, where you'll face the Golden Wolf. |
|---|---|
| 2 | 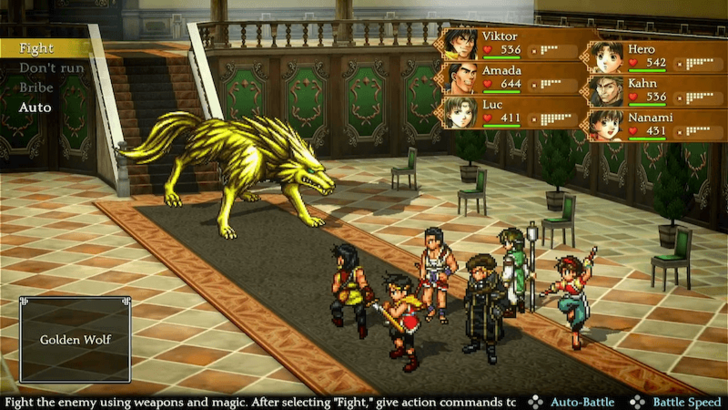 Defeat the Golden Wolf! The boss has no weakness, so focus on unleashing your strongest attacks and spells while maintaining your party's health with heals. ▶︎ Golden Wolf Boss Guide |
| 3 | 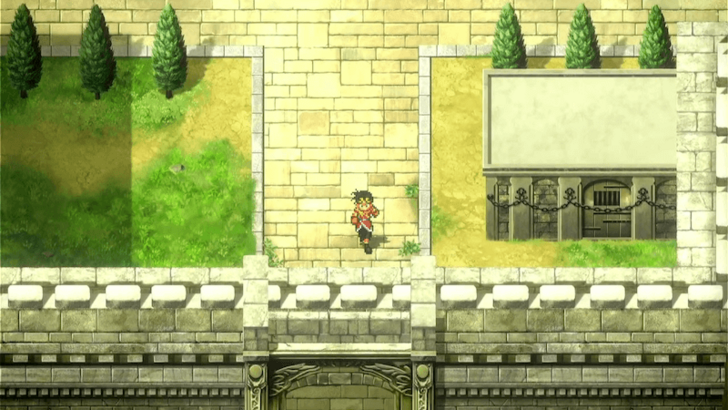 After defeating the boss, multiple Golden Wolves will spawn throughout the city. Don't bother fighting them and instead escape the city from the entrance. Once you leave Muse City, you’ll return to Headquarters. ▶︎ Rockaxe Castle to Tenzan Pass |
| 1 | 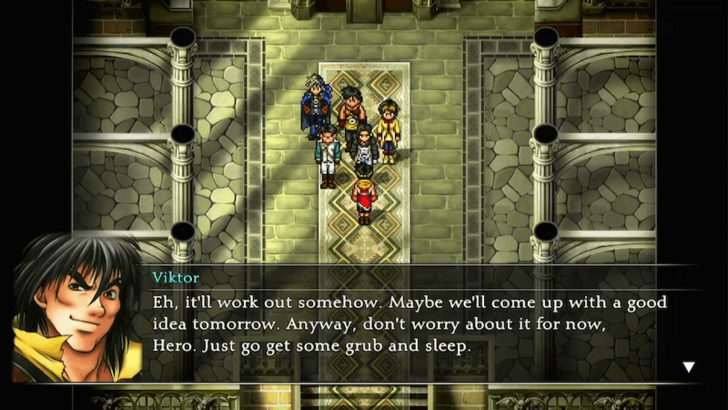 After returning to Headquarters from Muse City, you will be asked to rest in your room. |
|---|---|
| * | 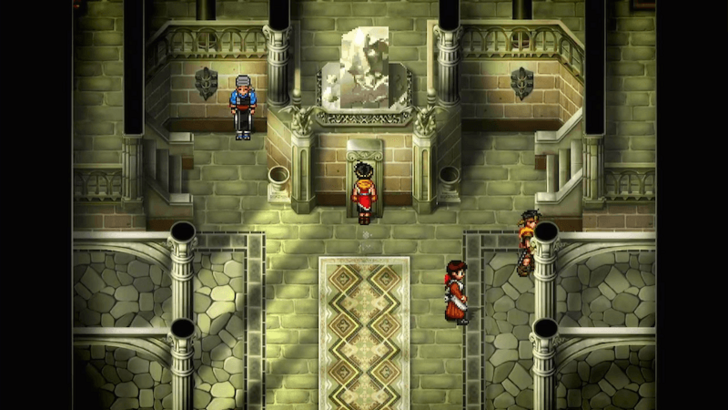 Note that this is your last chance to collect all 108 Stars of Destiny. If you are trying to get the best ending for Suikoden 2, be sure to recruit all available characters before heading to the end game. You can check who you're missing by interacting with the Stone Tablets on the ground floor. The next steps will outline the next available characters to recruit. You can skip to the next numbered step instead to continue the story. ▶︎ How to Use the Stone Tablet of Promise |
| * | In Radat Town, visit the docks on the east side to find Vincent and recruit him. You need to have Simone in your party for Vincent to appear. |
| * | 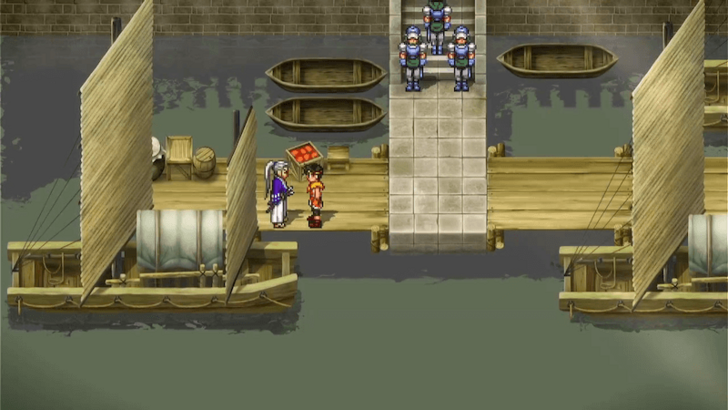 Use a boat to sail to Coronet Town and talk to Genshu by the docks. You must have a character with a weapon that is upgraded to Level 14 or higher to recruit him. |
| * | Re-enter the Cave of the Wind south of the Headquarters and proceed to the very last area (where the Celestial Sword was hidden) to find Pesmerga and recruit him. |
| * | You can now also recruit Mazus from his place in the Tinto Mines. The same location also hides Abizboah, who is recruitable if you chose not to recruit Sigfried earlier and have a spare Listening Crystal. |
| 2 | 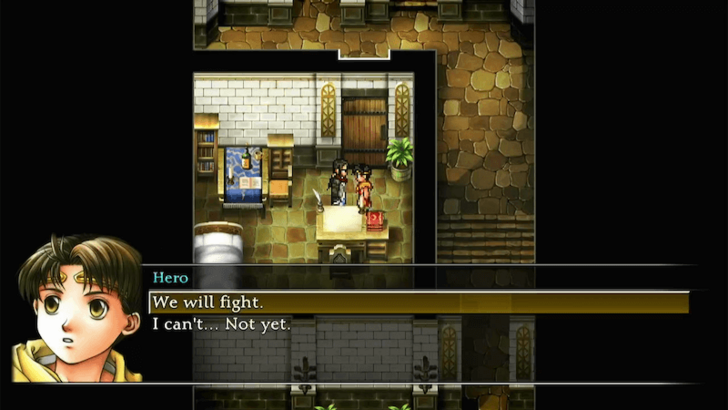 On your way up to your room, a cutscene will play near Shu's room. Speak to Shu afterward and choose "We'll fight..." when ready to proceed. |
| 3 | 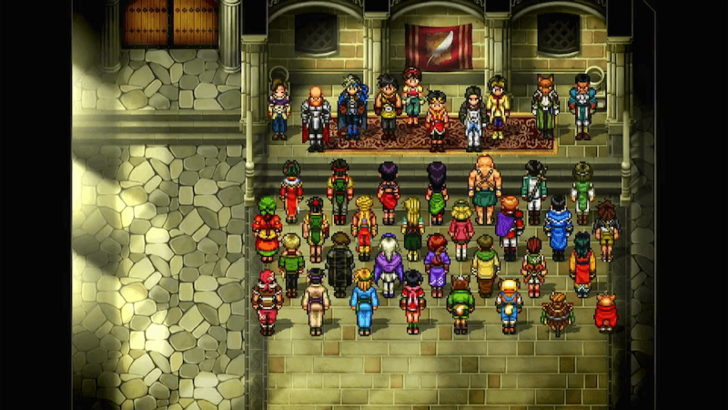 During the next cutscene in the Great Hall, Leknaat will appear if you have recruited all 108 Stars of Destiny. This opens the route to the best ending for the game. She will also upgrade your Bright Shield Rune to use its Level 4 spell, Forgiver Sign. If Leknaat does not appear, consider reloading your game and ensuring you have all Stars of Destiny recruited. ▶All Characters and Recruit Conditions |
* | Before continuing, remove unique Runes or equipment from Nanami before speaking to Shu in the Great Hall. However, since Nanami is a required party member, keep her equipped with high-quality gear from the Armor Shop and use strong Runes from Jeane's Rune store so she's still capable for the next journey. |
| 5 | 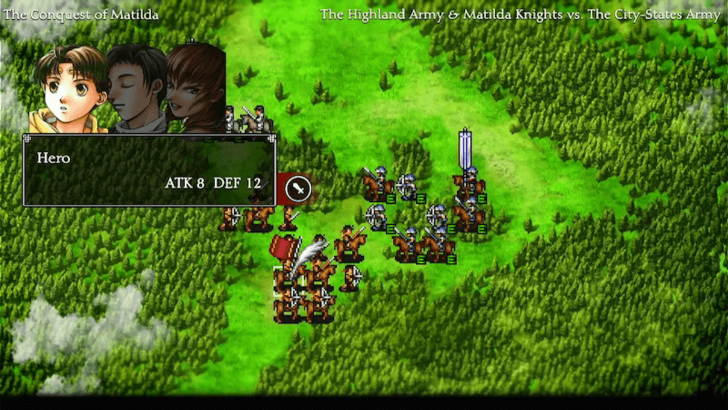 When you're ready, talk to Shu in the Great Hall to initiate an Army Battle to liberate Matilda.. All enemies will retreat after 4 turns, so fight defensively and avoid taking too much damage to reduce the risk of losing units. ▶ Army Battle Guide |
| 1 | 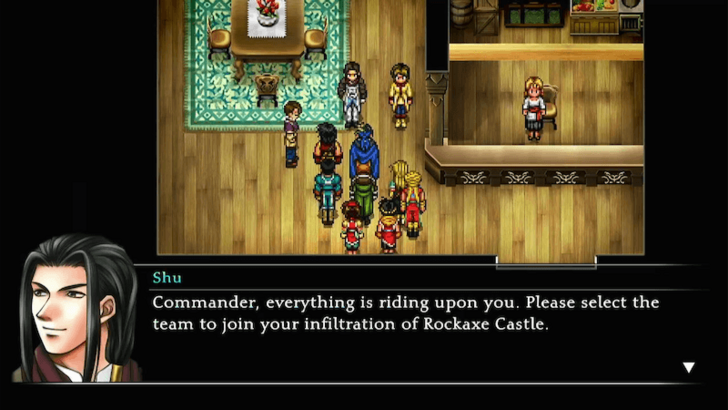 Following the Army Battle, you'll find yourself back at the dormitories in Greenhill City. Form a party to join you in infiltrating Rockaxe Castle. ▶Best Party and Team Compositions |
|---|---|
| 2 | 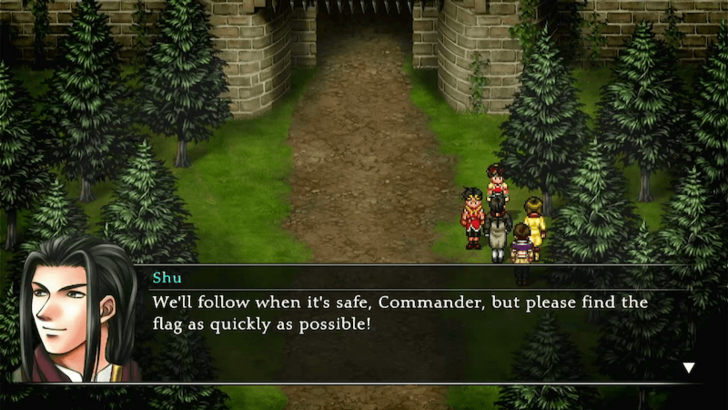 Once you're ready, a cutscene will play, and you'll arrive at Rockaxe Town. Enter the town and head into Rockaxe Castle to proceed. |
| 3 | 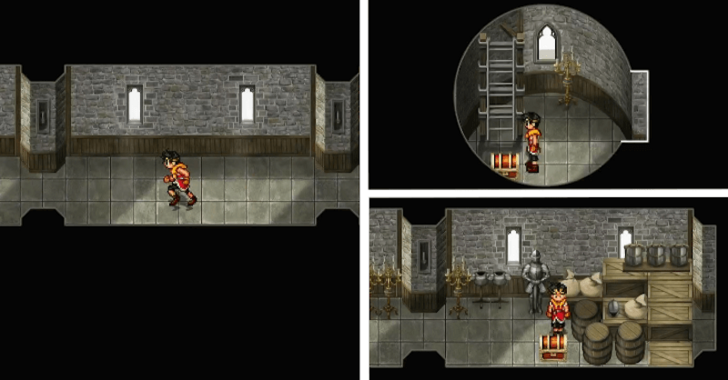 Move forward until you reach a ladder. Nearby, you'll find a chest containing a Stone of Speed. Climb the ladder and take the right path to obtain an Escape Talisman. Be ready to fight enemies along the way! ▶ Rockaxe Castle Dungeon Guide |
| 4 | 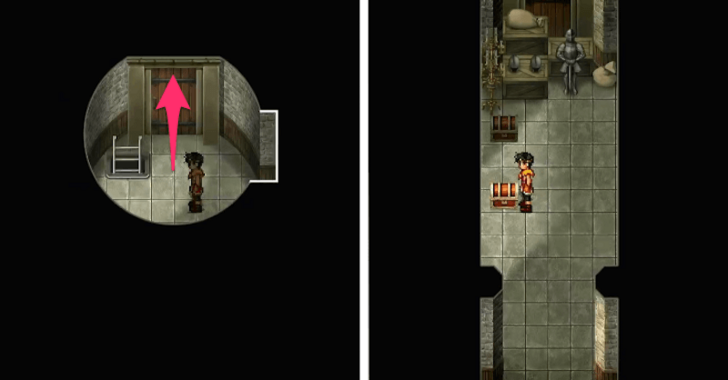 Continue through the castle until you reach another ladder with a brown door behind it. Enter the door to find two chests containing a Stone of Luck and a Crimson Cape. |
| 5 | 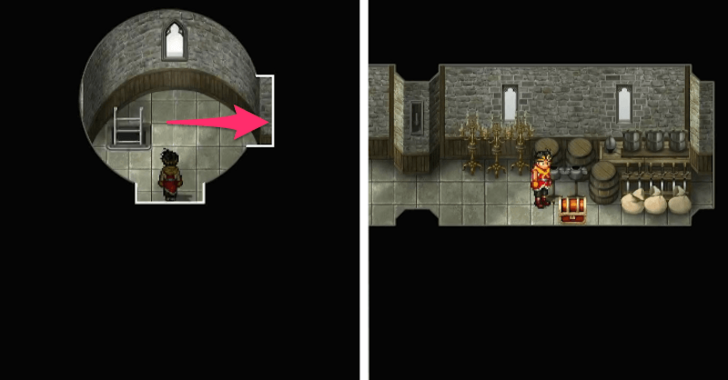 Proceed further until you reach another ladder beyond a hallway with candlestands. Take the right path to collect an Earth Shield from a chest. |
| 6 | 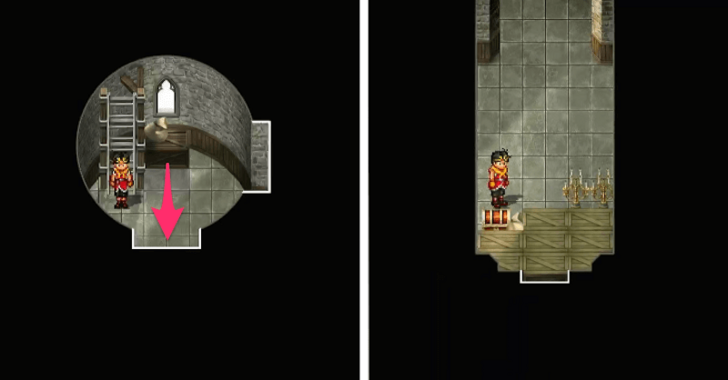 Climb down the ladder and head south to obtain Power Gloves from another chest. Return to the ladder, then take the right path, which will lead you outside the castle. |
| 7 | 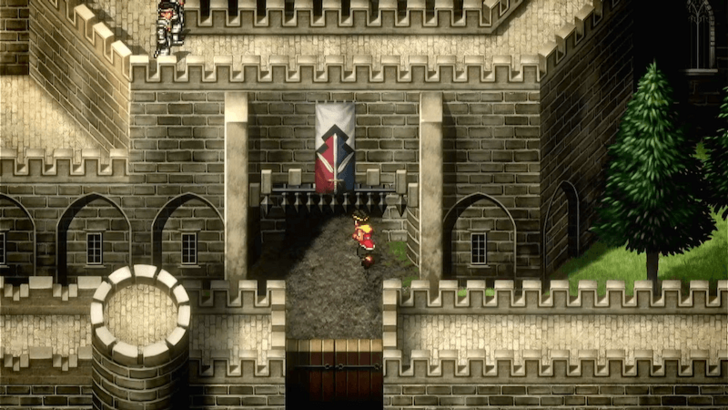 Once outside, enter the main door in the lower middle to continue. |
| 8 | 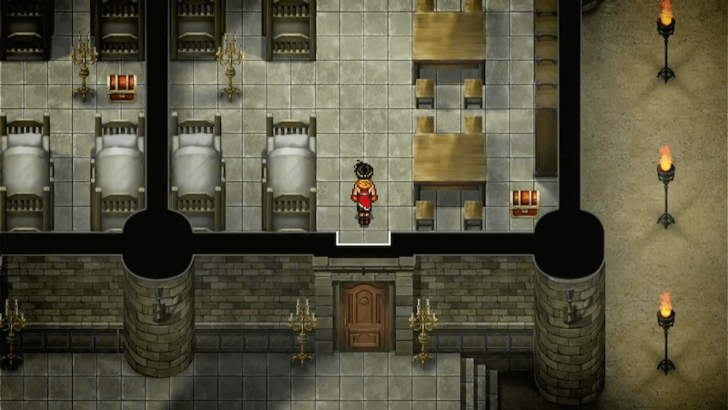 Move forward into the sleeping quarters, where you'll find two chests containing a Gold Collar and Mega Medicine. Just above, there's another chest with a Full Helmet. |
| 9 | 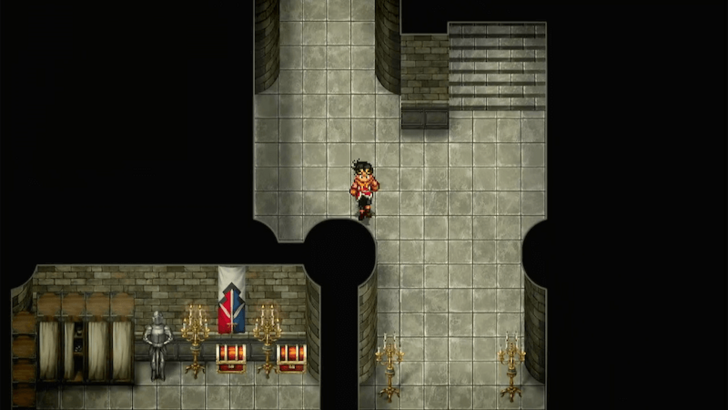 Take the stairs northwest, then continue east to another staircase. Nearby, you'll find a room with two chests containing Dragon Plans #4 and Unicorn Plans #4. |
| 10 | 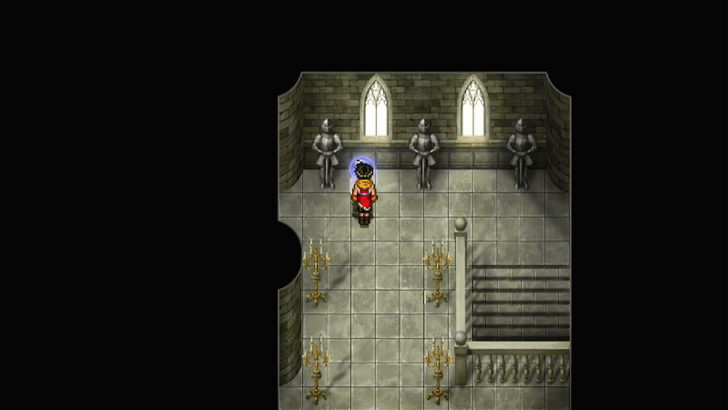 When you see a Journeyman Orb, save your game and prepare for the next boss fight. Only Hero and Nanami will be in the party from this point forward. How to Save Progress |
| 11 | 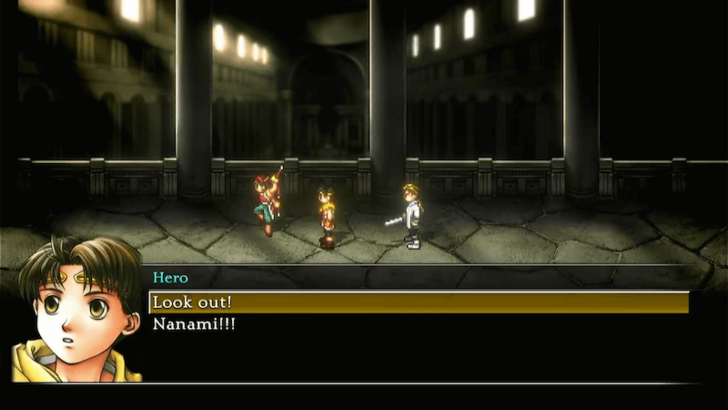 Continue forward and you will enter a long hallway and confront Jowy once again. During the cutscene, watch out for a quick prompt that let's you warn Nanami. You will know if you succeeded if you draw your weapon. If you fail to draw your weapon, or if you have not recruited all 108 Stars of Destiny before this scene, you will not be able to get the best ending. ▶ Endings Guide: All Branching Endings and Conditions |
| 12 | 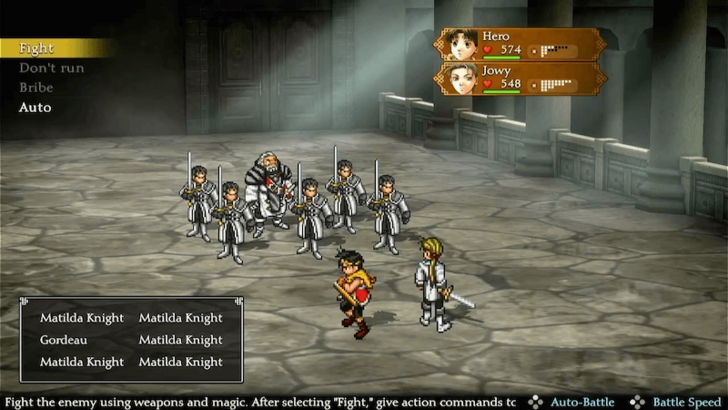 Hero and Jowy will then fight Gordeau in a boss battle. Fighting Gordeau is relatively easy, especially with Jowy’s Black Sword Rune. Unleash your strongest attacks and take him down. ▶ Gordeau Boss Fight Guide |
| 13 | 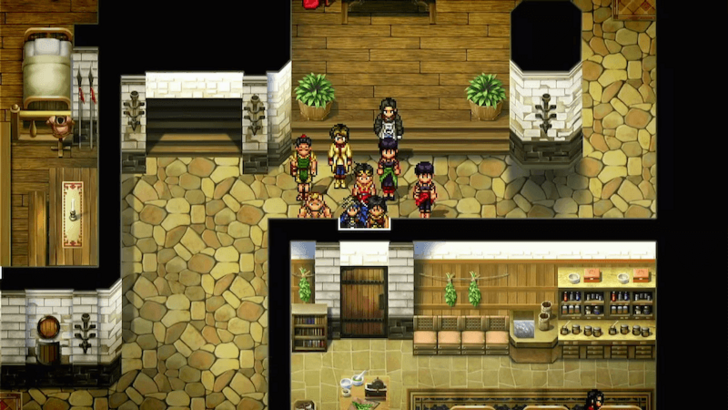 After defeating Gordeau, you will return to Headquarters. Take some time to explore the casle, then head back to the infirmary to trigger a cutscene. If you are on the right track for the best ending, Huan will ask to speak to Shu privately. |
| * | When you regain control, you will be able to revisit some locations for more loot and items. Revisiting Rockaxe Castle and going past the area where you fought Gordeau can reveal a Thunder Rune, Earth Armor, Old Book Vol. 11, and Recipe #37. |
| 14 | 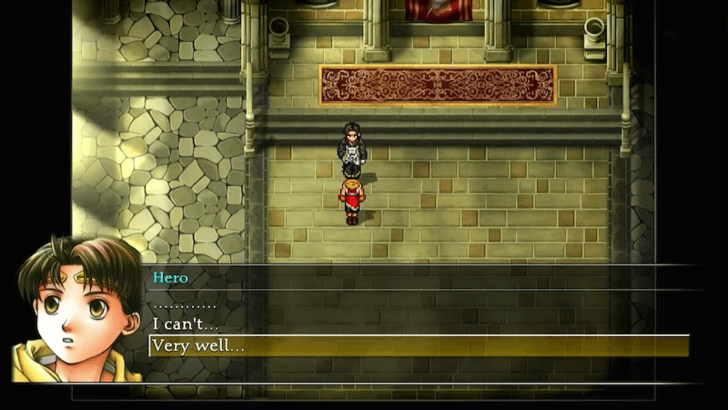 To continue the story, talk to Shu in the Great Hall and give him permission to invade Highland. As you leave the hall, Hero will collapse and be returned to the bed. |
| 15 |  When you wake up in the night, visit Shu's room for a cutscene before returning to your room. |
| 16 |  The next morning, return to the Great Hall, which will initiate a lengthy cutscene, culminating in an Army Battle. This Army Battle plays automatically and will end on its own, so no input is needed from you. |
| 17 |  Following the Army Battle, you will arrive at the Muse-Highland Border, where you can save your game by talking to Leona, and rearrange your Army Units by speaking with Apple. For this battle, focus your units on having high attack power and the Cavalry ability by adding commanders like Miklotov and Camus to their teams. ▶ Best Army Battle Formations |
| 18 |  When you're ready, talk to Apple to start the final Army Battle. Your main objective is to enter L'Renouille with one unit. Use your units to destroy the Karayans guarding the gate with strong abilities like Fire Spear, Wind Magic, and Lightning Magic, then move a unit through the gate to end the battle. |
| 1 |  After the Army Battle, you will appear at the gate of L'Renouille Castle. Form your party for the final dungeon of the game. Equip Runes to have a mix of powerful physical and Magic attacks, along with sources for healing and defensive spells. ▶ Best Runes |
|---|---|
| * |  Before entering L'Renouille Castle, you can leave to the overworld and travel northwest Sajah Village. |
| * | 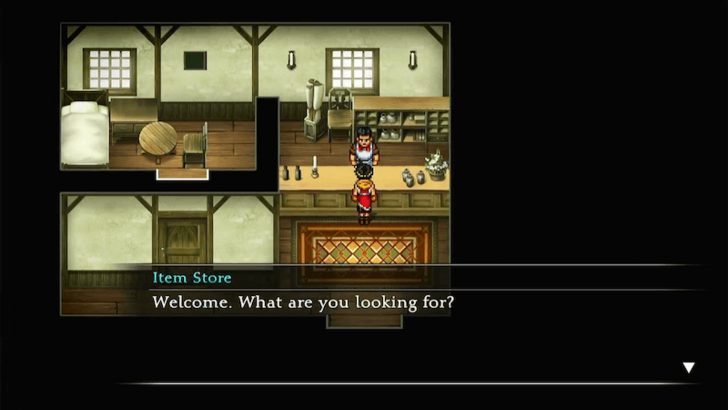 In Sajah Village, you can find some powerful gear in the Item Store's Rare Finds, including Windspun Armor , Horned Helmet, and the Golden Hammer, which can upgrade your weapons to Level 16. After obtaining the Golden Hammer, teleport back to Headquarters and give it to Tessai to allow him to sharpen your weapons to the maximum level. ▶ Sajah Village Guide |
| 2 | 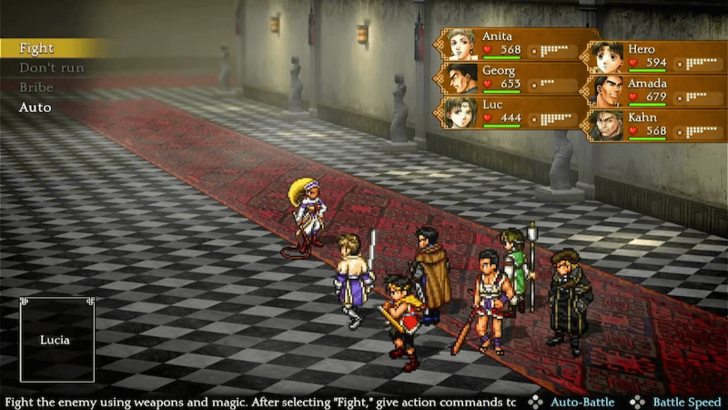 When ready, enter L'Renouille Castle. Lucia will be waiting for you inside, leading to the third and last boss fight against her. Defeat Lucia, and then head back outside to heal and recharge your spells. ▶ Lucia Boss Fight Guide |
| 3 | 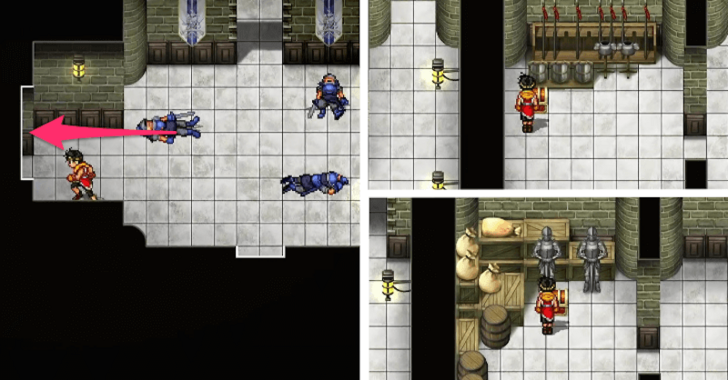 From here, you can choose either the left or right path to progress through L'Renouille Castle. For this walkthrough, take the right path and head north until you reach a hall where you'll be forced into battle against Highland Soldiers. After defeating them, enter the room on the right to find two chests containing a Fog Robe and a Bolt of Wrath. Be prepared for more forced battles as you continue! ▶ L'Renouille Dungeon Guide |
| 4 | 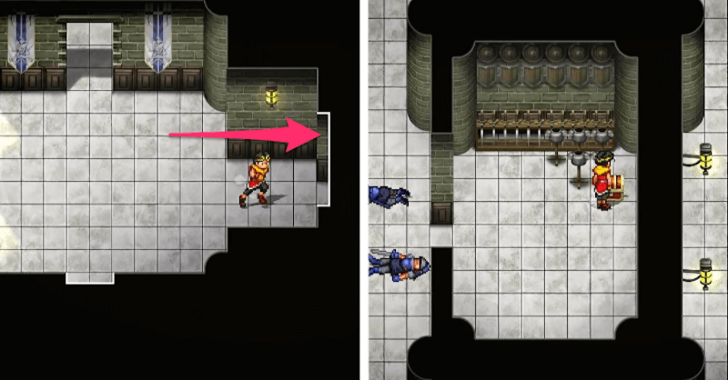 Proceed forward until you reach a hall with double doors. For now, ignore the doors and continue heading west where you'll see another hall with a right turn. Enter the storage room here to obtain a Fury Rune from a chest. |
| 5 | 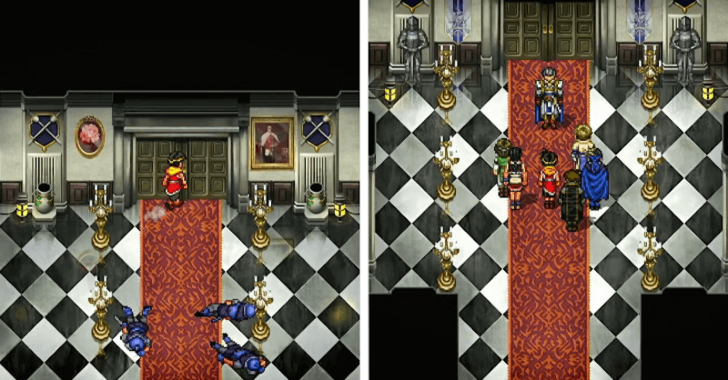 Return to the main hall and enter the double doors to confront Han Cunningham in a duel. |
| 6 | 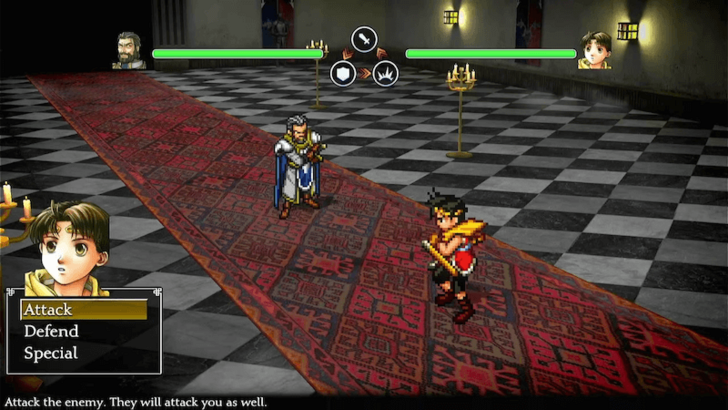 Defeat Han in a duel! The fight is fairly easy as long as you carefully counter his attacks. ▶ Han Cunningham Duel Guide |
| 7 |  After defeating Han Cunningham, continue moving forward through the castle until you reach a large hall with three intersecting paths. |
| 8 |  Take the eastern path and continue heading north until you come across a group of Highland Soldiers on the left. Defeat them and enter the room ahead to obtain a Champion’s Orb and a Wind Amulet from the chests. |
| 9 | 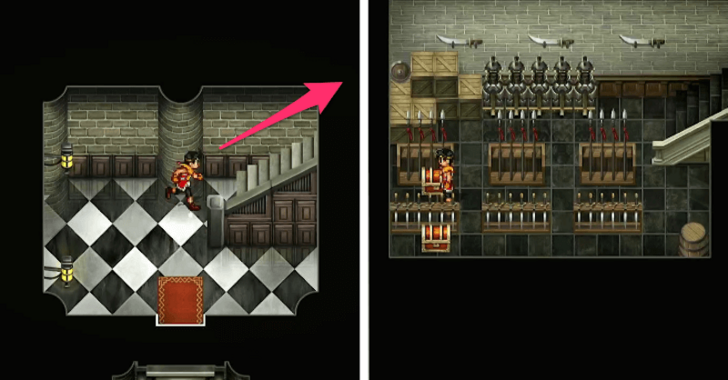 Return to the main path just before the Highland Soldiers, then continue heading north. Climb the stairs until you reach an armory, where you'll find two chests containing a Stone of Power and a Stone of Protection. |
| 10 | 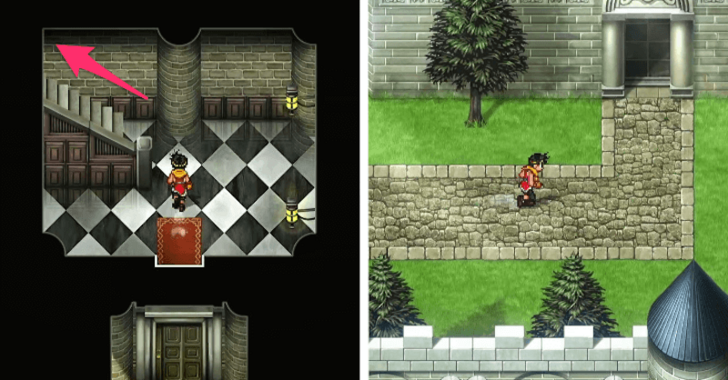 Backtrack to the large hall, then head south, turn left, and continue north. Take the stairs, then make your way southwest until you're outside of the castle. Follow the path forward, and you'll enter another door leading back inside. |
| 11 | 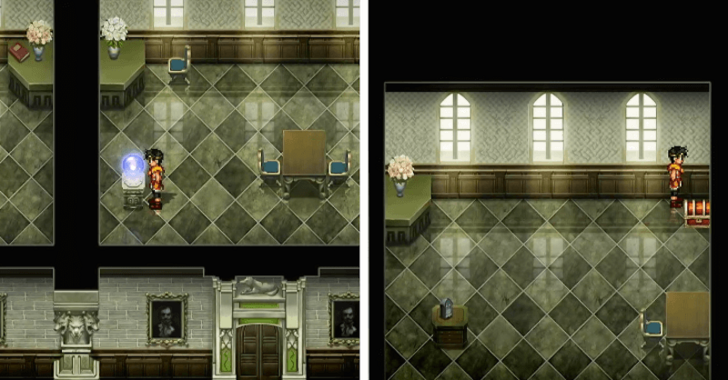 Keep moving forward until you reach a hall with three rooms. The middle room contains a Journeyman Orb, which you can use to save your game, while the room on the right holds a chest with an Escape Talisman. |
| 12 | 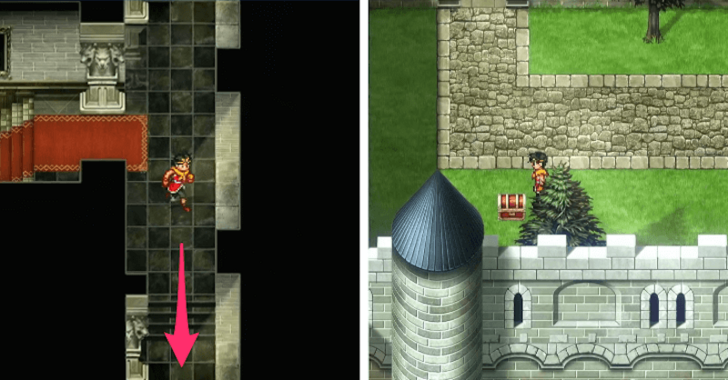 From here, head south to step outside again. Follow the path to the end, where you'll find a chest containing Goldlets. |
| 13 | 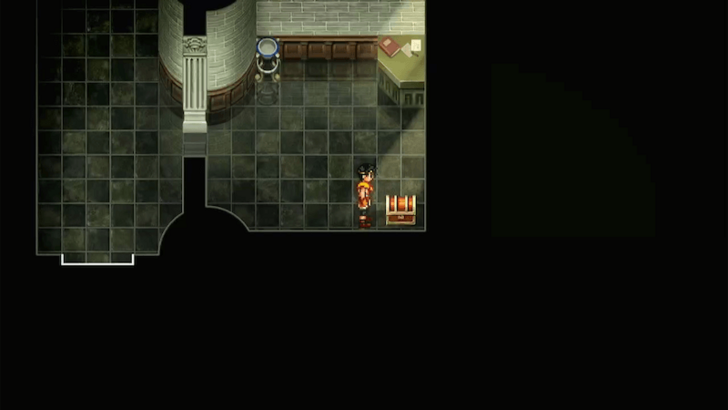 Return inside and take the stairs leading north. Continue forward until you come across another chest containing Window Set #7. |
| 14 | 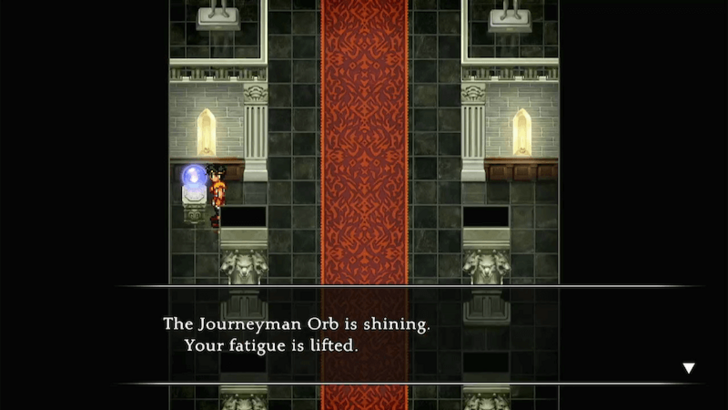 Keep pushing north until you reach another Journeyman Orb. This one can also heal and recharge your party, so make sure to take advantage of this to recharge before the nearby boss battle against Seed and Culgan. |
| 15 | 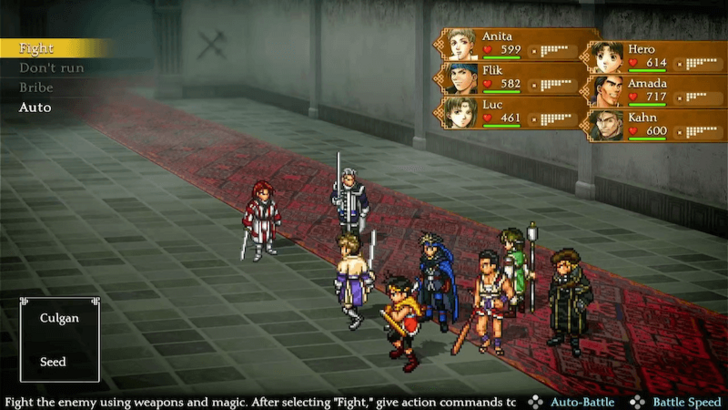 When you're ready, continue up ahead and face Seed and Culgan in a boss fight. Seed is strong against Fire spells and Culgan is strong against Lightning. Use focused physical attacks and spells to take them down one at a time. ▶ Culgan and Seed Boss Guide |
| 16 | 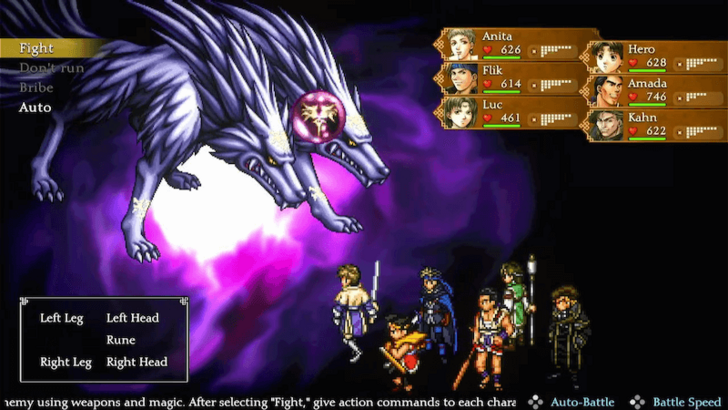 After defeating Seed and Culgan, recover at the Journeyman Orb and save your game before facing final boss battle. At the end of a long hallway, you will encounter Leon Cunningham, who summons the Beast Rune in the form of a Silver Wolf, the final boss of Suikoden 2. Focus on destroying the Rune first, followed by the Left Leg, as those parts will defend the others and cast status magic, respectively. Heal frequently and use defensive buffs like Guardian Earth to enhance your defense against the Wolf's party attacks. ▶ Silver Wolf (Beast Rune) Boss Guide |
| 17 | 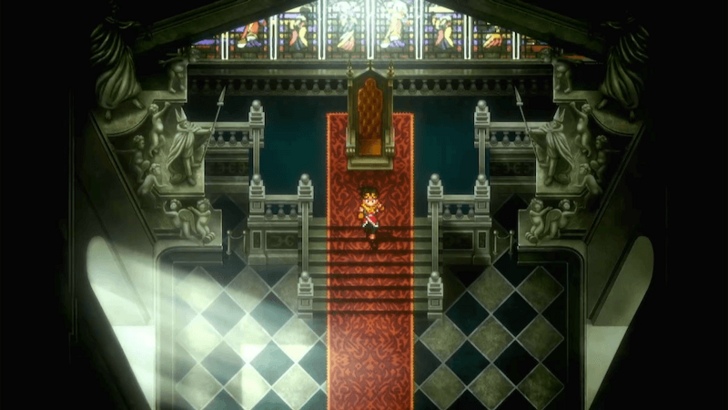 After defeating the final boss, you will escape the castle before it is destroyed and return to Headquarters automatically. |
| * | Save your game when you regain control, as the next scene in the Great Hall contains a branching point for the ending. |
| 18 | 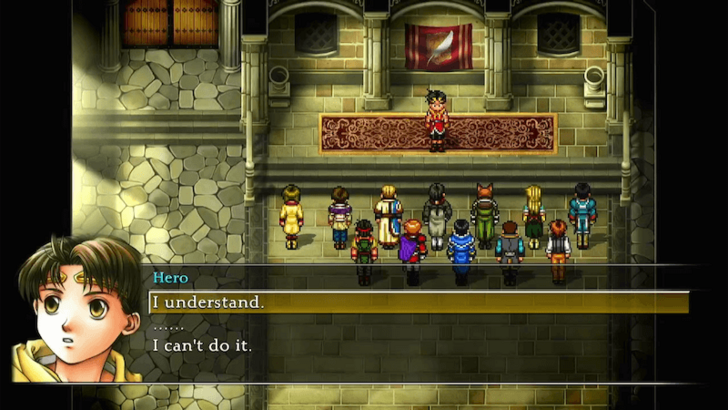 When you wake up in your bed, head to the Great Hall to trigger a cutscene. At this point, you'll be given a choice: If you choose "I understand," this will lead to the first standard ending and the game will end from that point. If you choose "I can't do it.", you will be allowed to leave to pursue the second standard ending or the Golden ending. ▶ Endings Guide: All Branching Endings and Conditions |
| 1 | 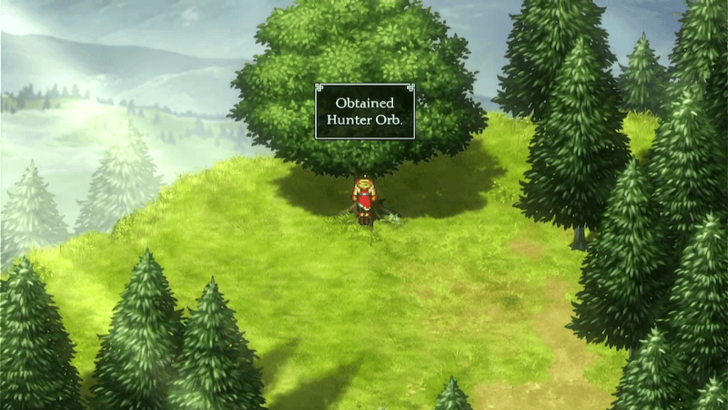 If you chose "I can't do it," in the previous cutscene, you will regain control. Teleport back to Kyaro Town and visit the path to Genkaku's House. Examining the large tree where you recruited Mukumuku will yield a Hunter Orb, Trio Painting, and 30 Potch. |
|---|---|
| 2 |  Leave Kyaro Town and enter Tenzan Pass to the northwest. |
| 3 | 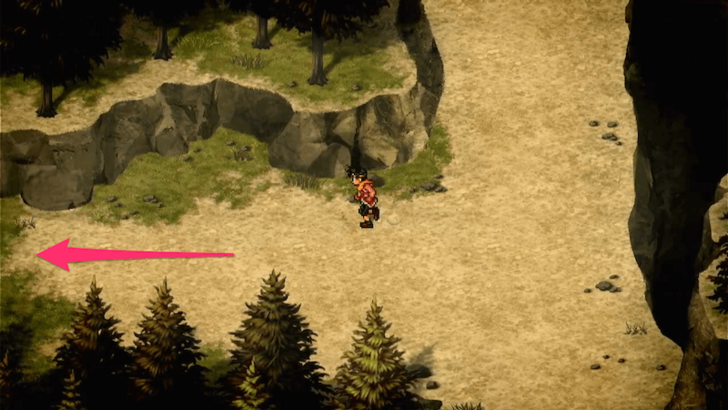 Follow through Tenzan Pass until the road forks, taking the path west to the next area. You will eventually see the terrain from the beginning of the game, though the Unicorn Brigade camp has since been cleaned up. ▶ Tenzan Pass Dungeon Guide |
| 4 | 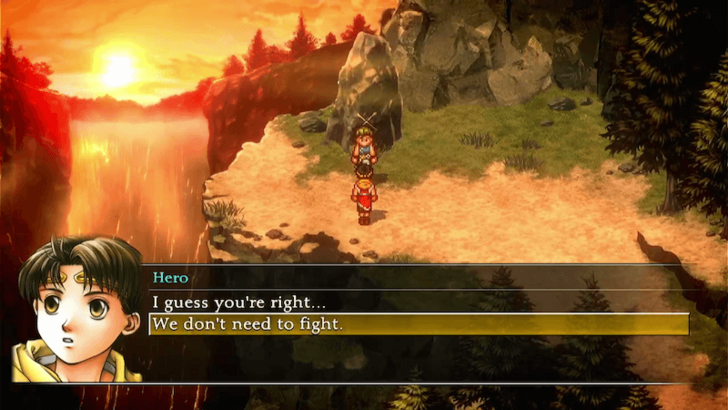 Continue past the camp until you approach the spot where you and Jowy jumped off the cliff at the beginning of the game. He will then challenge you to a duel. During the duel, choose Defend each time to get the best ending. Defeat Jowy to get the second standard ending. ▶ Jowy Duel Guide |
| 5 | 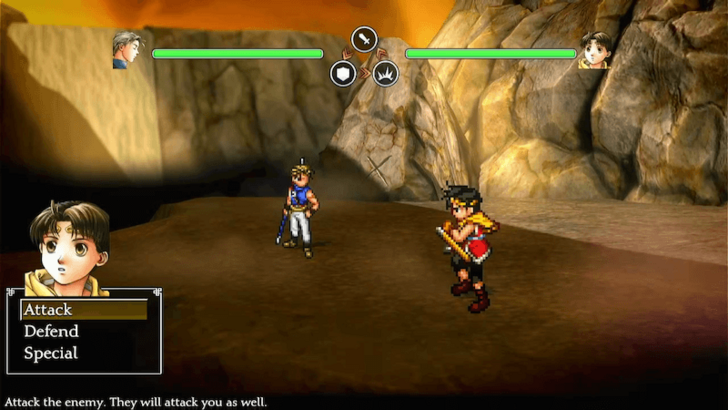 After the duel, Jowy will offer you the Black Sword Rune. Take it to experience the second standard ending. Keep refusing it to experience the best ending and complete Suikoden 2! |

Suikoden 2 HD Remaster Home Page
| All Categories | |
|---|---|
 Walkthrough Walkthrough |
 Tips and Tricks Tips and Tricks |
 Characters Characters |
 Runes Runes |
 Items Items |
 Armour Armour |
 Bosses Bosses |
 Enemies Enemies |
 Maps Maps |
- |
100% Complete Walkthrough Guide


Pokemon TCG Pocket (PTCGP) Strategies & Guides Wiki

Genshin Impact Walkthrough & Guides Wiki

Monster Hunter Wilds Walkthrough & Guides Wiki

Honkai: Star Rail Walkthrough & Guides Wiki

Wuthering Waves Walkthrough & Guides Wiki

Pokemon Scarlet and Violet (SV) Walkthrough & Guides Wiki

Assassin's Creed Shadows (AC Shadows) Walkthrough & Guides Wiki

Palworld Walkthrough & Guides Wiki

Zenless Zone Zero Walkthrough & Guides Wiki

Xenoblade Chronicles X: Definitive Edition Walkthrough & Guides Wiki
Fire Emblem Heroes (FEH) Walkthrough & Guides Wiki

Once Human Walkthrough & Guides Wiki

Black Myth: Wukong Walkthrough & Guides Wiki

The Legend of Zelda: Tears of the Kingdom Walkthrough & Guides Wiki

Diablo 4: Vessel of Hatred Walkthrough & Guides Wiki

Persona 3 Reload Walkthrough & Guides Wiki

Dragon Quest Monsters: The Dark Prince Walkthrough & Guides Wiki

Super Smash Bros. Ultimate Walkthrough & Guides Wiki

Monster Hunter World Walkthrough & Guides Wiki

Cyberpunk 2077: Phantom Liberty Walkthrough & Guides Wiki
©2025 Konami Digital Entertainment
The copyrights of videos of games used in our content and other intellectual property rights belong to the provider of the game.
The contents we provide on this site were created personally by members of the Game8 editorial department.
We refuse the right to reuse or repost content taken without our permission such as data or images to other sites.
Thanks for wasting our time with your "100%" guide, so many things left out or misleading leading to missing characters. Maybe change the title to "reference guide to potential 75% completion".