


 Rubi
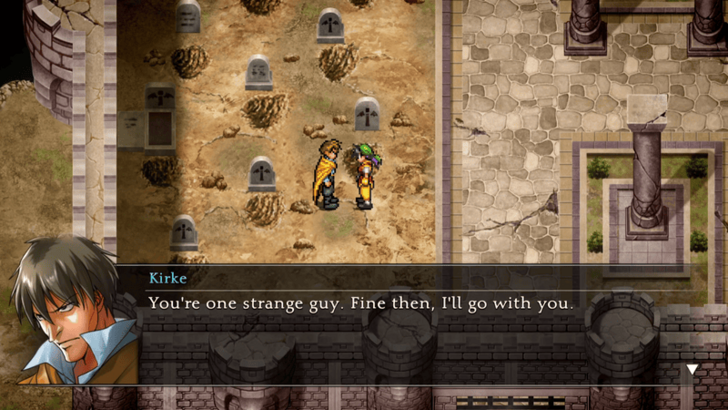
Rubi Kirke
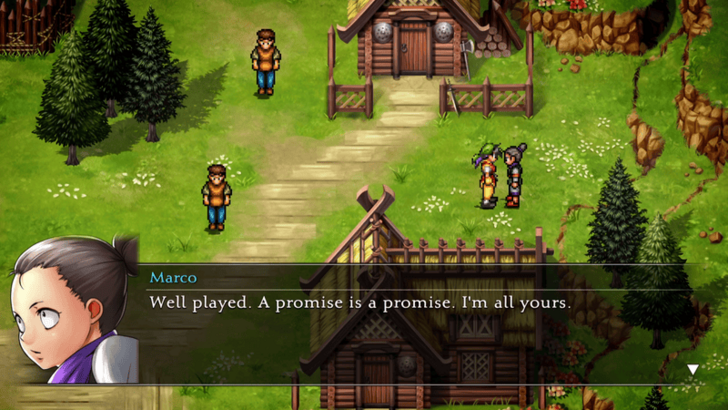
Kirke Marco
Marco Moose
Moose Zen
Zen Morgan
 Fukien
 Hugo
Hugo Window
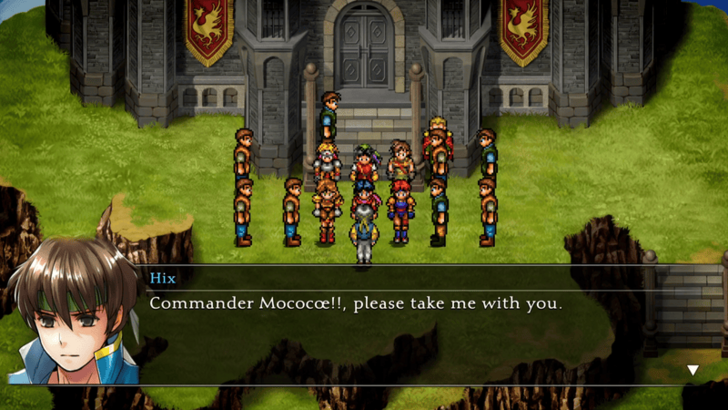
 Hix
Hix Tengaar
 Bronze

This survey will take about 1 minute.
Your answers will help us to improve our website.
What you can do as a member?

Get free access to these features:.
- Save your data on maps and other tools
- Site theme change
- Game bookmarking feature
- Provide feedback on the website


If you're going to get Kirkis to 41 in the cave to get Rubi now, you might as well go get Eikei in Rikon since Hero is 40. I also stopped by the bridge right after that to check on Quincy, and he joined, too.